Great to hear that you got it operating snappier!
One last tip to speed up the finding of images – if your layout and screen arrangement is somewhat consistent – is to shrink the area the image is searched for. Especially for high-resolution monitors, this can offer quite a substantial speed-up.
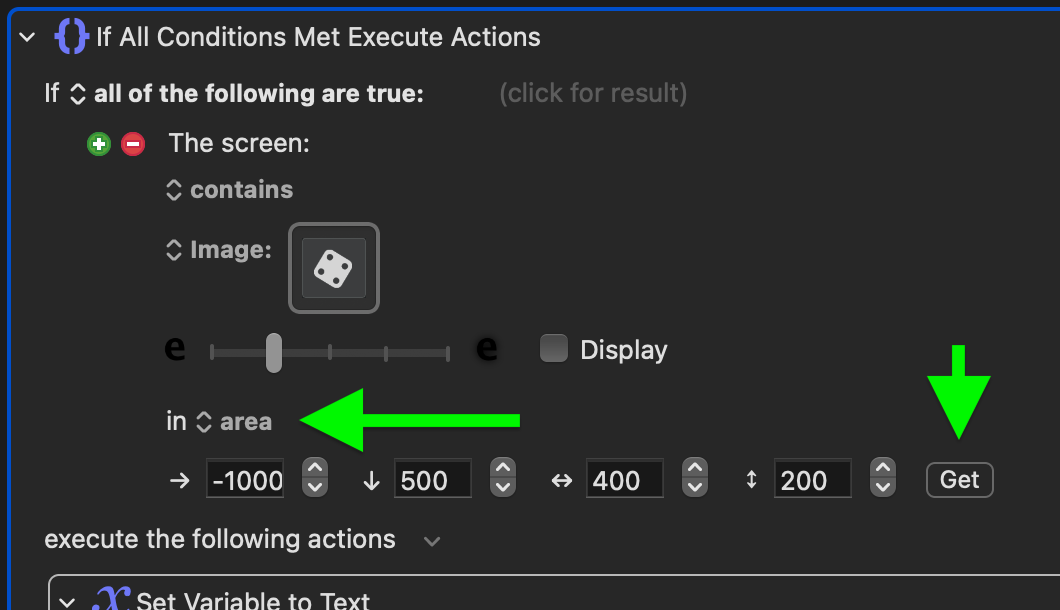
Defining the area is most easily done by pressing the 'Get' button and drawing a rectangle around your area of interest. If your secondary display is arranged to the left of your main display, you might get negative values; if to the right, a value of more than your main display width resolution; etc.
If your layout is not that consistent, even drawing a very generous rectangle over half or quarter of your screen will help.
The pixel values of the area parameters are by default absolute values, relative to your main display's top-left corner. But the values can be made relative to, for example, the focused window, by using the WINDOW()-function. This way, you could move the window around, and even change display arrangement, so long as the layout within Cubase does not change relative to your selected window edge/corner.
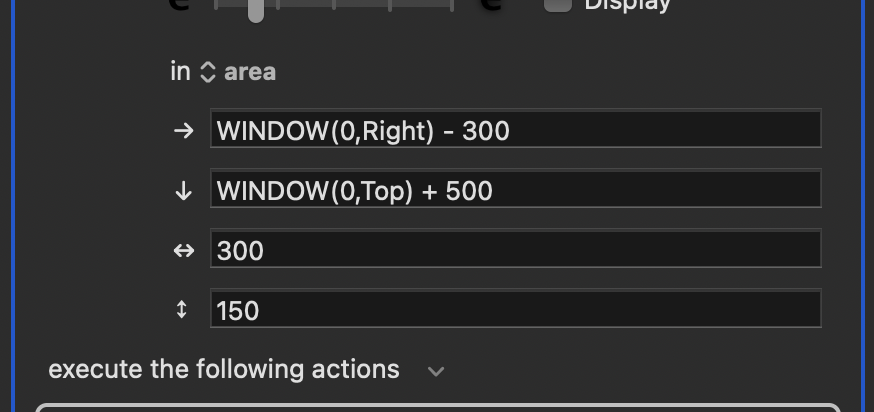
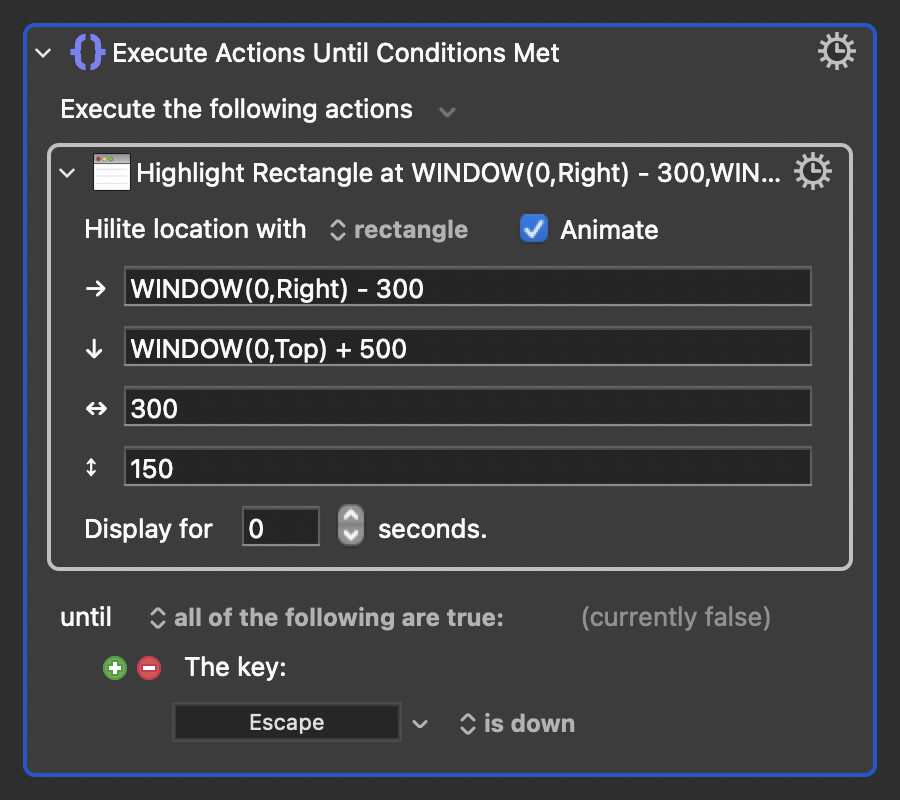
As an example, relative to the top right corner of the focused window, could look something like this:
This will define a rectangle of 300x150, hugging the right edge, 500 pixels down from the window top edge.
While setting up more convoluted areas like this, a "pro-tip" can be to use the Highlight Location action as a tool to check where your defined area is pointing to. Set it to rectangle mode, and the same x, y, width, and height (→, ↓, ↔, ↕) values as your area. Placed in a loop, you can even see how it follows the focused window while moving it around!
(P.S.: Defining a tight area relative to the window frame like this can take you dangerously close to simply defining the exact coordinate you want to click — something that could take finding of the image out of the equation entirely!)
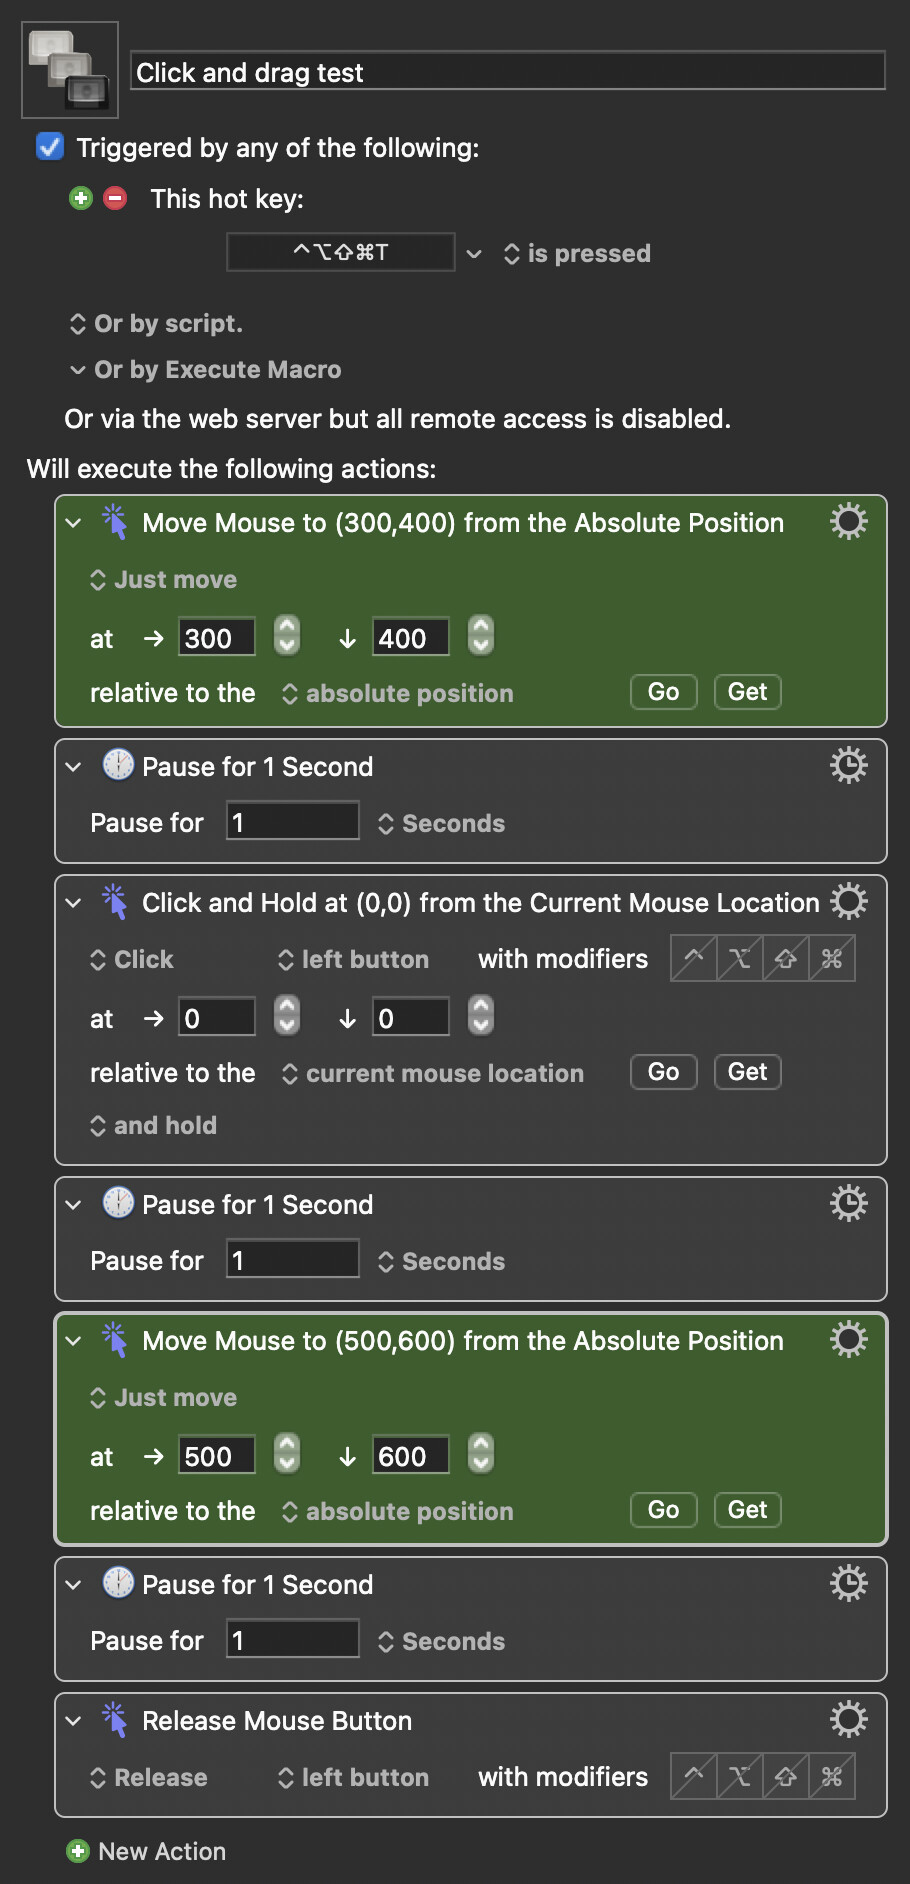
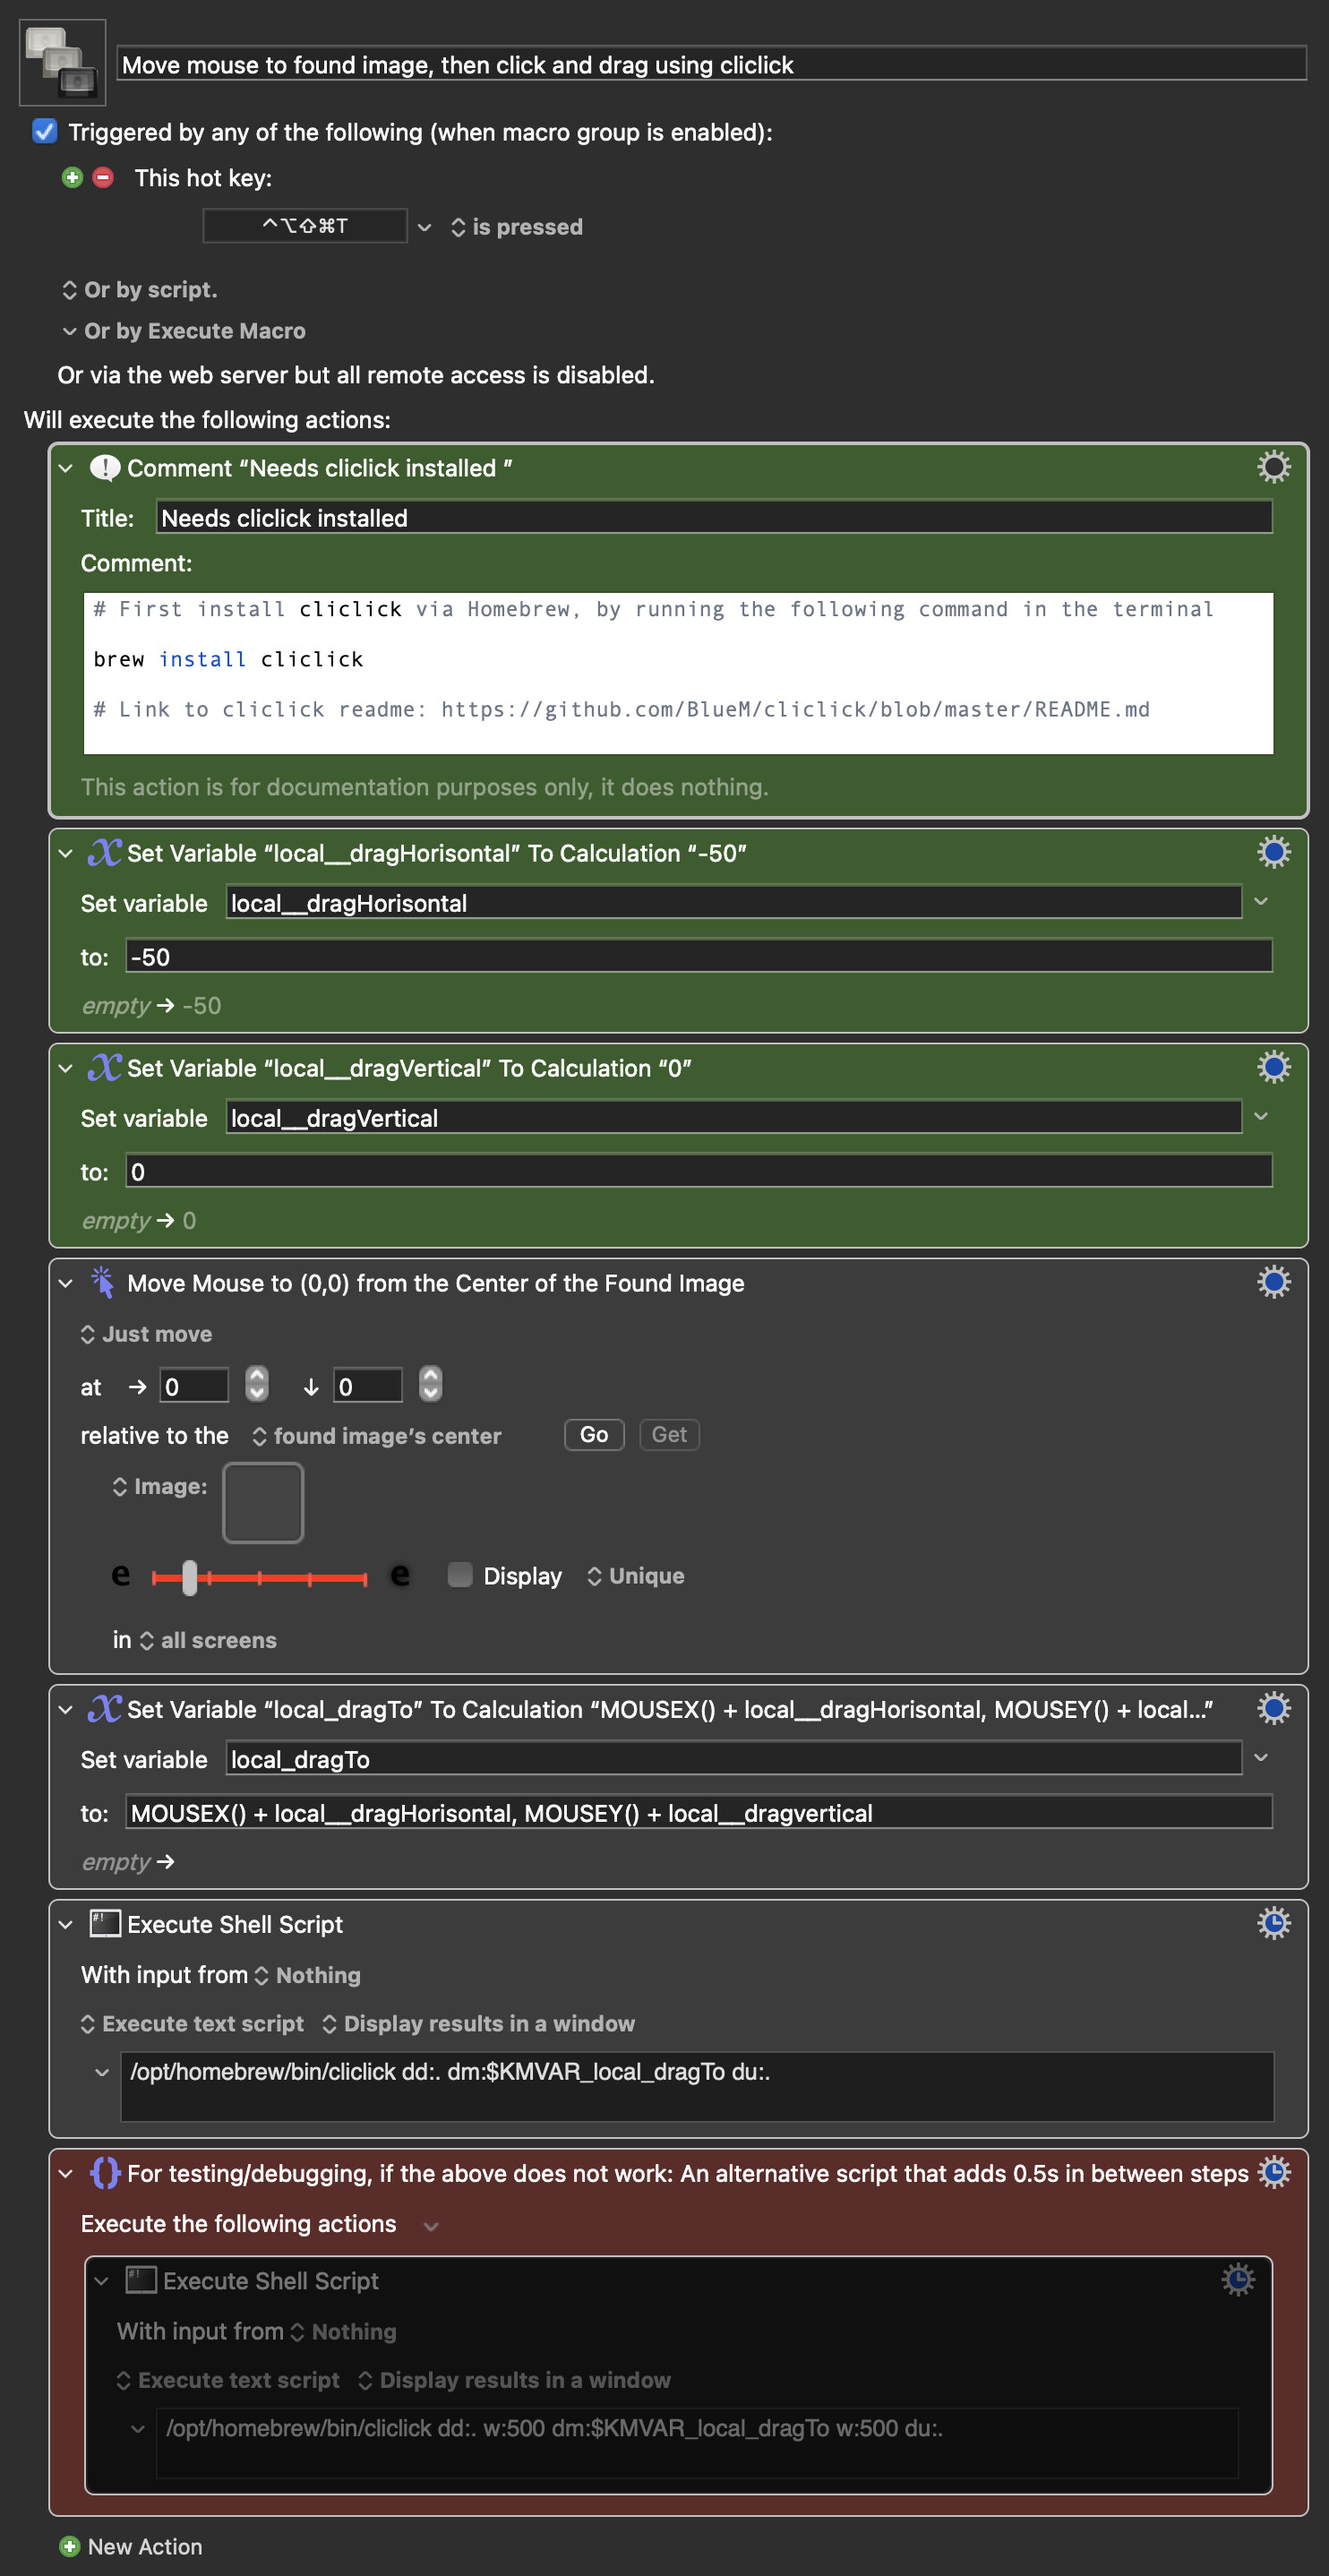
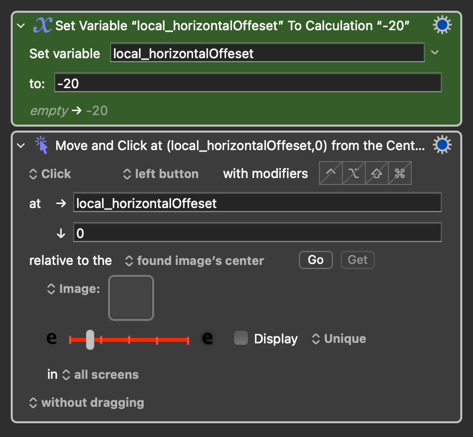

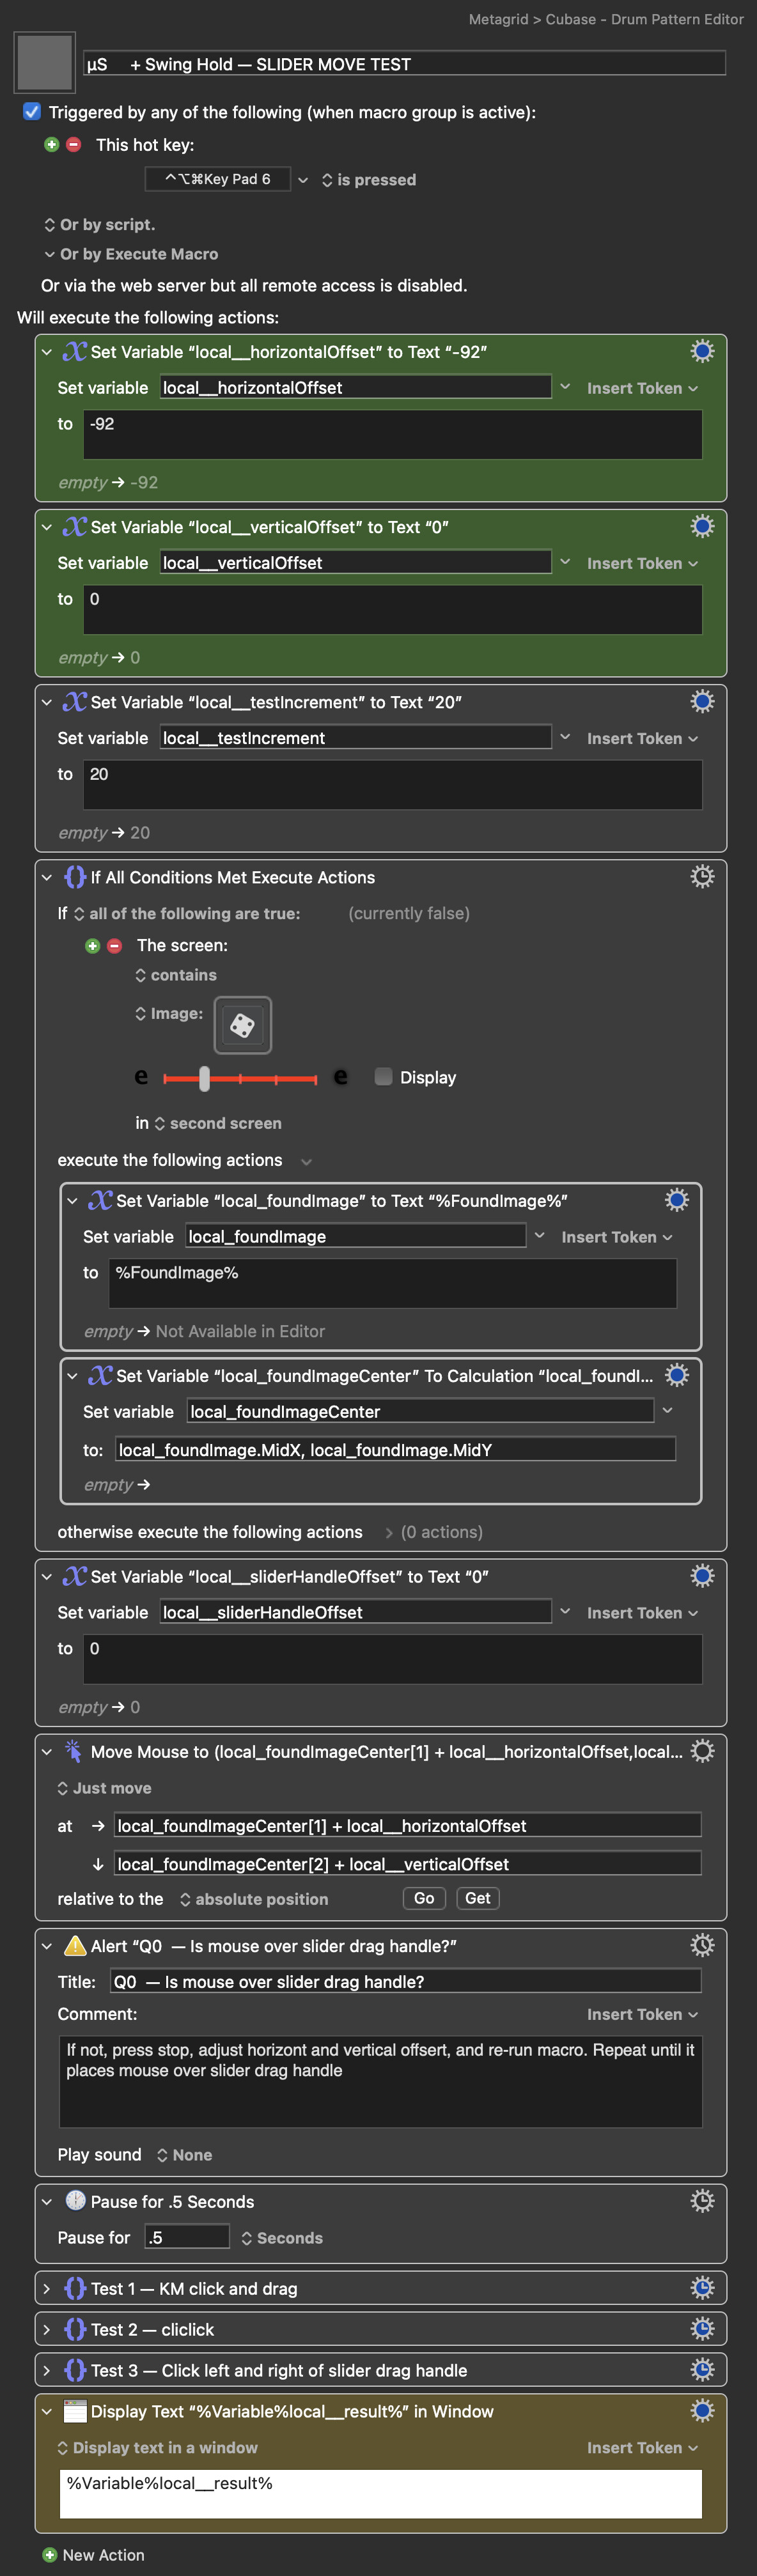
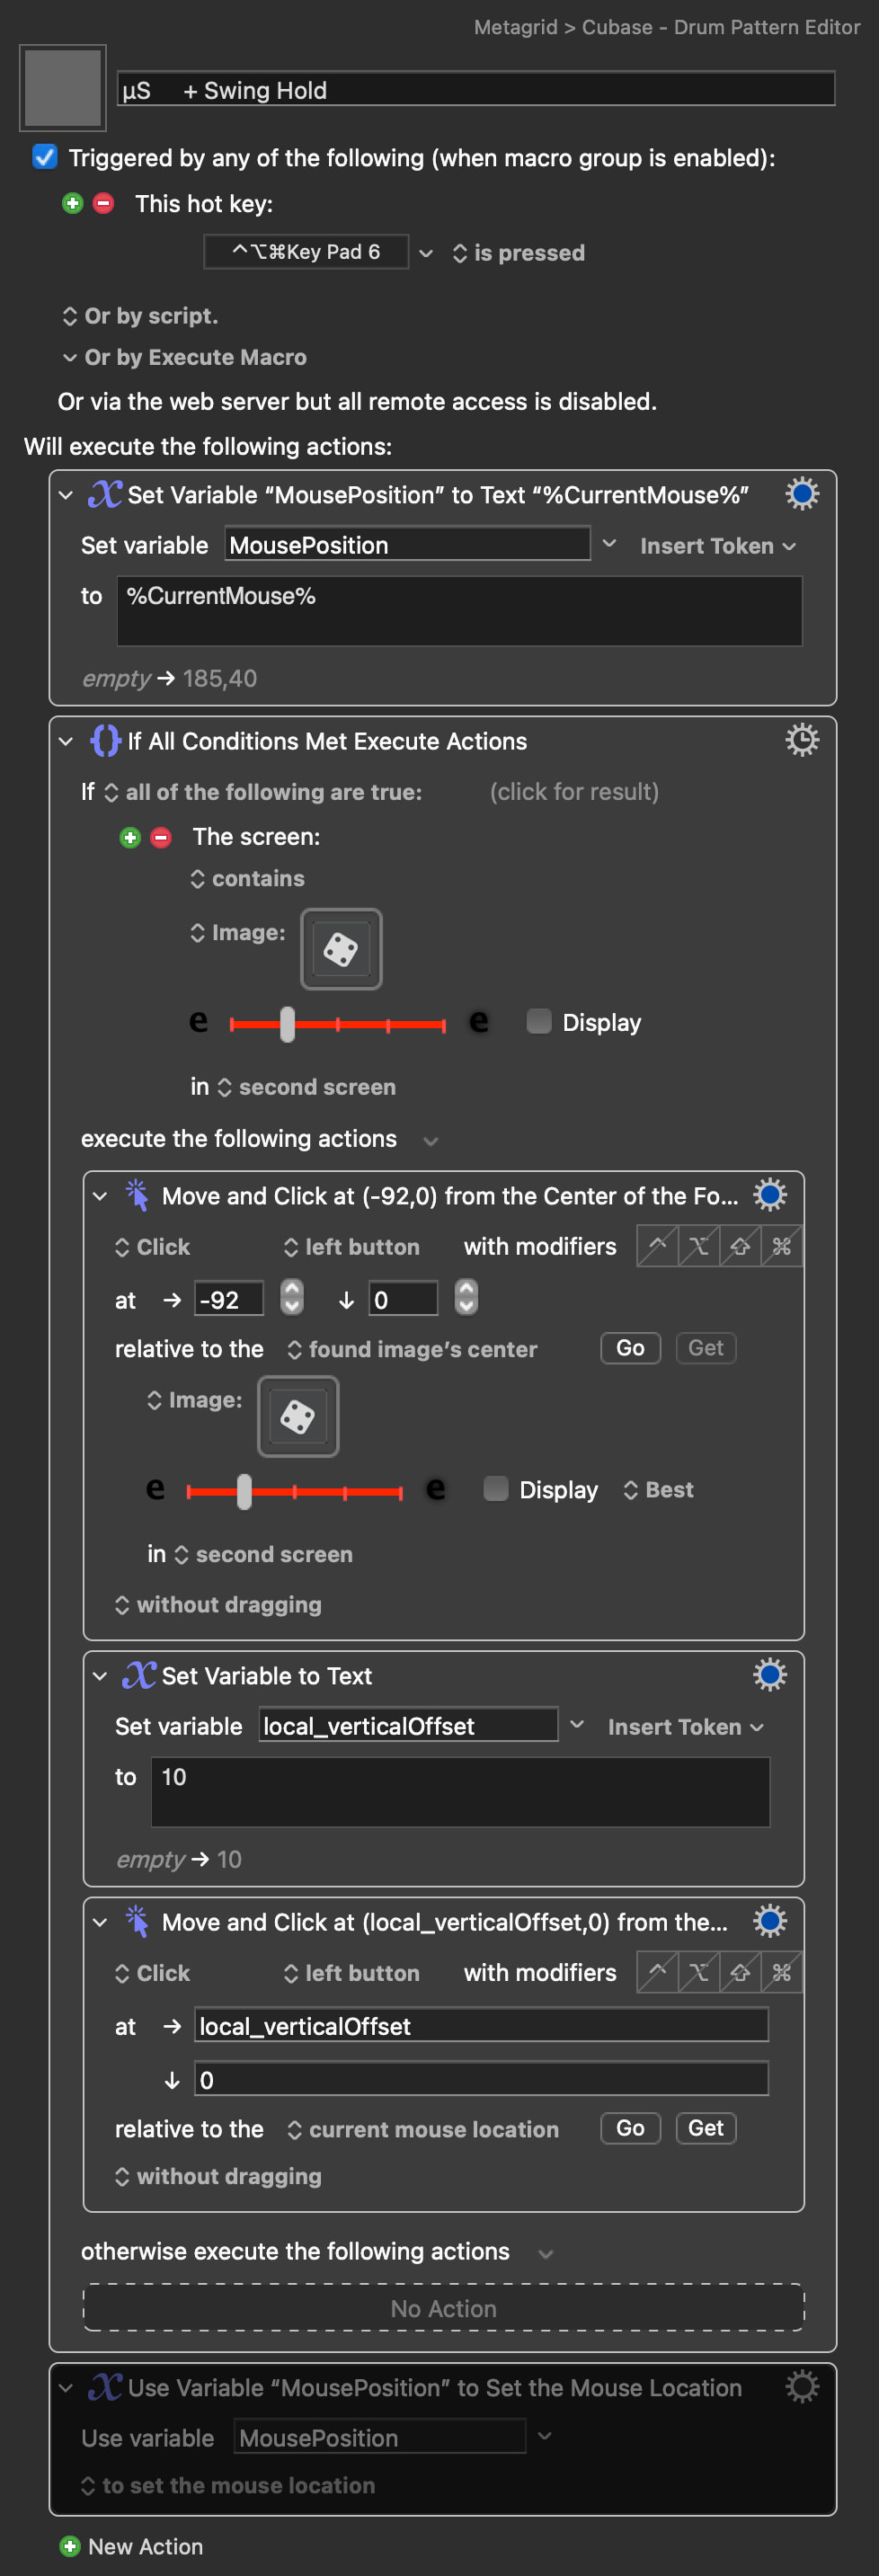

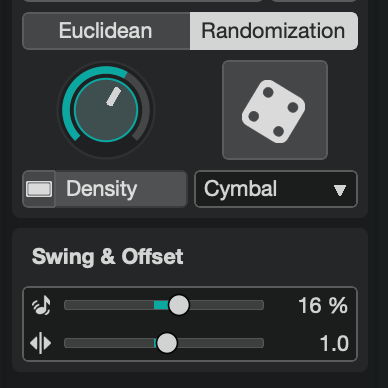
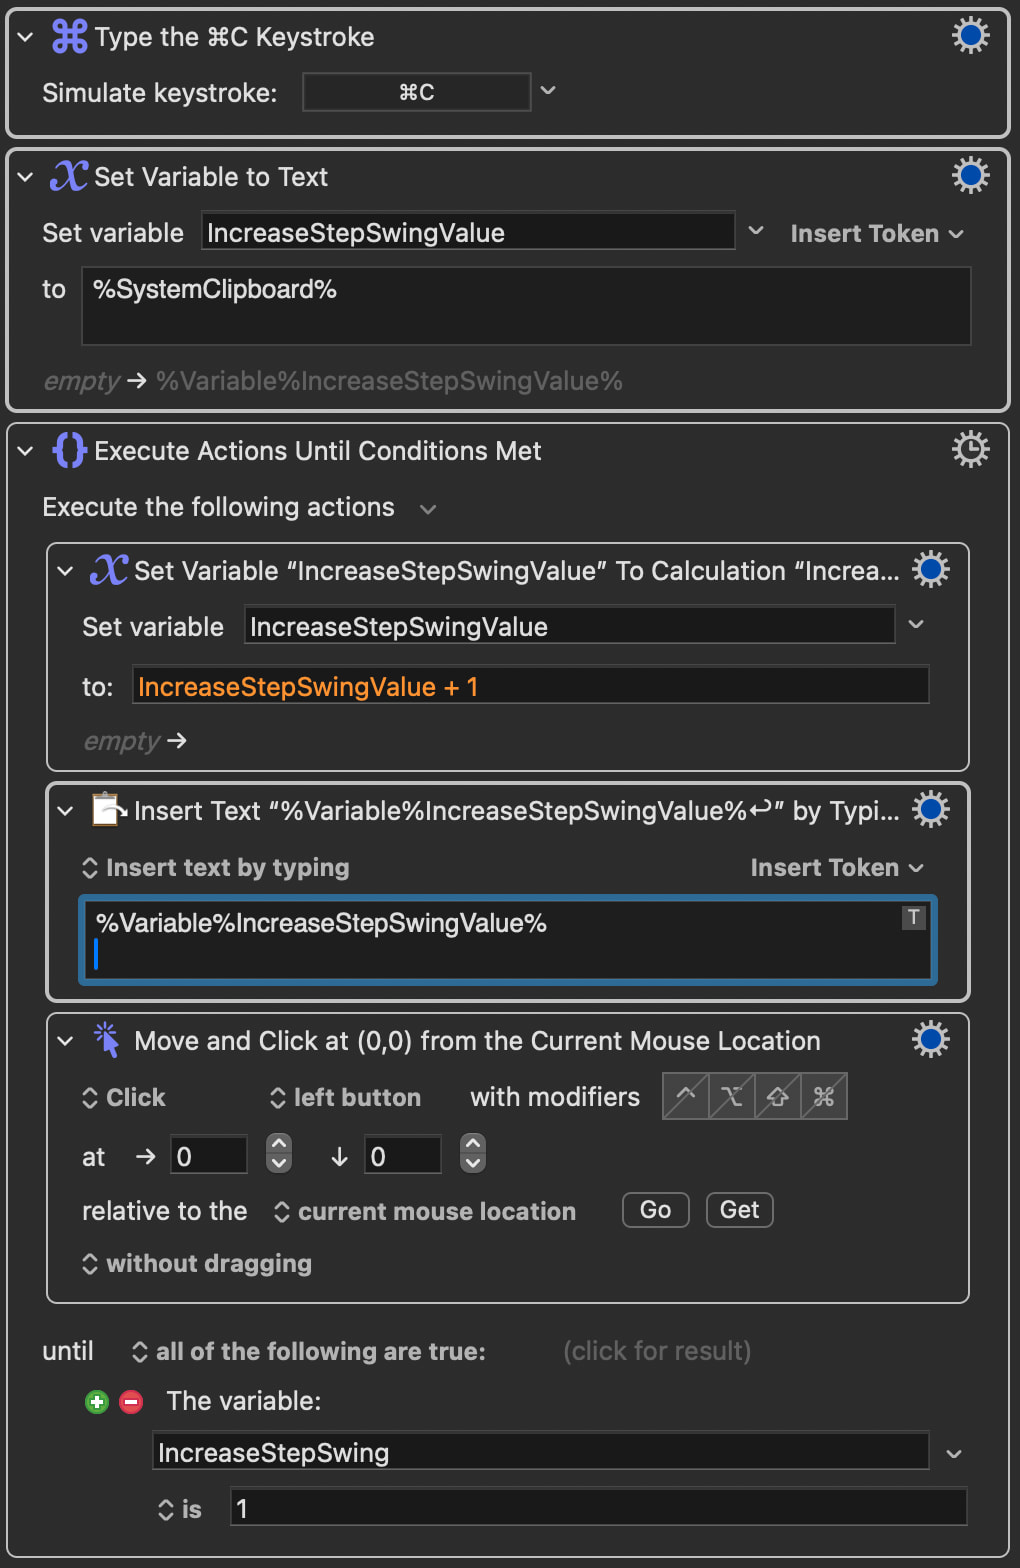
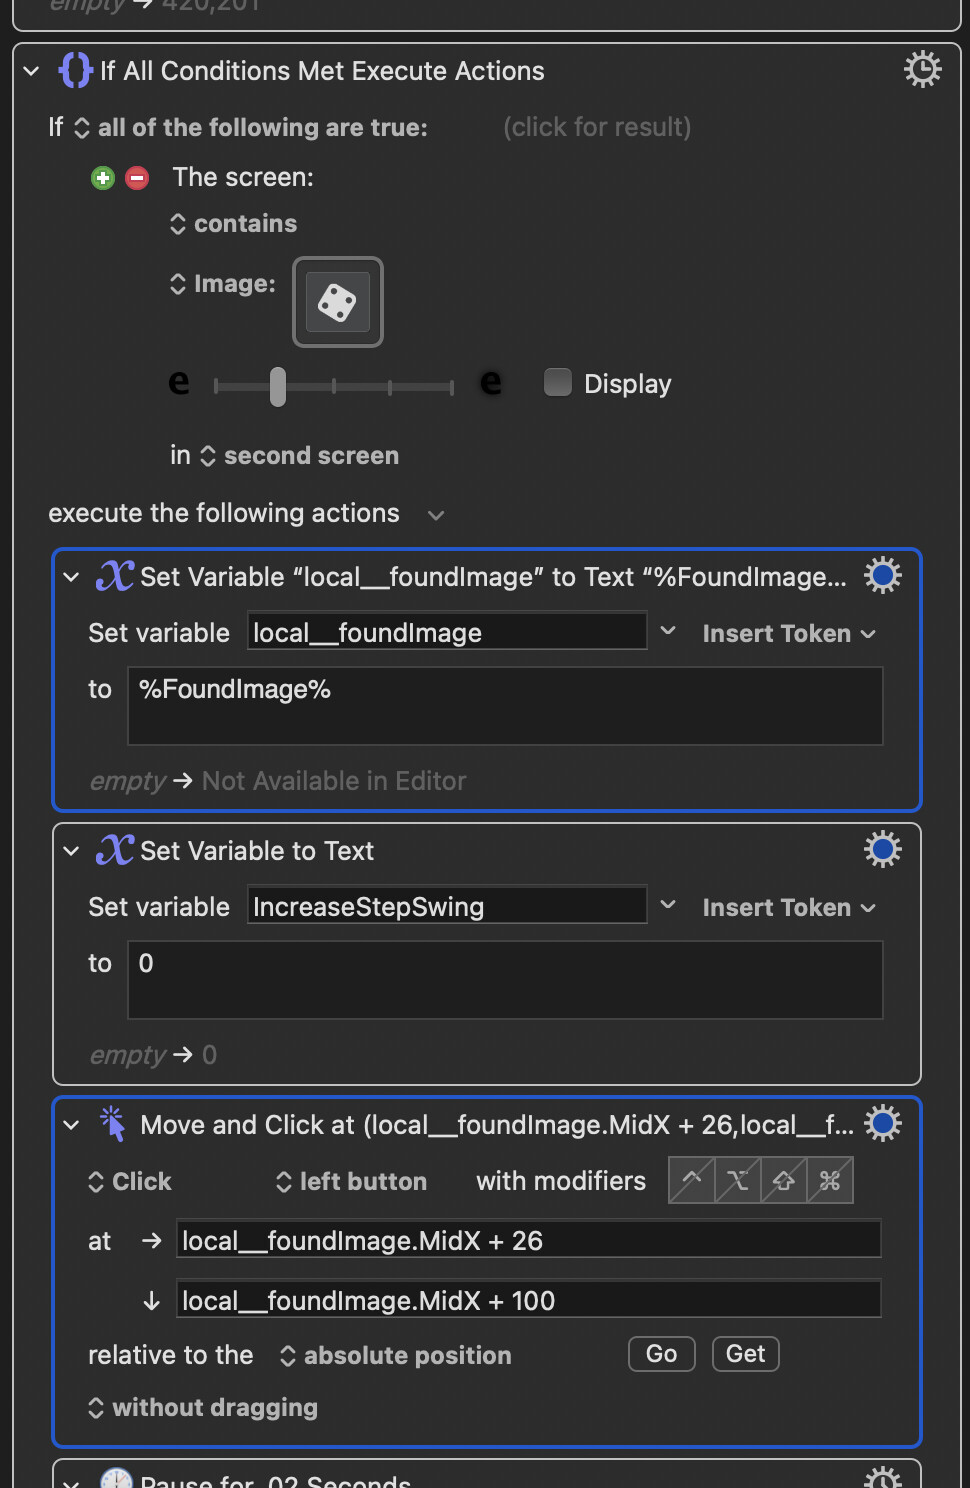
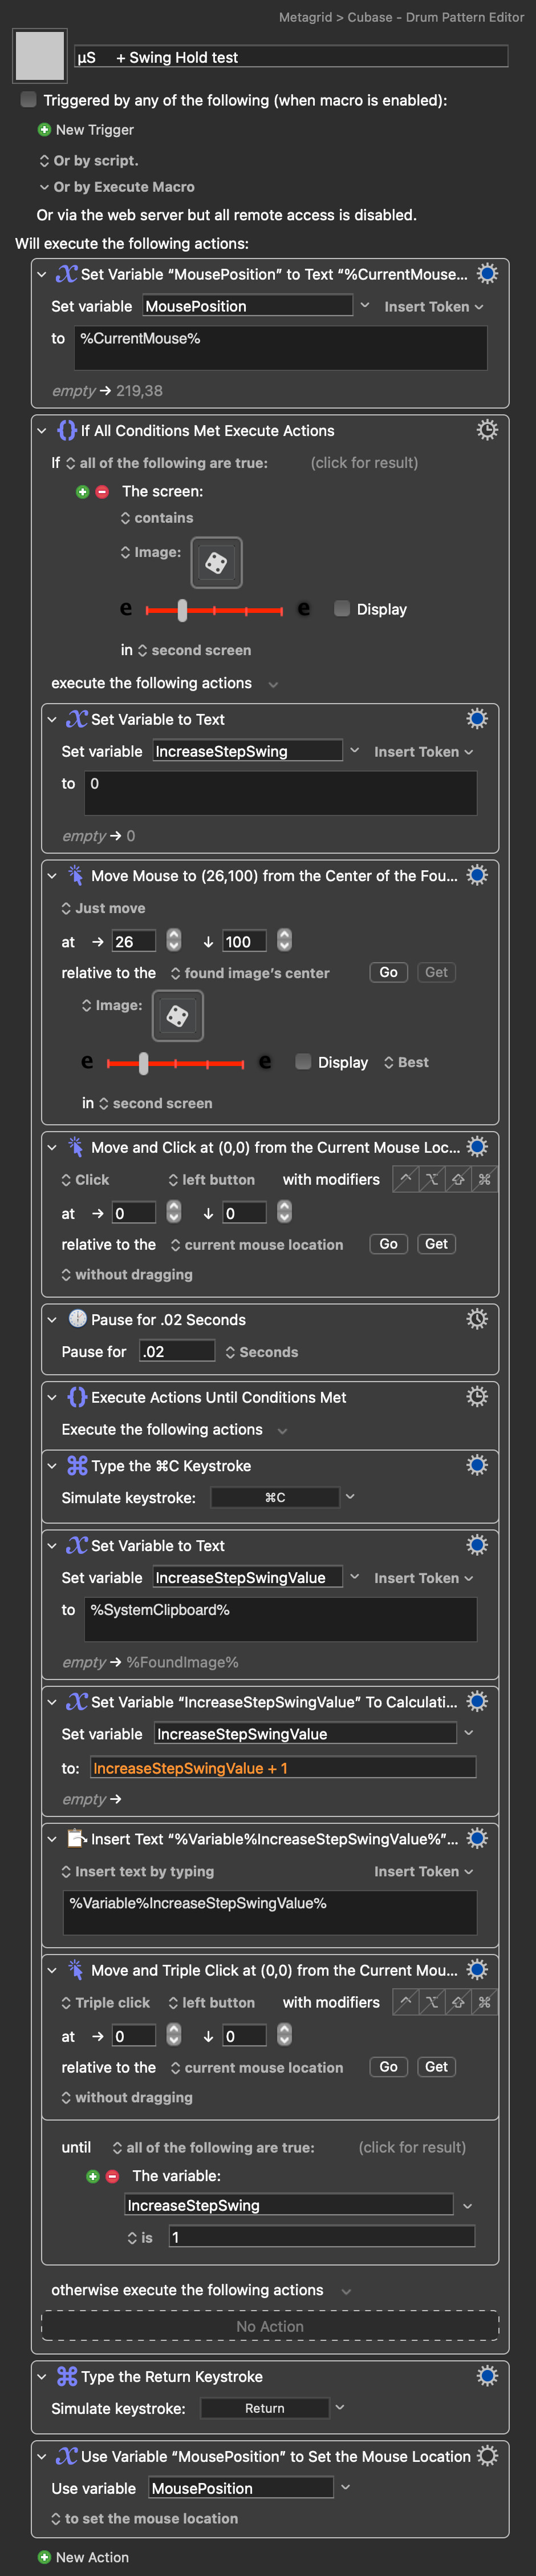


 No idea why that is cause the issue but it seems to be. I’ve tried to extend the pause between the clicks to 0.5s but that didn’t resolve the issue.