This macro is basically a GUI wrapper for the pngquant command line tool, with some additional features.
Pngquant is a very efficient, lossy quantization and compression tool for png and other image formats. If you have a website where you regularly upload screenshots or other non-jpeg images you are probably familiar with pngquant.
[Contrary to ImageAlpha which is also a GUI for pngquant, this macro gives you access to the full feature set of the command line tool, most notably to the full range of quality and dither settings.]
For the macro to work you need to have the pngquant command line tool installed on your Mac. A comfortable way to install the latest version is via Homebrew:
brew install --HEAD pngquant
Make sure that Homebrew’s bin path (usually /usr/local/bin) is available to Keyboard Maestro by setting the ENV_PATH variable accordingly in Keyboard Maestro’s preferences.
If you don’t like Homebrew you can also get the latest pngquant binary from here.
How to Use the Macro
- Select one or more png, tiff, gif or bmp images in the Finder.
- Launch the macro. You’ll be presented with this setup dialog:
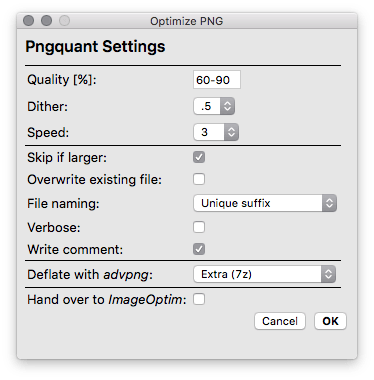
- Select the desired settings. To get some tooltip information you can hover with the mouse over the checkboxes and menus. Further information is available on pngquant’s homepage.
Some Additional Features
Most of the settings translate to pngquant’s command line options. But I’ve added some comfort features:
File Naming
In addition to pngquant’s standard suffixes .or8/.fs8 or overwriting, you have the option to append a unique suffix to each output file. This makes it easy to test various settings on the source image file consecutively without having to rename the output files manually.
(The unique suffix is built of the number of seconds since the last restart of the Mac.)
Write Comment
Writes a Finder comment to the file with information about the selected settings and the effectively achieved results.
For example:
![]()
Very useful if you want to find out the best settings for a given type of image. The part before the “—” is for pngquant, the part after is for advpng (see below).
Deflate with advpng
This will automatically launch advpng on the file after pngquant has finished. Advpng is a pure deflate compressor and can further reduce file size by 5–20% (losslessly).
To use advpng you need to have it installed on your Mac. Similar to pngquant you can install it via Homebrew (thanks to @Onan for the find):
brew install advancecomp
Alternatively you’ll find the source code for the latest version here (scroll down to “AdvanceCOMP”; the instructions are in the “INSTALL” file and usually it compiles w/o any problems).
There are lots of png optimizers/compressors available but in my experience advpng gives good results in combination with pngquant while still being very fast.
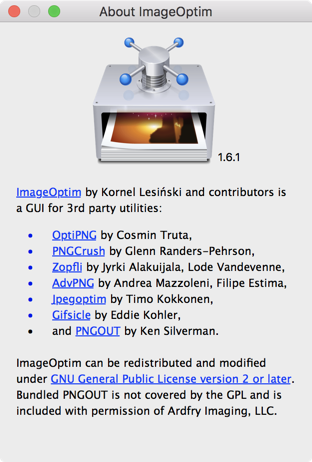
Hand Over to ImageOptim
If you are using ImageOptim you can select this to pass the file to ImageOptim at the end.
ImageOptim is an all-in-one GUI wrapper for a plethora of lossless png optimizers/compressors, so you can try different ones instead of advpng. Please note that the optimizers included in the ImageOptim app bundle are not always the latest versions.
Happy Optimizing!
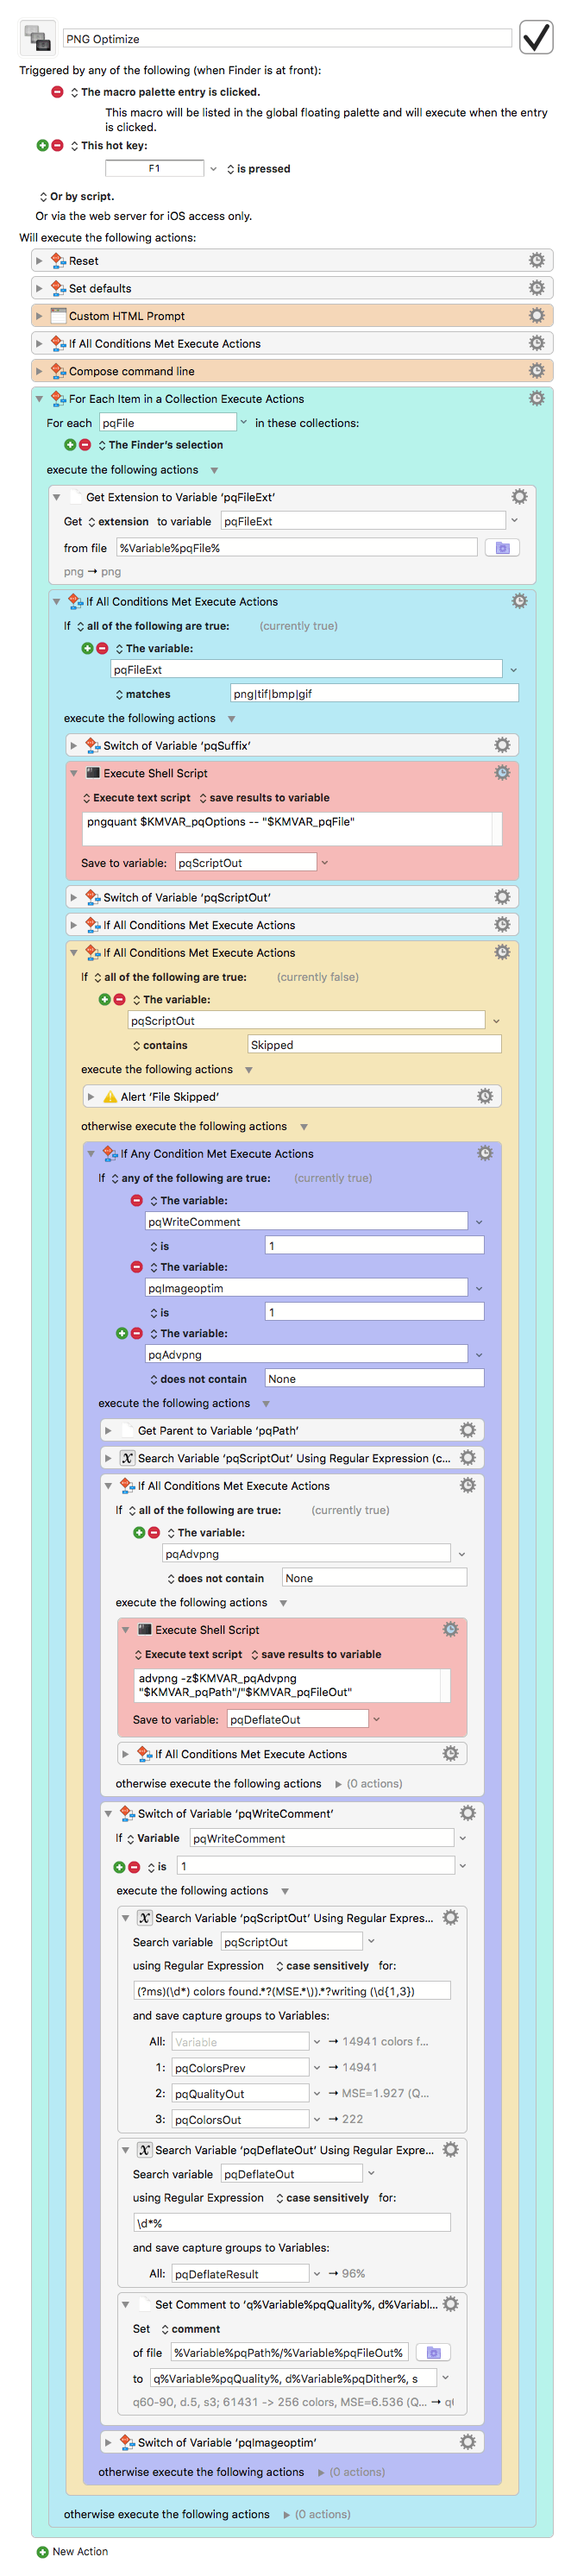
Macro structure: