Hi all, hoping I can get some help building some keyboard shortcuts for Fade In (screenwriting software), please?
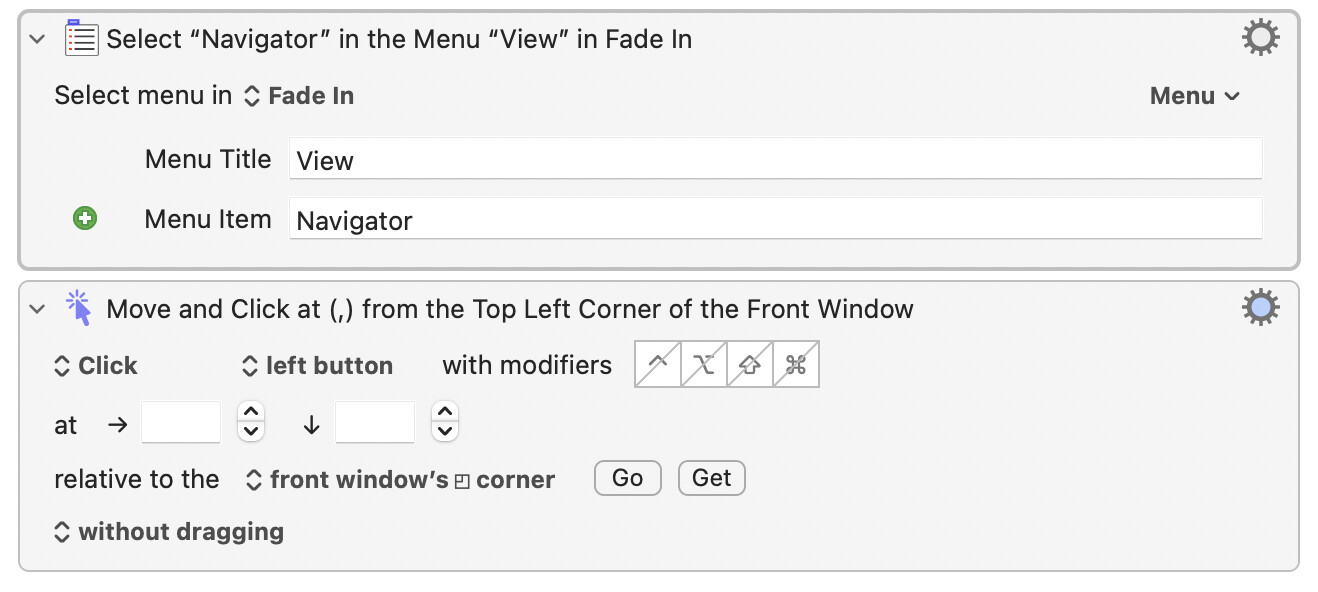
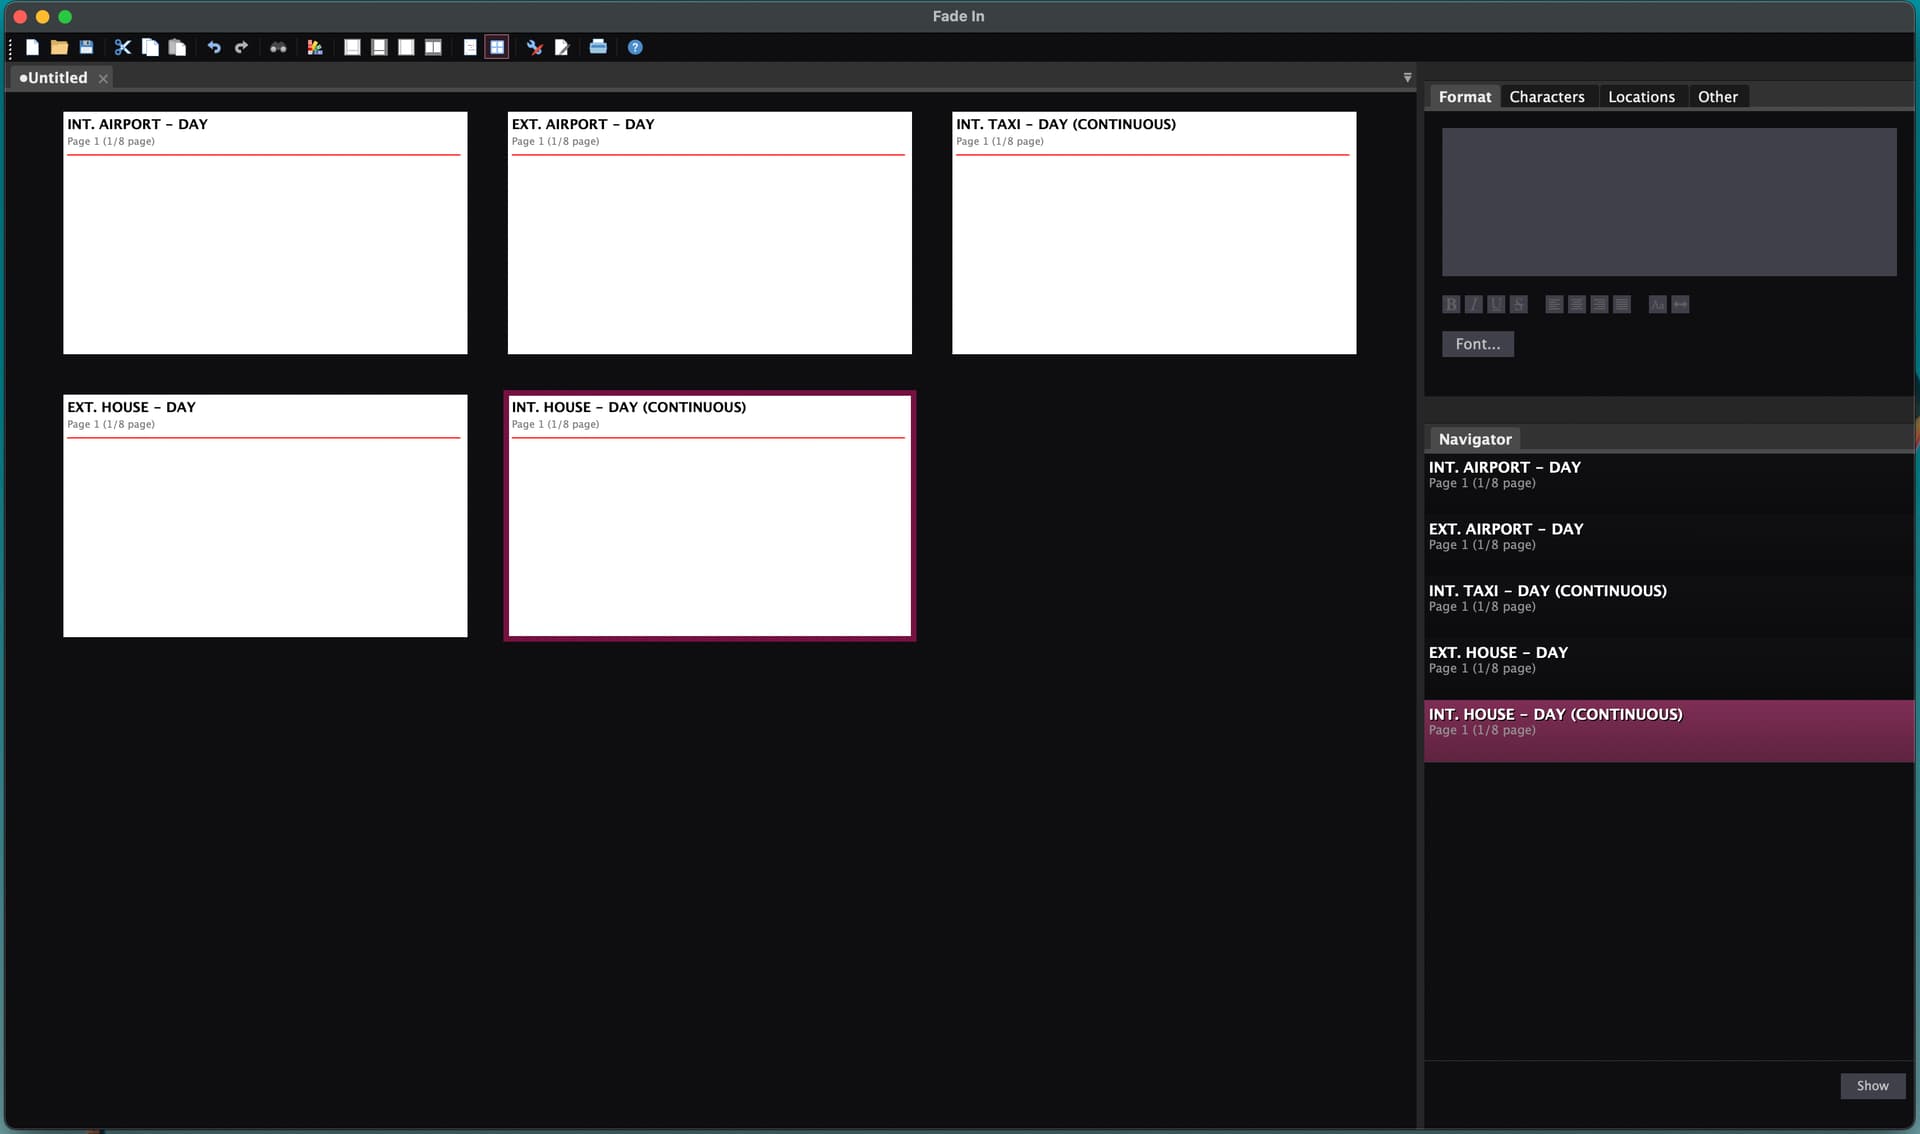
I want to be able to set up a keyboard shortcut or two that will focus the Navigator panel (which lists each scene in the document), select a scene from the list using up/down keys (or the current scene based on the cursor position in document), and activate the contextual right-click menu. From here, I can activate various scene-specific edit functions - copy, cut, select etc.
The problem I've got is there's no keyboard shortcuts to either navigate to this panel as the focus area, or select and right-click the scene listing. There are a lot of app functions that can have a keyboard shortcut associated with them, but this panel doesn't appear to be one of them; I can toggle it on/off but that's it, and turning it on doesn't appear to focus it. The devs advise turning on MacOS's Full Keyboard Access for navigation, except I'm finding it's not working reliably (or at all).
Click at Image Found or Move Mouse doesn't seem likely to be a reliable option either, due to the nature of the UI. Each scene listing's header wording is (obviously) largely unique, and scrolling the scene list doesn't move each listing up/down in a uniform manner. So I can't reliably move the cursor to the right position (because that always changes), or use an image to select the correct listing.
Given all the above, I'm a bit stumped! Does anybody have any ideas on how I can create some macros to navigate to/around this panel and activate the right-click menus in the app, please?
I'm not sure what you mean by "due to the nature of the UI." I see some blue squares on the right side of that panel which would be very amenable to Find Image.
I don't know what you mean by "right position." You will have to define that, I think. For example, do you have a chapter name already in your head, and maybe you want the macro to scroll until that chapter is visible, then right click on it? You see, I don't understand what the problem is yet.
I have solved problems similar to this in the past.
… and then a Move or Click Mouse action to click on an empty part of the Navigator panel (near the bottom would be sensible, of course). Use the "Get" button to help you choose that location.
You can then use the up and down arrow keys to select the scene. If you wish to automate that, you will need the Type a Keystroke action.
Positioning the mouse pointer on the desired scene, in order to control-click on it, might be the next issue to tackle, but I have to leave it there. I do suspect that the macro might face a few challenges, but take it one step at a time and of course ask if you get stuck—someone will have an answer!
Hi @Airy and @kevinb, thanks for this. I realise I'm trying to explain an app with quirks that screenwriters will know intuitively, but probably makes little sense (in any way) to anybody who isn't constantly using it!
Essentially I've been trying to do what @kevinb has indicated: navigate to and around the Navigator panel, without physically using a mouse. I suppose it's ultimately a 'select/right-click current scene in Navigator' macro I'm after. (I'd also like to be able to eventually rearrange scenes in Navigator, but not there yet!)
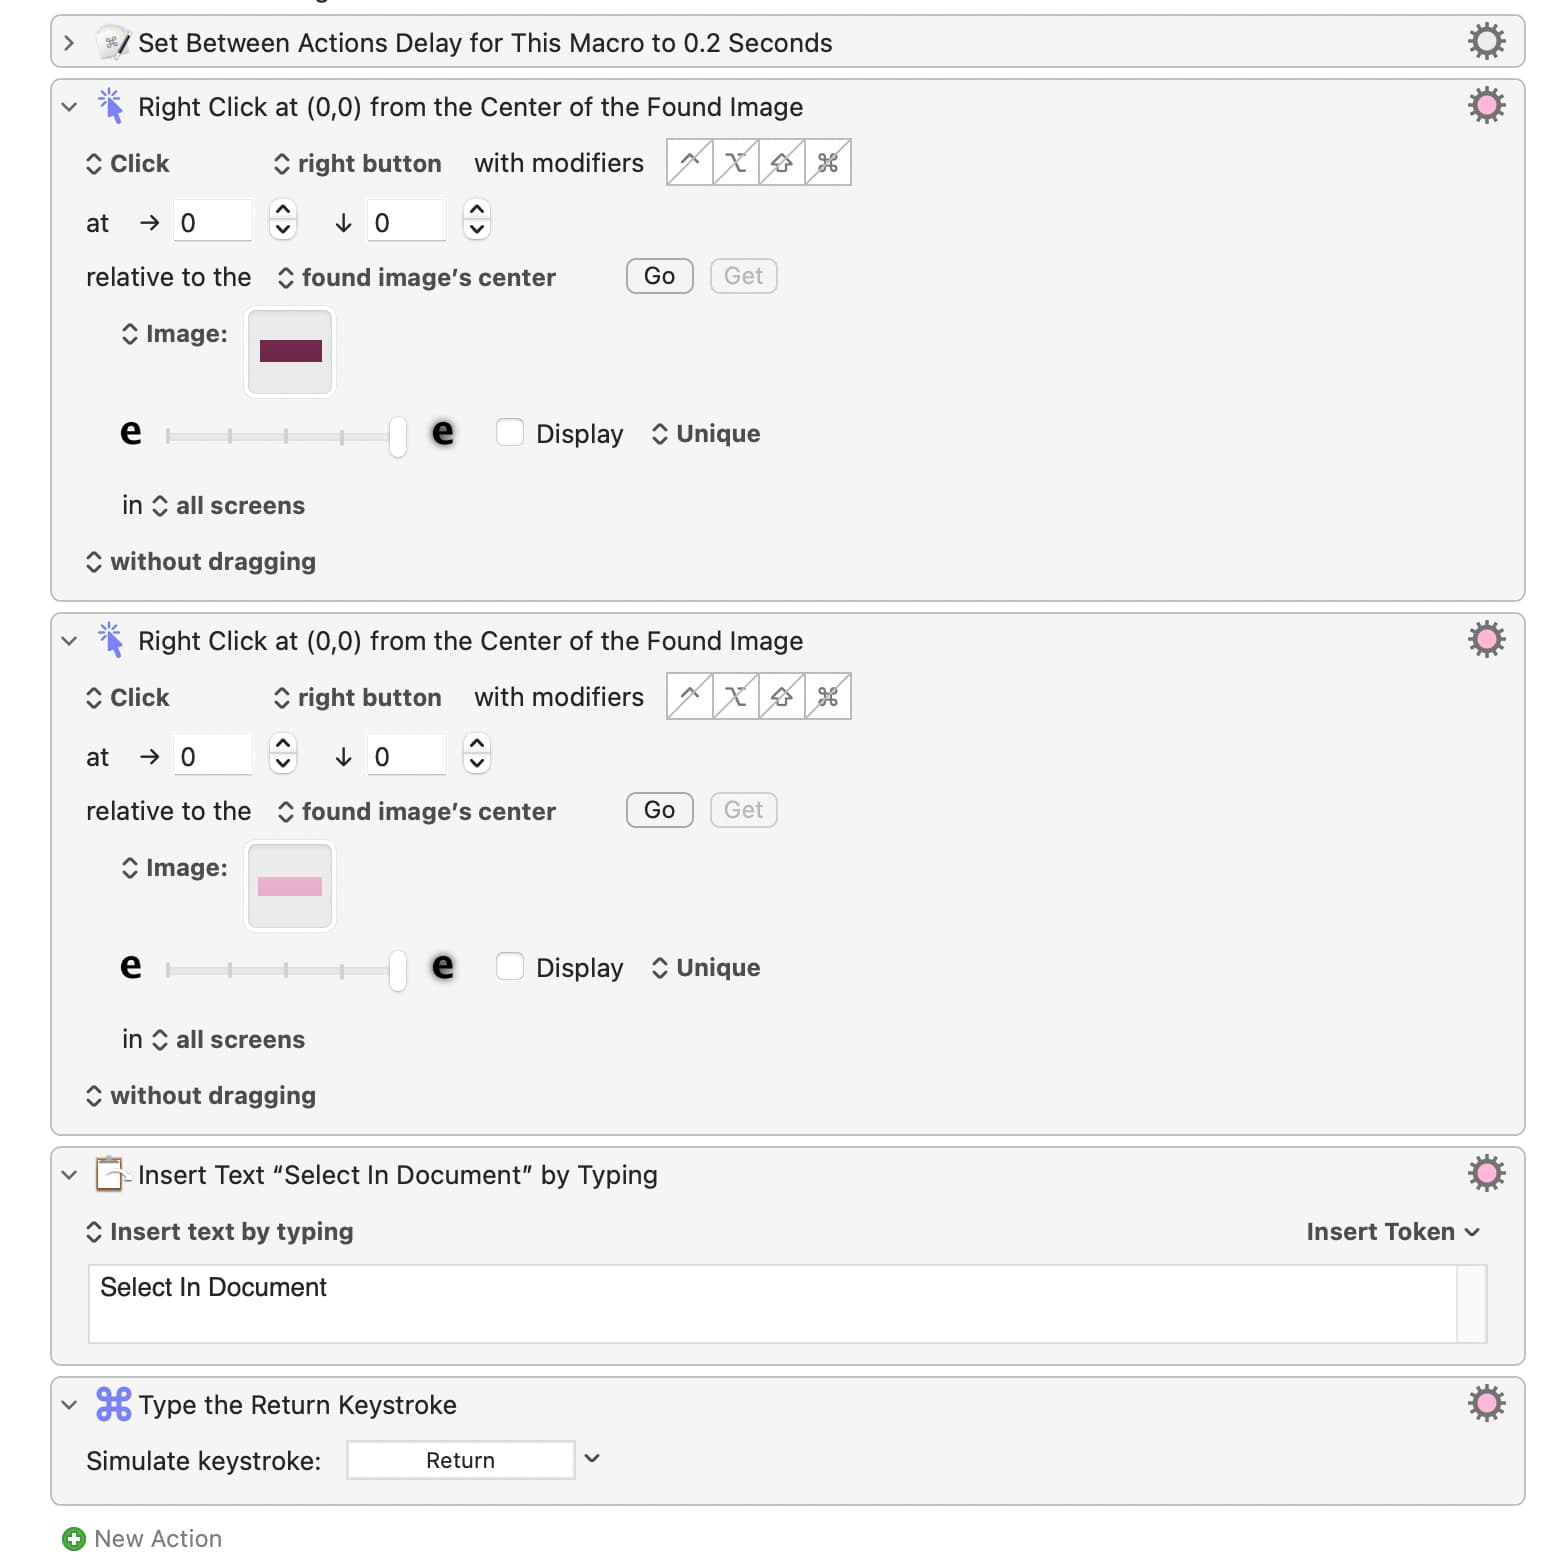
I've figured out now that Navigator (and also Index Cards) will highlight and jump to the current scene's listing/card, based on cursor position - which has allowed me to get to a mostly consistent (?) Click at Found Image-based solution. This is mostly working now, except when it isn't - in particular I can't get it to consistently work when the selection colour changes, e.g. from dark to light mode.
So, to my next q: is there a reliable way of setting the same mouse-click action if it finds one of multiple image triggers - ie. a grab of the same lower-right selected element corner for light and/or dark mode)? And/or, is there just a way of getting it to work consistently with the images already in the macro?
Of course KM has a setting for dark mode! Thank you
So touch wood, my Navigator macros seem to be mostly working well now. However I'm still finding the equivalent macros on the Index Cards screen to be pretty hit-and-miss. They seem to change their mind on whether they're working or not based on... the weather, maybe? I'm not sure, but nothing's really changed, except they were working consistently before and now they're not. (these all operate off palette menus, in case that wasn't obvious)
I'd like to get Index Cards working as well because my workflow involves saving individual scenes with the header as filename, which is ultimately what I'm trying to automate. For several reasons it's easiest to copy the header from the Index Cards screen.
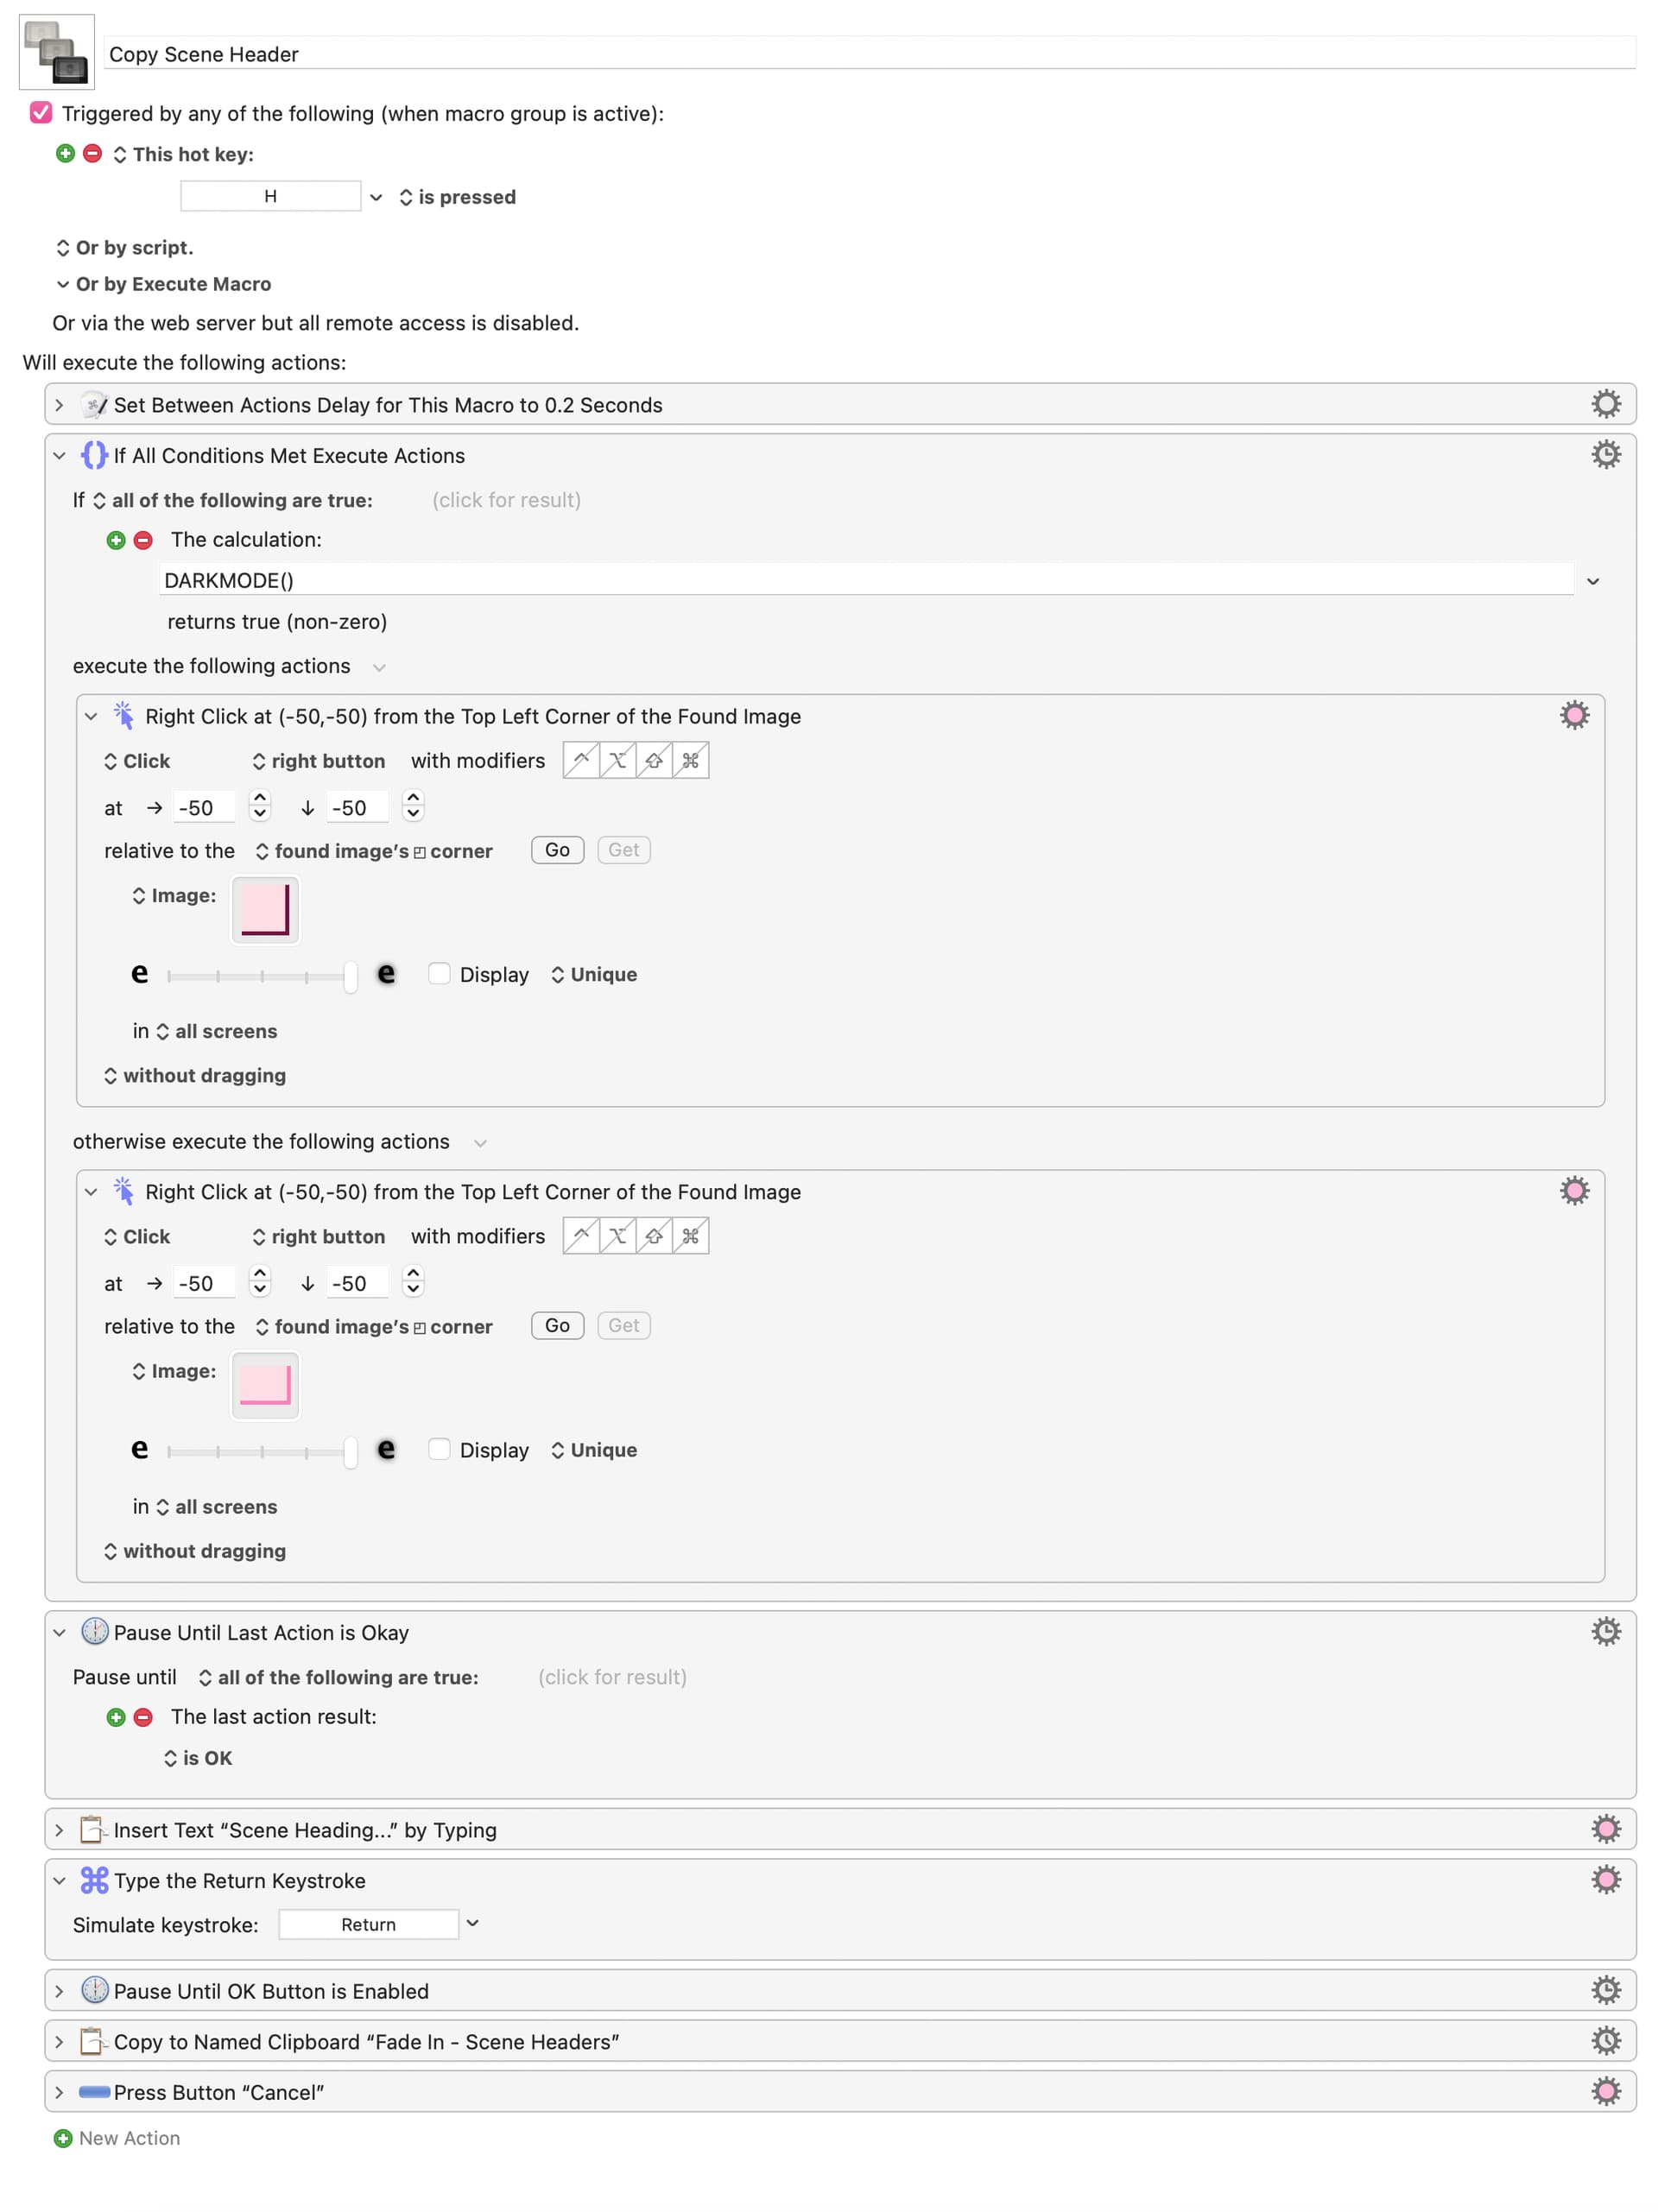
I wasn't reading this thread, but I did notice something odd with your last screenshot. You have the action "Pause until the last action is Ok." The problem is, that action is flawed because it doesn't do anything useful. All it does is go into an infinite loop if the last action failed. If the last action was successful, nothing will happen. To make matters stranger, the action that is directly before your "pause until the last action is okay" can never fail, so your pause action will never pause and will never loop.
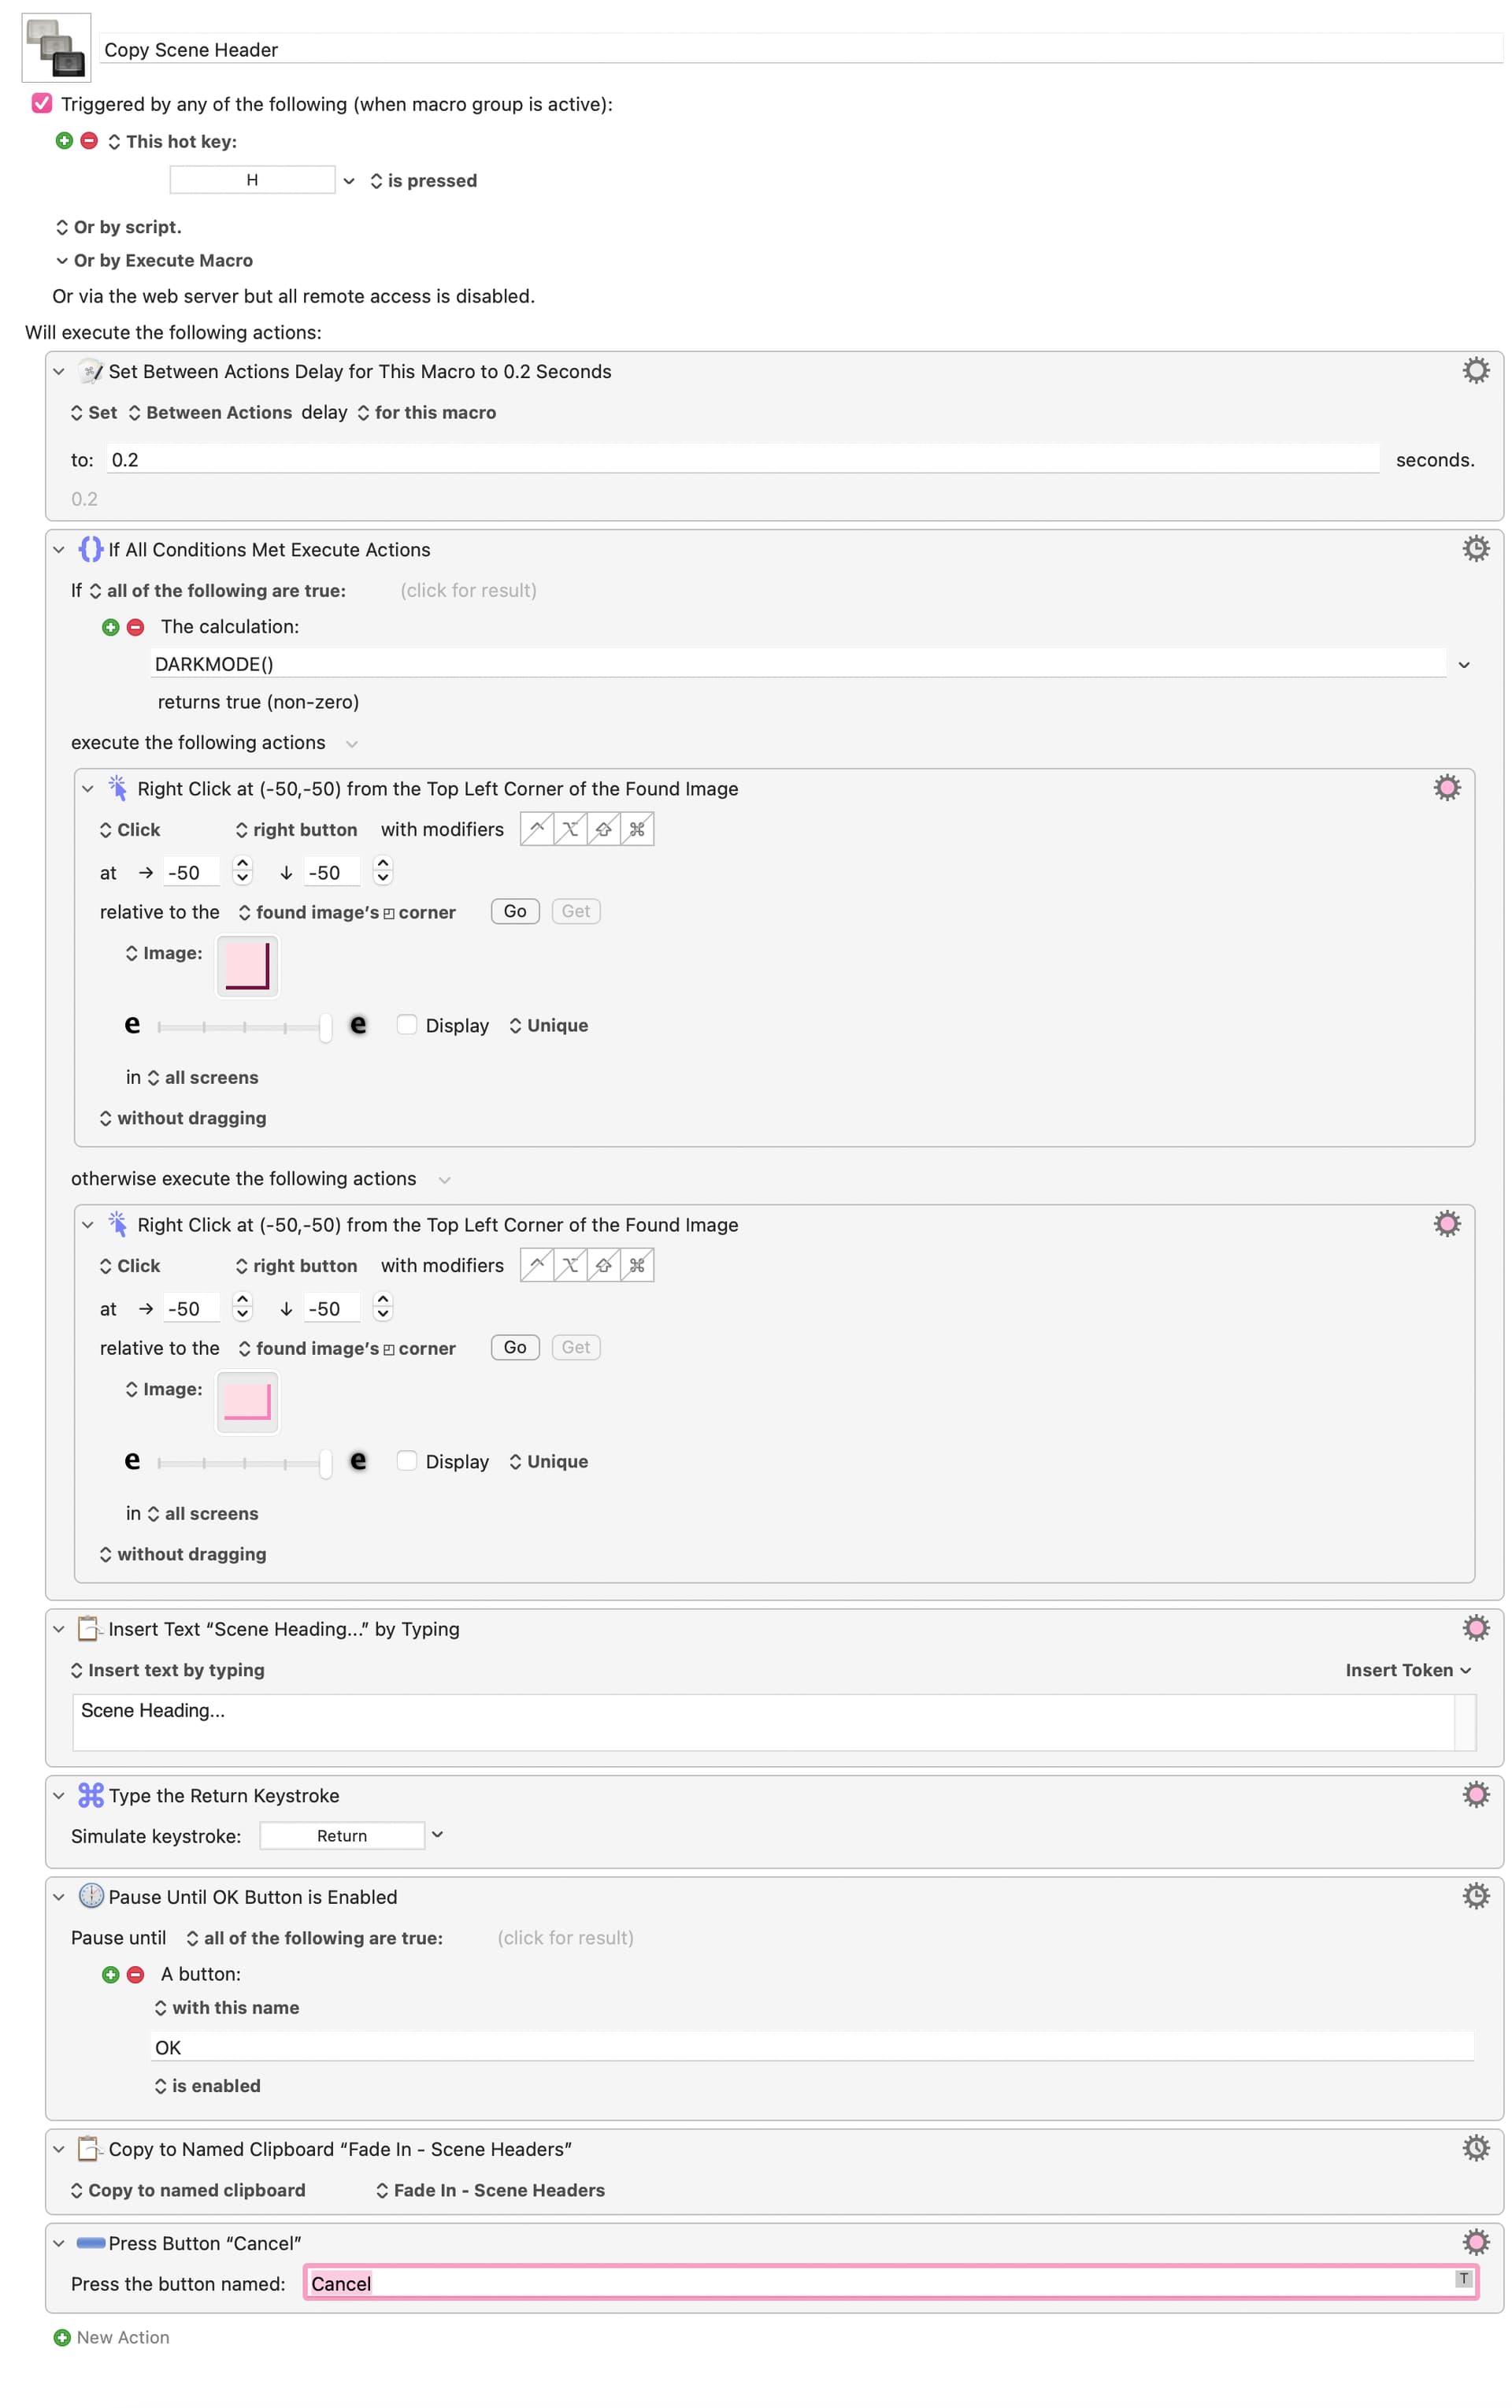
You're right - it actually shouldn't be there! I've gotten into the habit of adding 'Pause until OK' with a lot of these, even with the 'between actions' delay - because the next action obviously depends on the dialogue box loading, and sometimes it can take a beat. In any event, I've now taken it out and it's still not working, particularly in dark mode (updated macro below).
To be clear - are you saying 'Click at Image Found' can never fail (assuming the images are correct)? What's frustrating is that this does (visually) appear to be where it's failing - I'm watching the screen when initiating the macro, including watching the right-click and context menu selection (it's not doing it quickly enough to miss). When it fails, it simply seems to not right-click, when it works it does. I'm sure the answer must lie somewhere in user error, but I can't suss it out.
No, I'm actually saying the IF action cannot fail. Look at your macro again - it's the IF action that's directly before your "pause until the last action is OK."
Yes, the Click action will fail if there is no image, but if you want to know whether it failed, you have to save the value of %ActionResult% in a text variable to you can test it later.
You've a ridiculously large amount of "fuzziness" in your image matches, which can result in false positives. When there's more than one match (the actual image and one or more false matches) the action will fail because you've selected the "Unique" option.
Try lowering the fuzziness and changing the match to "Best".
Another problem with his image search is that it has only two colours and the way the colours are arranged there could be lots of incorrect matches, perhaps even with higher match values than the image he's trying to find. In fact his earlier image find actions were even worse, as they were simply a solid block of colour. Those sorts of image searches RARELY work. I remember one time trying to find all the empty squares on a chess board, and Find Image simply doesn't work with solid blocks of colour.
Adjusting the fuzziness has possibly done the job, will keep an eye on it - thank you @Airy and @Nige_S!
Just to explain some of my logic:
The fuzziness was set so high because it's what initially got the equivalent Navigator macro working - I've fixed this now.
Re. the solid colours - problem is that's the UI layout, so that's all I can work with. For example this is a selected Index Card in full, using the standard colours, in dark mode:
The squares suggestion @Airy made a few posts above wouldn't work, for this at least - they refer to scene tags, which aren't consistently used as you can see, or the same colour when they are used. So the images I'm using are mostly solid colours, but they're the most reliably consistent ones (appearance-wise) I can get.
Re. IF actions - yes, I was lumping the two together in my head. With that + the Pause Until Okay above, probably better to take these less as me not knowing the difference, and more just having stared at the macro too long...
Since your images show only a small piece of the application's window, I can't give more advice. Sometimes you have to look outside the area of interest to be able to use Find Image.
As I say I think it's mostly working now (fingers crossed), but in case it decides to stop again/there are any better ways of doing all of this, here's the full window on the Index Cards tab (with Navigator on the right):
The last card is the selected scene. I agree dark-on-dark isn't very clear, but unfortunately the app's UI doesn't let me change that beyond toggling system colours on/off (I've tried...)
When you say "doing this" I can't answer because I was having trouble understanding the whole work flow. I would need a specific task you are trying to achieve.
I think I can tell you that there is an entirely different way to solve your problem, at least with the pane on the right. If you start using OCR on the navigation page, then the number of lines returned from the OCR would give you an exact implied position of each line of text. Not only that, but OCR also gives you the words, while Find Image does not. I have solved problems like this in the past, so I know it works. It's something to think about. After all, you did say, "are there better ways", and OCR has certain advantages.
'Doing all of this' = bending this app I live in to my will, so I can use keyboard shortcuts in areas it only wants me to use a mouse More specifically, for these macros:
use a keyboard shortcut to activate either the Navigator or Index Card right-click menu (depending on what I want to do) for the current scene. From here I can copy, cut or select a scene, or open a dialogue box to eg. add a scene synopsis, or copy the scene header to a named clipboard.
Once a Navigator listing is selected, I can also navigate to other scenes using arrow keys.
I've set up two macro groups for Navigator and Index Cards, with a macro for each of the various functions on their respective right-click menus. Eventually my plan is to string these together to automate some of my personal editing workflow.
Which, yes, is much more straightforward than I originally thought it would be! And so far probably is easiest to achieve using Click at Found Image on the current scene, given the only indicator of 'current' scene is the selection colour.
I'll have to investigate OCR. I can definitely see some use cases, but for these panes specifically I wonder if using words/line counts might complicate things? Plus it would need to be able to scan a lot more than what's on screen to do what I think you're suggesting; the UI example screengrab I posted above isn't representative of average scene numbers (about 80-90-ish for a movie script), so generally they're not all going to fit on one screen. I can see a potential 'jump to scene' list macro in the future though, if scanning the whole document for scene headers or numbers is possible and/or can be automated?
Thank you again for your help, I really appreciate it.
Since I don't have your app, and therefore cannot determine what keystrokes and clicks I would need to perform to accomplish your English-language goals, there may be nothing I can do. Without the app, I need more specificity - sorry.
I'm not sure if there is really a way of being more specific here than 'activate the right-click menu for a specific scene within a particular pane, using a KM macro, because that's the only way I can access that menu's functions without a mouse'
That's what I was initially struggling with; but as I've said above I think the Click at Found Image macro is working reasonably consistently, now I've dug into it all and also fixed the fuzziness settings.
(I will grant you that the only way I've been able to describe a lot of this app's functionality probably sounds completely all over the place! The panes' right-click menus contain only specific copy/cut/paste options that aren't accessible from the main Edit menu, and even a lot of the standard keyboard shortcuts - eg CMD+x for cut, CMD+arrow to move the cursor to a line end - don't always work as they usually would. There is a logic to a lot of it - but it's film production logic, very much a law unto itself at the best of times...)
tl;dr: I don't think I need any more help with this specific macro for now. Your advice and pointers have been very helpful in getting it working, thank you