MIDI TRIGGERS ALERT!
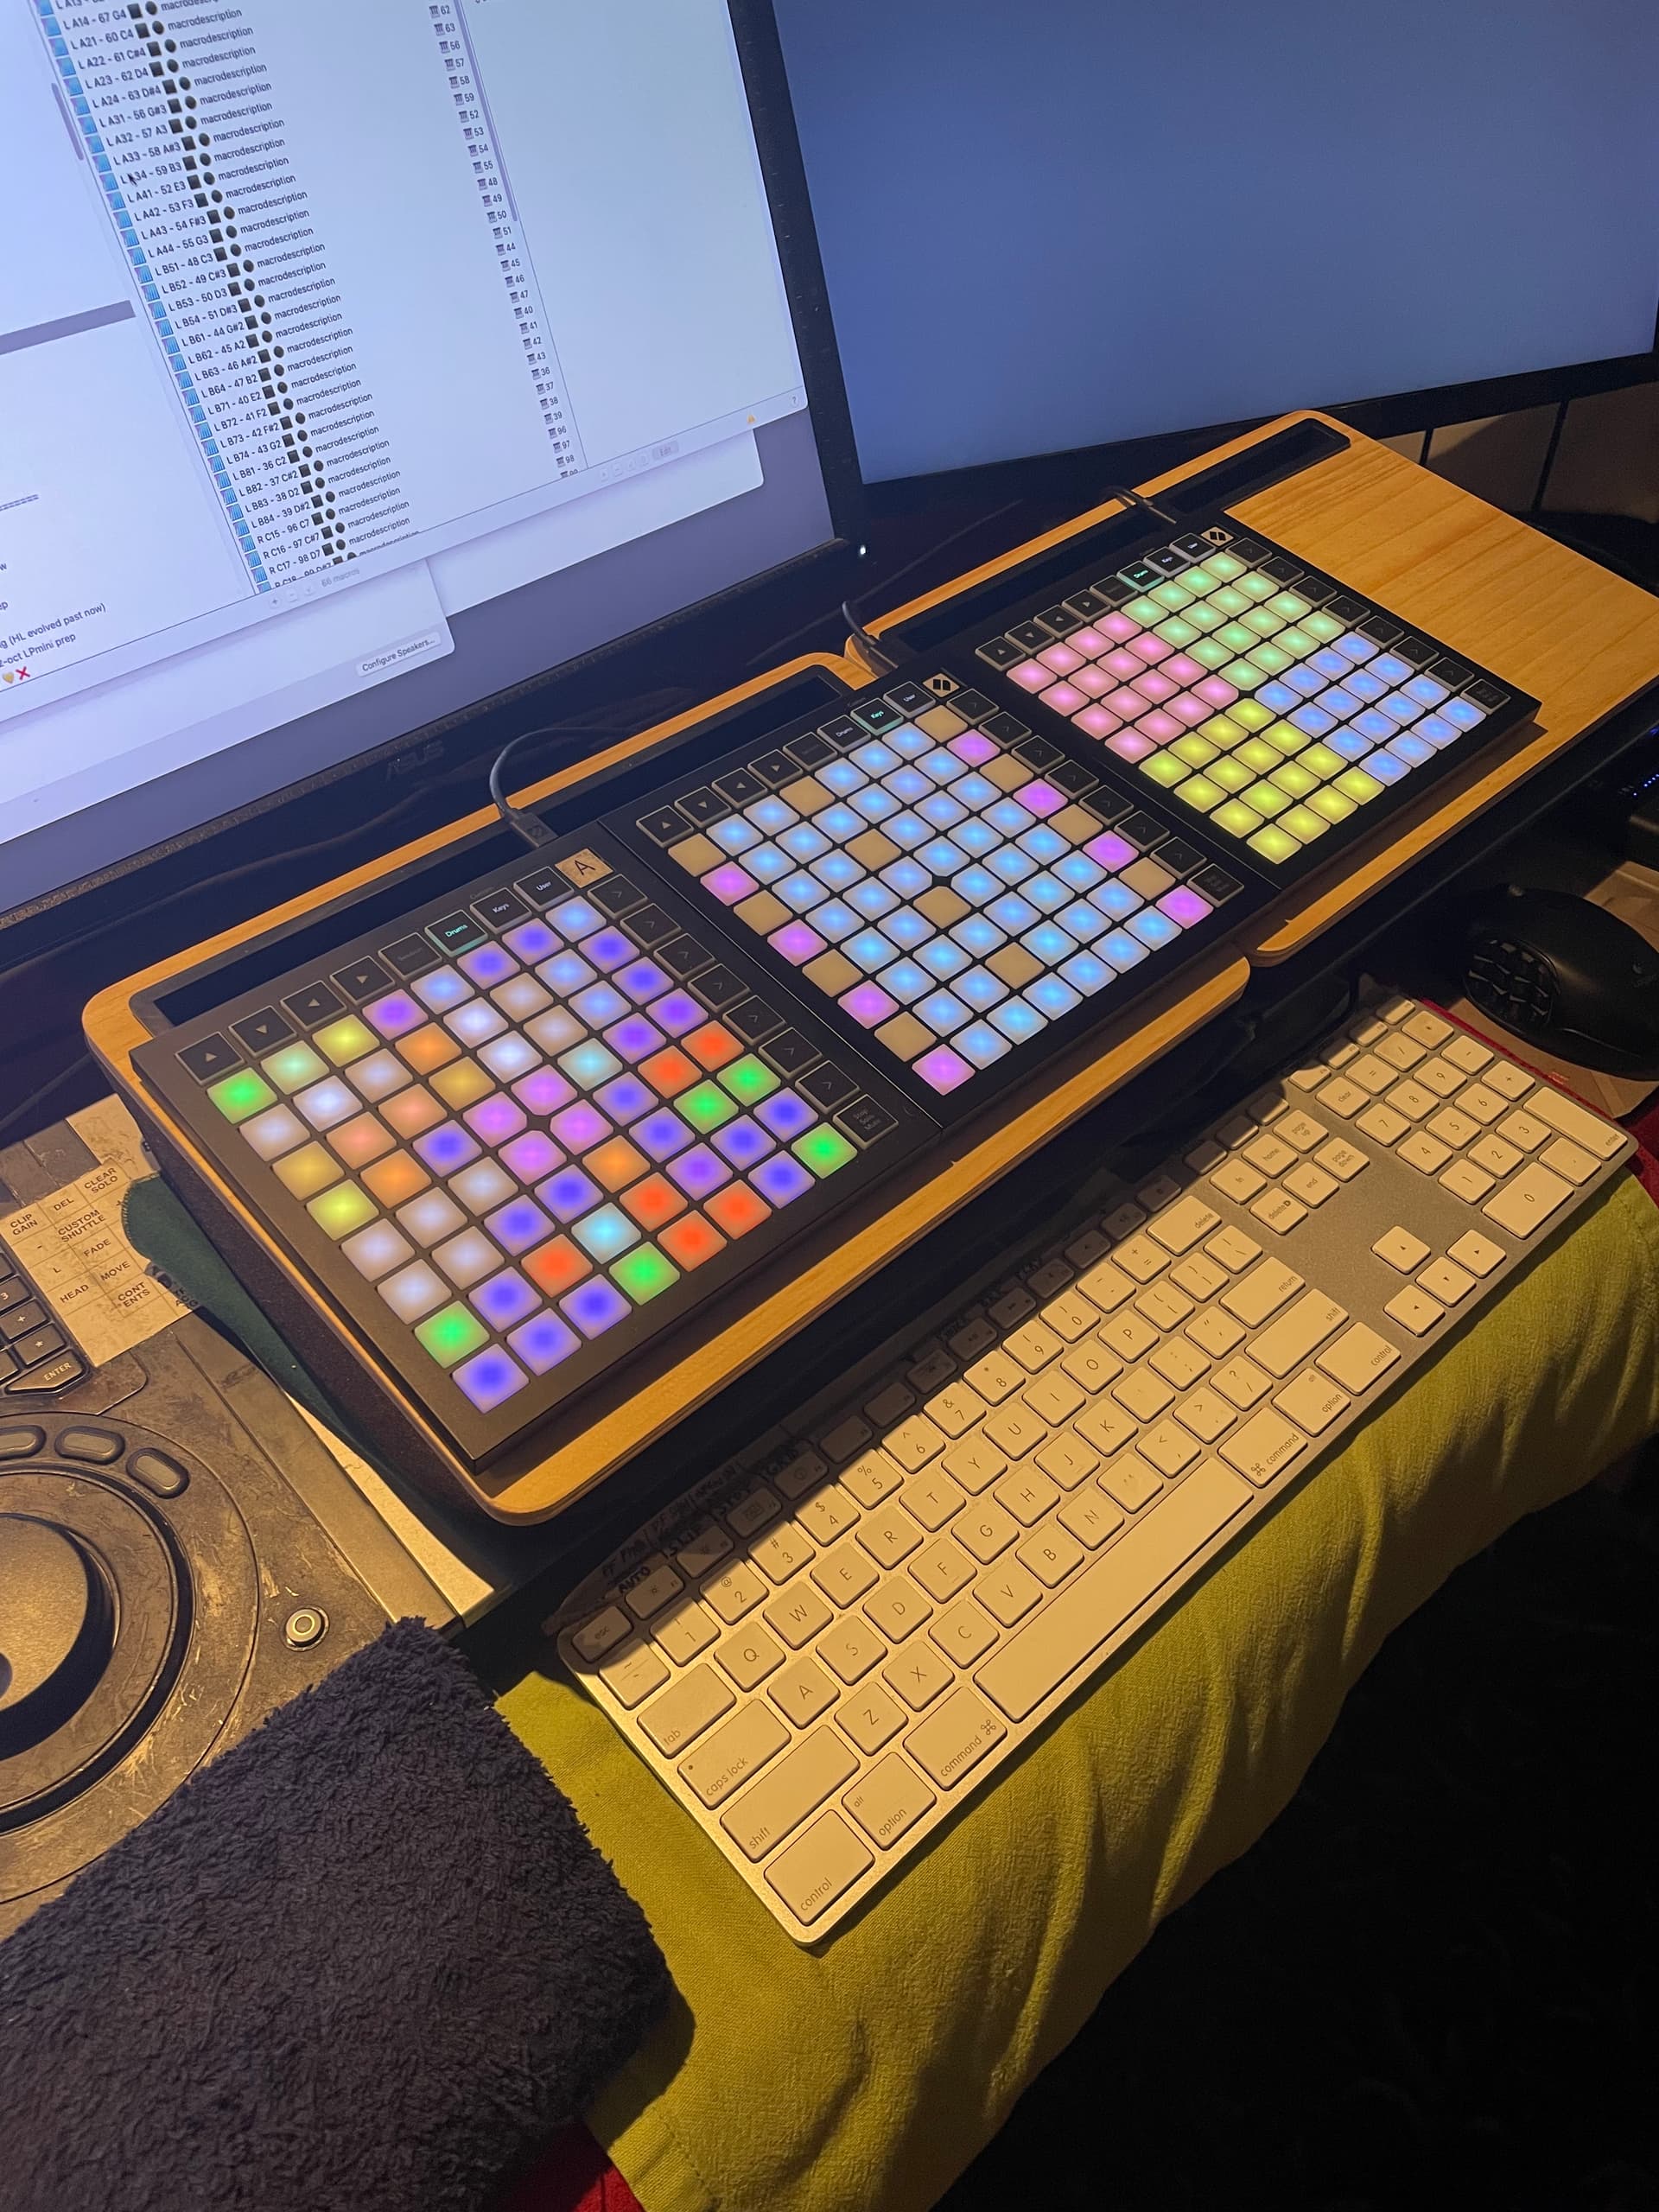
Today I bought a Novation Launchpad Mini mk3. It was around $150 CAD after tax. My main KM MIDI trigger box for years has been a Korg nanoKEY2 with its 25 compact keys, fits nicely on the desk. I recently built a 49-trigger layout using octave switching - it was all feeling a little claustrophobic. I was craving the rows/columns grid, more of an in-lap videogame controller type feel. Pro Tools speed demands are ever-increasing. The Mini mk3 is 64 pads for $150, I needed to try it. At that price, I can stick masking tape all over the thing. A Stream Deck on steroids.
The on-boarding was very easy and the building of a Macro Group template to deal with the crazy ordering of the MIDI note numbers was intense but I got it sorted in short order.
Since, the Mini mk3 is an obvious alternative to the Stream Deck, I thought I'd share my macros/assignments in case anyone else out there can benefit. It takes some work to get all 64 pads ready for action in an organized way. I've got Notes onboard the distro, which I'll copy here as well.
launchpad-mini-mk3.zip (2.8 MB)
*** Please see also the addendum at the end of this post for the PROGRAMMER MODE which many will prefer. All macros I'm providing here pertain to default Live Mode. The unit does reboot in Live Mode, so you will always need to hit Session/Programmer after every computer reboot. PITA, or an additional 16 pads? Choice is yours.
=-=-=-=-=-
=== Macro Group for MIDI triggering and macro assignments for the 64 grid pads of a Novation Launchpad Mini mk3 ===
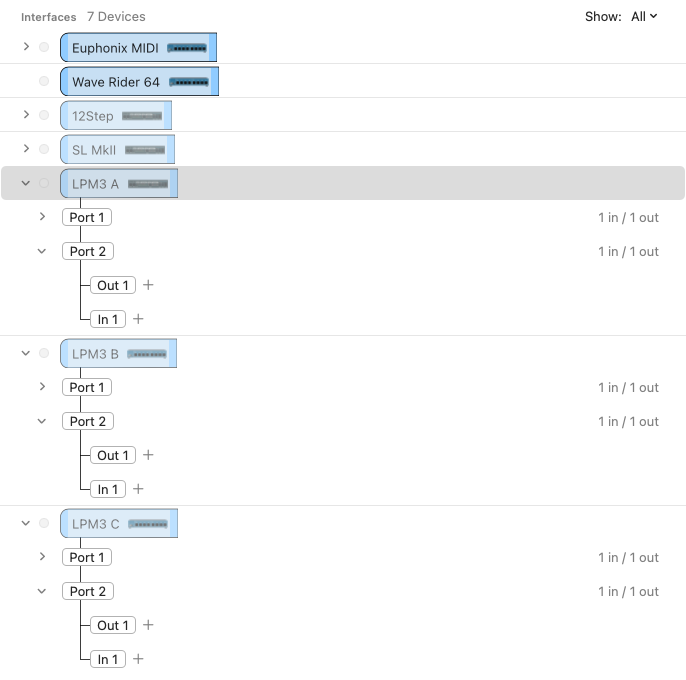
The Launchpad Mini mk3 is CoreMIDI-compliant, and sends MIDI without need of a driver on both macOS and Windows. Simply plug it in and it should show up in Keyboard Maestro as a MIDI source.
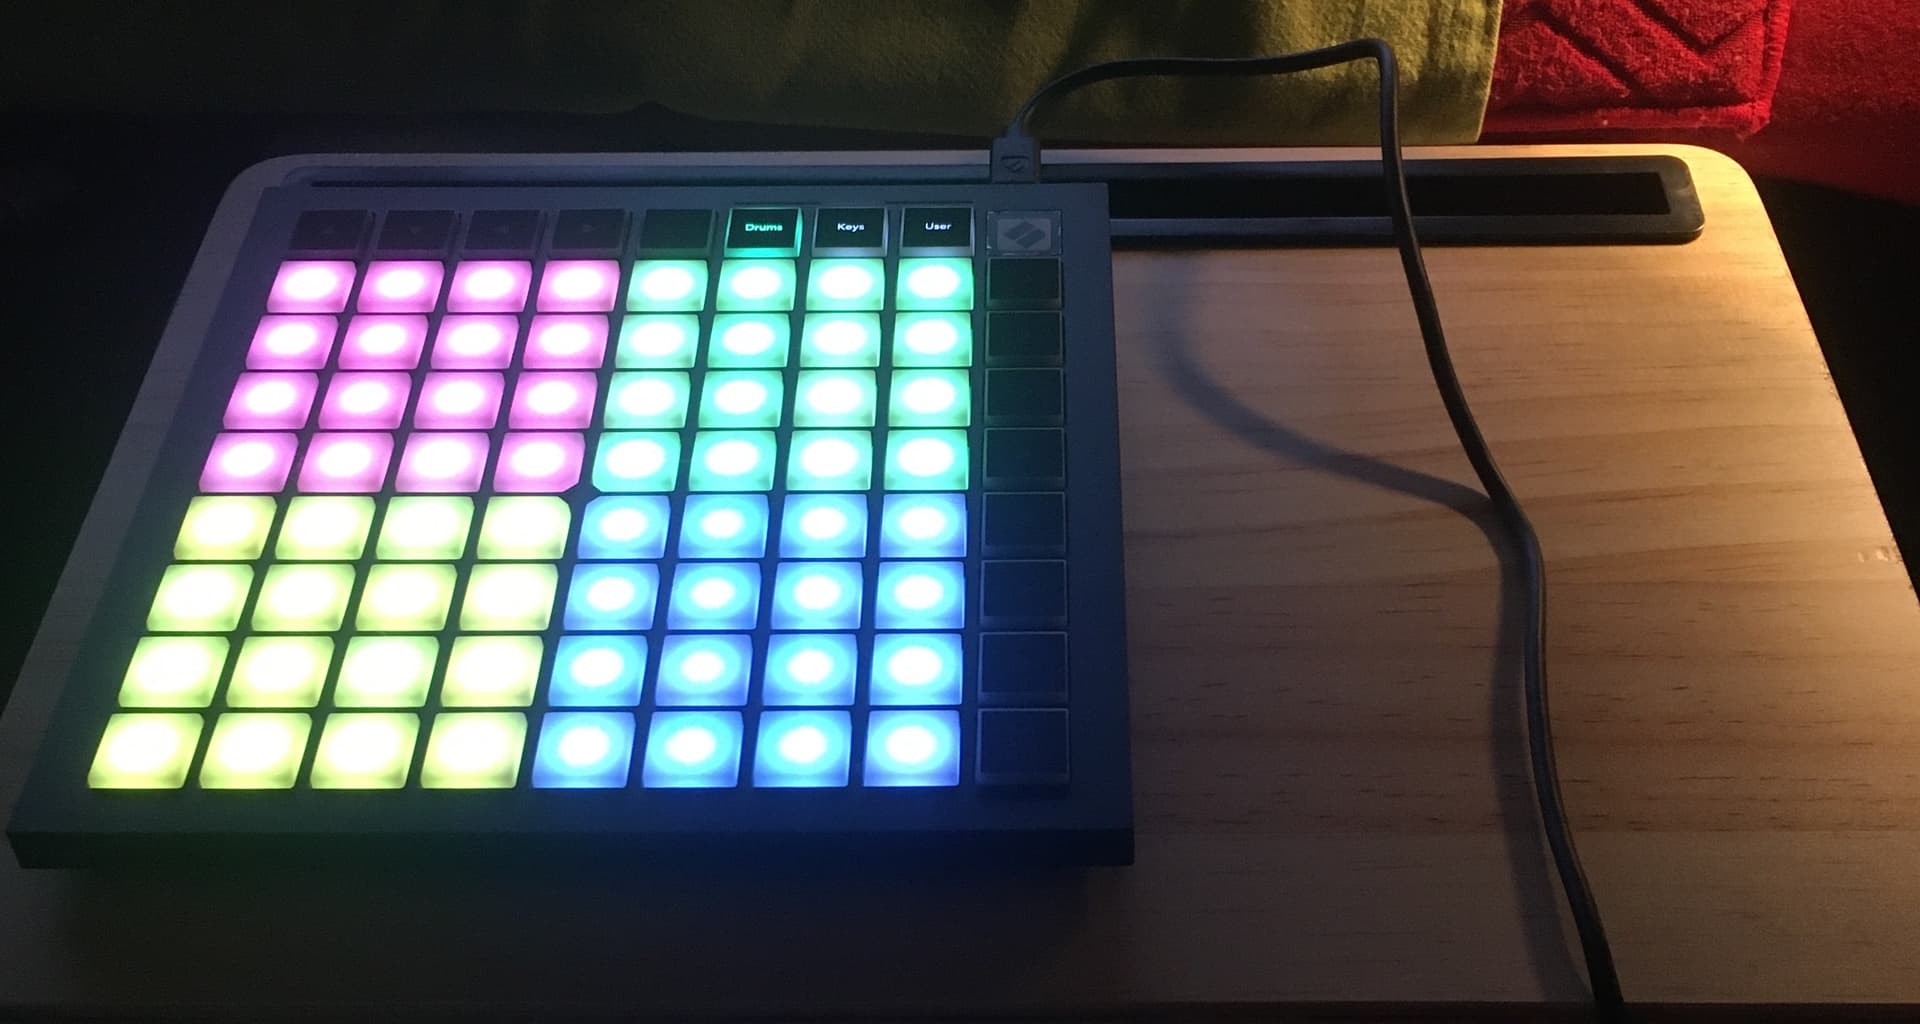
The grid controller features 64 RGB LED pads. There are a number of additional buttons which can be assigned to MIDI messages by way of the Novation Components editor.
However, this Macro Group addresses:
- only the primary (64) 8x8 grid pads in their four subgroups of 16 pads.
- the unaltered, factory-set, fresh-from-the-box MIDI note assignments in the DRUMS (four LED light areas) and USER (no lights active) modes.
- default MIDI note assignments are the same in DRUMS and USER modes.
If you wish to use the Novation Components editor to create custom assigments for the 64 LED pads and/or assign the other non-LED buttons, this script may continue to be of use as an organizational aid to get started.
[The other controllers in the Novation Launchpad family may also use the same default MIDI note numbers: if so, you may only need change the MIDI source for the 64 macros.]
Organization of the Macro Group:
- "L" and "R" in the macro names, (32) each, result a left-side, right-side usage scheme. For example: in a DAW, left-side can be editing functions, right-side can be transport and selection. If you wish 8-to-a-row organization, simply rename the macros using "A11" to "D88" without the L/R premix; the MIDI note numbers remain the same.
- Macro names use the letters A/B/C/D which describe the (4) quadrants of (16) pads: A = upper-left, B = lower-left, C = upper-right, D = lower-right. These correspond to the LED colours in the DRUMS layout: A = pink, B = yellow, C = green, D = blue.
- the MIDI note numbers run unfortunately in a non-intuitive order: bottom-to-top left-side (B/A) and then bottom-to-top right-side (D/C). Assigning macros in Keyboard Maestro against these 'backward' default MIDI note numbers makes a very confusing KM-assignment grid, and so the very purpose of creating this Macro Group template was to make KM macro assignments easier and more immediately visually clear, without having to reassign all the MIDI notes within Novation Components (apparently quite functional, but not friendly).
- to clarify further: the macro name prefix broken down
eg. "L A33 - 58 A#3" means - left-side; A-quadrant; row 3; column 3; MIDI decimal number 058; MIDI note A#3 (middle-C = C4 reference/non-Yamaha).
Suggested use:
-
the resulting macros present in rows of (4), top-down, first left-side, then right-side. This should make it easier to organize your own macros into the grid, in a way that is easy to visually distinguish.
-
at present, each macro copies its own name and then executes the included "testing Launchpad Mini mk3" macro to display the pressed pad/macro's name in a window - this is the essential testing to make sure each pad is wired and working correctly.
-
save the original Macro Group as a template, and then make a copy from it for your intended use.
-
for each pad/macro, simply replace the existing actions with your own; enter your own description into "macro_description" in the macro title to easy spot which pads have been assigned.
-
assign a scope to the Macro Group, if it pertains to one or more specific applications.
-
using a label tape and a pen, or printed adhesive labels, may help in physical labelling of the pads. While this is not as flexible as the visual feedback of a Stream Deck, the Mini's abundance of grid pads might mean dedicated pads become assigned to permanent function and can be physically labelled as such.
-
since there are 128 MIDI note numbers, two Launchpads could be used simultaneously with custom MIDI note number assignments on each, for a total of 128 macro triggers. if that doesn't fix your wagon, I don't know what will.
Enjoy!
=-=-=-=-=-=-=-
ADDENDUM: PROGRAMMER MODE
Novation provides a rigorous "Programmers Reference Manual" which seems to detail every aspect of the unit. Programmer Mode is really a "raw mode" with all pads, including control pads sending MIDI note numbers in a more sane way; any LED activity then comes by way of returning MIDI messages.
Many KM folks will likely want to head straight to the Programmer's Mode, especially if no interest in Ableton Lite, etc.
Novation Launchpad Mini mk3
PROGRAMMER MODE
Hold Session button, and press Stop/Solo/Mute button aka Programmer Mode button.
Instead of MIDI note numbers triggering 127 velocity for ON, 0 for OFF, it shifts to same-numbered MIDI CC messages, also 127/0. The CC numbers for the control pads are:
the 8 rows L to R and top-down are
81-88
71-78
.
.
11-18
top row function buttons are then: 91-98
(following the pattern, bottom-to-top)
right-side buttons are the "9's" matching the 8 rows in the 8x8.
89
79
...
19
all LED feedback on the unit are by way of messages received.
=-=-=-=-=-=-=-