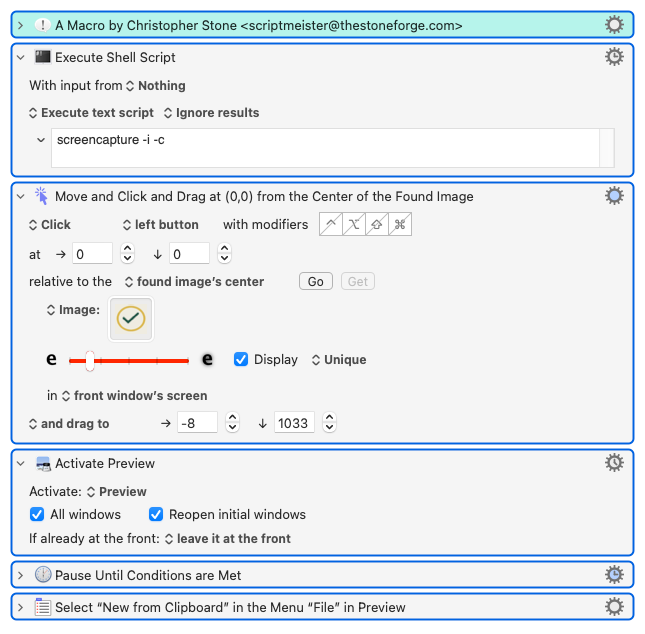
How do I insert 2nd step to find image and then drag to screenshot specified area? You can see my attempt but does not work.
ScreenCapture to Clipboard → Open in Preview
How do I insert 2nd step to find image and then drag to screenshot specified area? You can see my attempt but does not work.
ScreenCapture to Clipboard → Open in Preview
Take a look at Screenshot to Clipboard Interactively Macro which uses the interactive capture, saves to file, and copies to clipboard. You can then use an Open File action to open the file from disk in the app of your choice.
If I recall correctly, the tricky part is how screencapture behaves when you combine command line options. So keep that in mind if you grab snippets from this above macro to incorporate into your own ![]()
Your "Click and Drag" Action won't execute until after the "Execute a Shell Script" Action has completed. But your shell Action won't complete until the screen capture has been taken (or cancelled), which requires the "Click and Drag" Action to execute... Classic deadlock.
You could get round that by setting the shell Action to run asynchronously, but you'd probably have to add a short "Pause" to make sure the screencapture utility was running before you click-dragged.
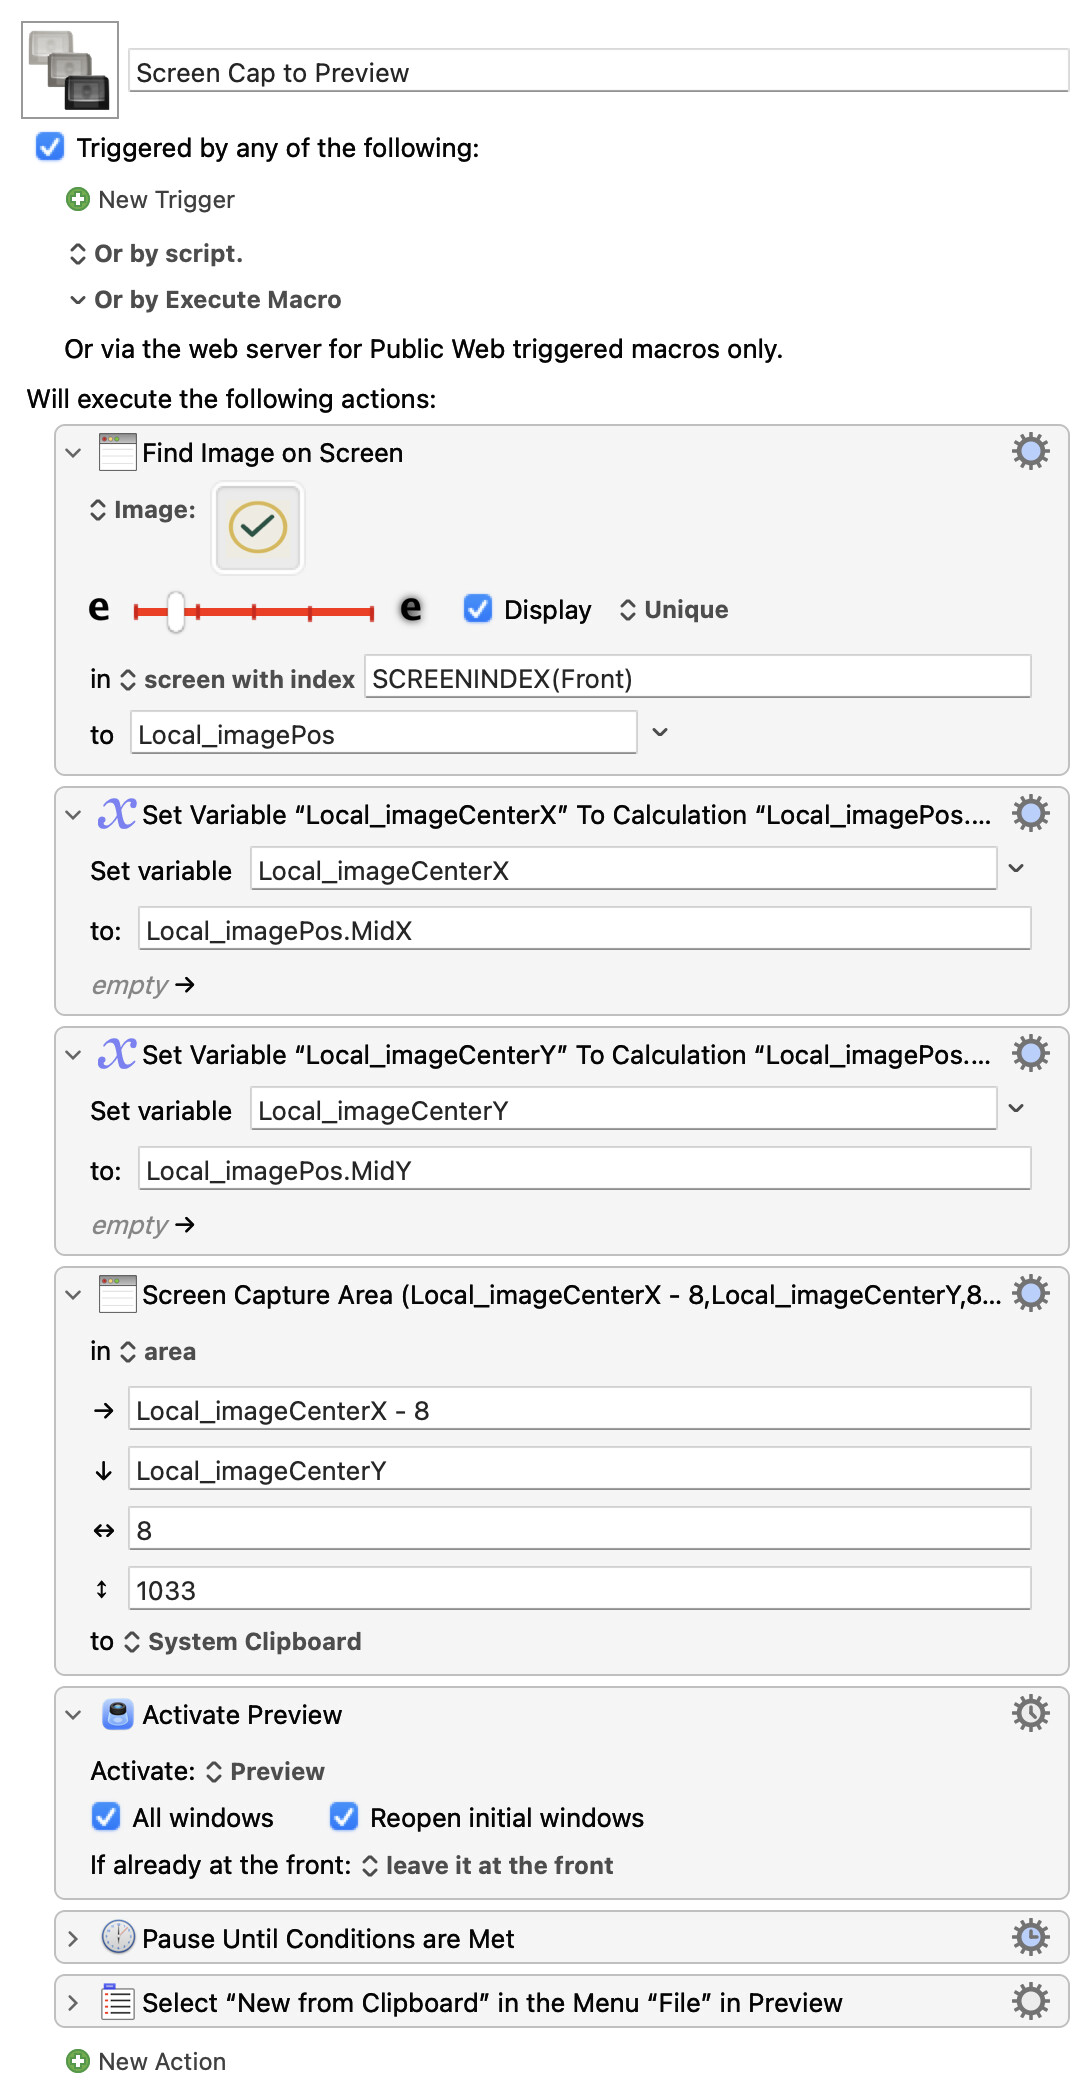
But you haven't actually got anything there that requires interaction! A better solution would be to screen capture an area that is anchored on the found image. In long form, so you can see the Token manipulation and calculations:
Screen Cap to Preview.kmmacros (25.4 KB)
I'm not sure I've entirely understood the area you want to capture, it appears to be an 8-pixel wide and 1033-pixel tall area to the left and below the found image. But the above should give you enough to fiddle the numbers until you're right. If you get stuck, just ask!
This did it for me.
screencapture -R 5,100,-1860,800 -c
Cheers
Michael
That does something completely different -- capturing a pre-defined area, irrespective of where the image is on your screen.
But if it works for you -- problem solved! Nice one.