This took me a while to figure out so I thought I would share. As per Keyboard Maestro Wiki: " Keyboard Maestro does NOT replicate OSX's interactive capture area functionality – e.g. ⌘⇧4."
This can be done with Python using the "Execute a Shell Script" action. It does however require the installation of the PyAutoGUI package along with python. To install this package, you would only need to open a Terminal and type:
pip install pyautogui
Here is a code sample:
#!/usr/bin/env python
import pyautogui
from time import sleep

# moves cursor to desired starting coordinates
pyautogui.moveTo(450, 450)
# sleep for 1 second (like adding a pause in Keyboard Maestro)
sleep(1)
# Simulate the Command+Shift+4 keystroke
pyautogui.hotkey("command", "shift", "4")
sleep(1)
# move cursor relative to current position right 225 pixels, down 75 pixels, over 2 seconds, holding down the left mouse button
pyautogui.dragRel(225, 75, 2, button='left')
sleep(1)
# release mouse button
pyautogui.mouseUp()

# Area screenshot will be save to default screenshot folder (usually the desktop unless changed)
The documentation for the pyautogui package is here.
Hope that helps somebody.
I don't have Python (or pip) but I hope you'll still allow me to ask a question about this code anyway. I don't see any line in your code that actually takes the screenshot. The last comment in your code says that a screenshot will be saved, but which line actually does the screenshot?
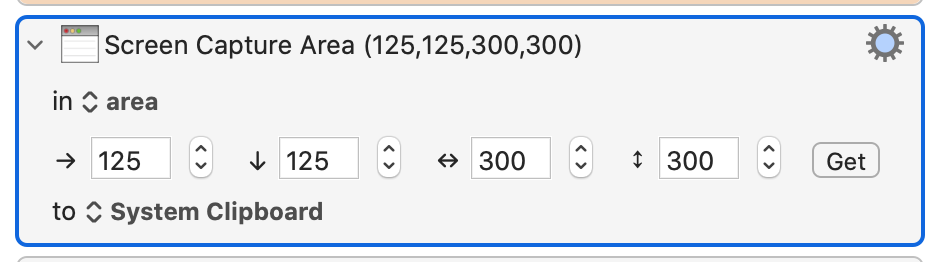
And what is the difference between using Python to allow the user to select the window, and using this KM action to allow the user to select the window:
The python code replicates the physical keyboard presses and mouse movements you need to take an area screenshot which are:
[1] Position the mouse to the starting coordinates
[2] Type Shift+Command+4 (this changes the mouse pointer to a cross-hair appearance)
[3] Press and hold the left mouse button
[4] Drag the mouse (while holding the left mouse button) over the area you would like to capture
[5] Release the mouse button (which results in macOs saving the screenshot)
The KM action you include only replicates Step 2. It will change the cursor to the cross-hair appearance where it is ready to take the screenshot, but it will still require you manually dragging the mouse over the desired selected area.
The python script allows you to specify the starting and ending coordinates so no user interaction is required to take the area screenshot.
It is the last line: pyautogui.mouseUp() that takes the screenshot, just the same as if you had manually released the mouse button in step 5.
Let me know if I can be more clear. thanks.
Okay, now I understand. You are clear. I'm just not the swiftest person.
But you have me wondering if I could write some code in KM that would simulate the functions of your code above. I'll give it a shot, but my chance of success is only 10%.
Which I quite don't understand as subsequently he mentions this
"It will change the cursor to the cross-hair appearance where it is ready to take the screenshot, but it will still require you manually dragging the mouse over the desired selected area.
The python script allows you to specify the starting and ending coordinates so no user interaction is required to take the area screenshot.
It is the last line: pyautogui.mouseUp() that takes the screenshot, just the same as if you had manually released the mouse button in step 5."
So the question: is it auto or manual on user's part ?
macdevign_mac,
My script does not require user interaction. It is automatic, but I do see that the Action you posted will accomplish the same thing and your way is definitely easier. Thanks!