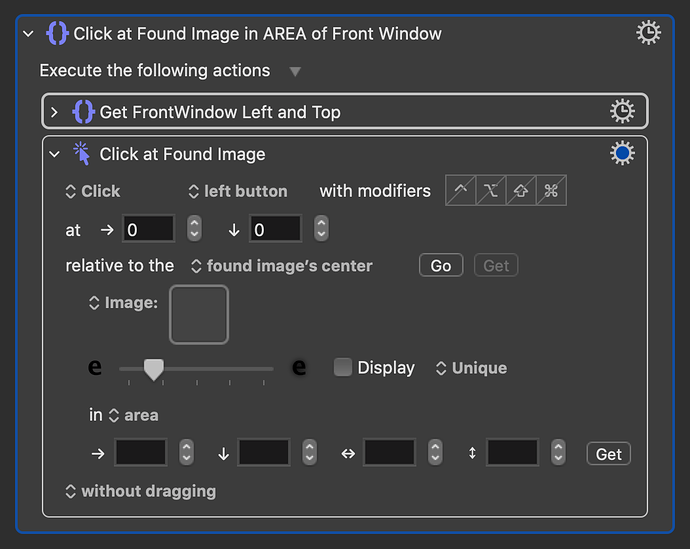
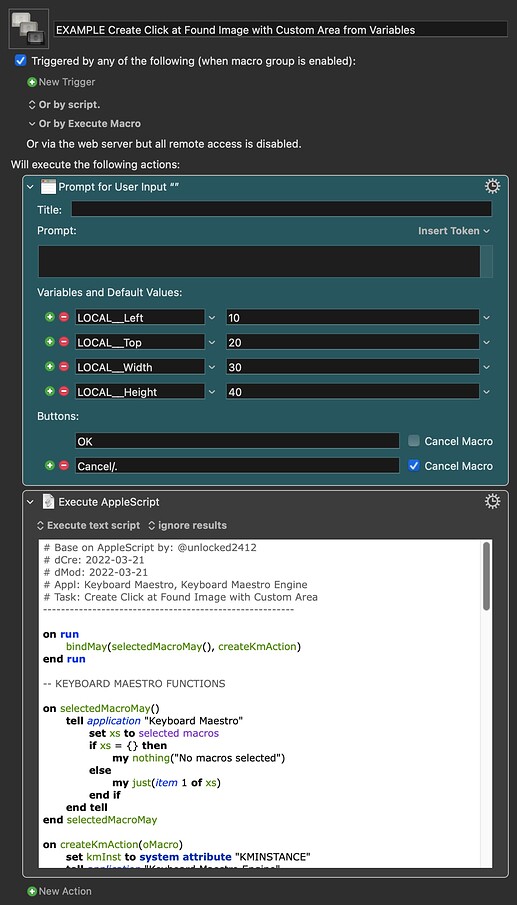
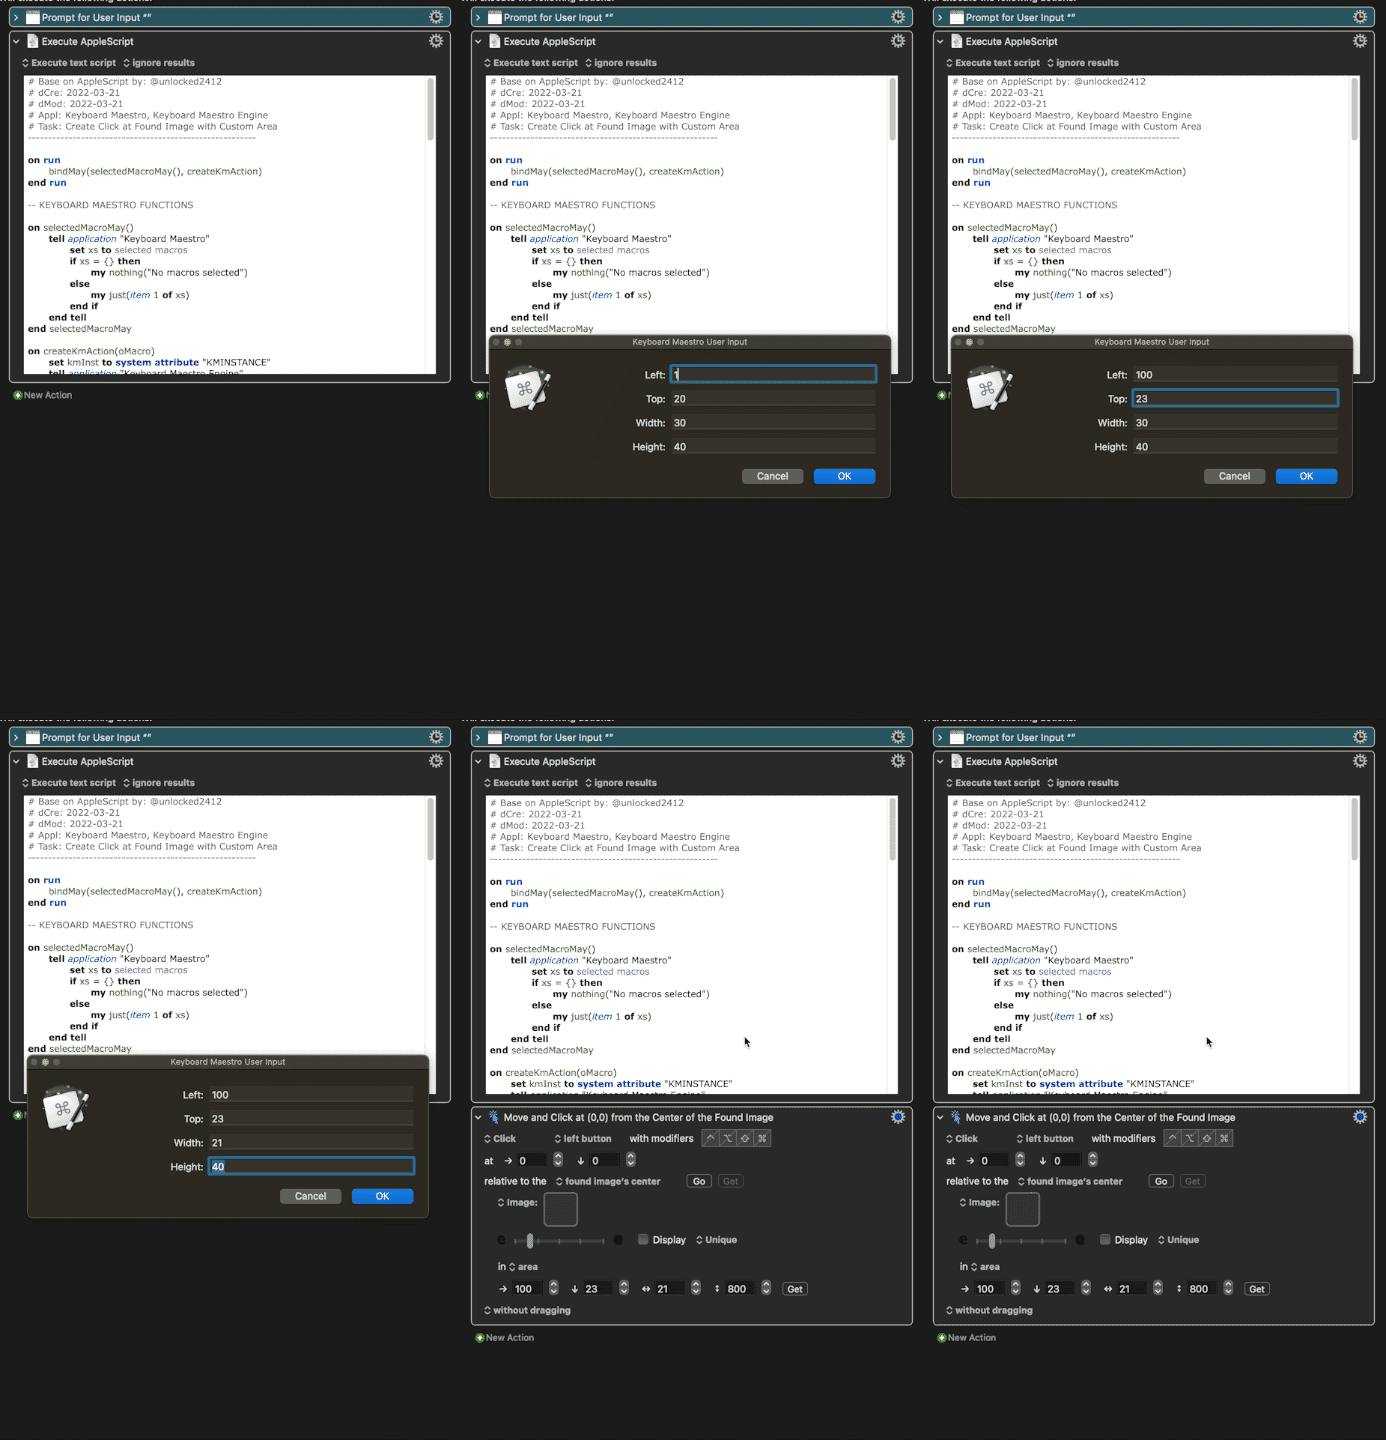
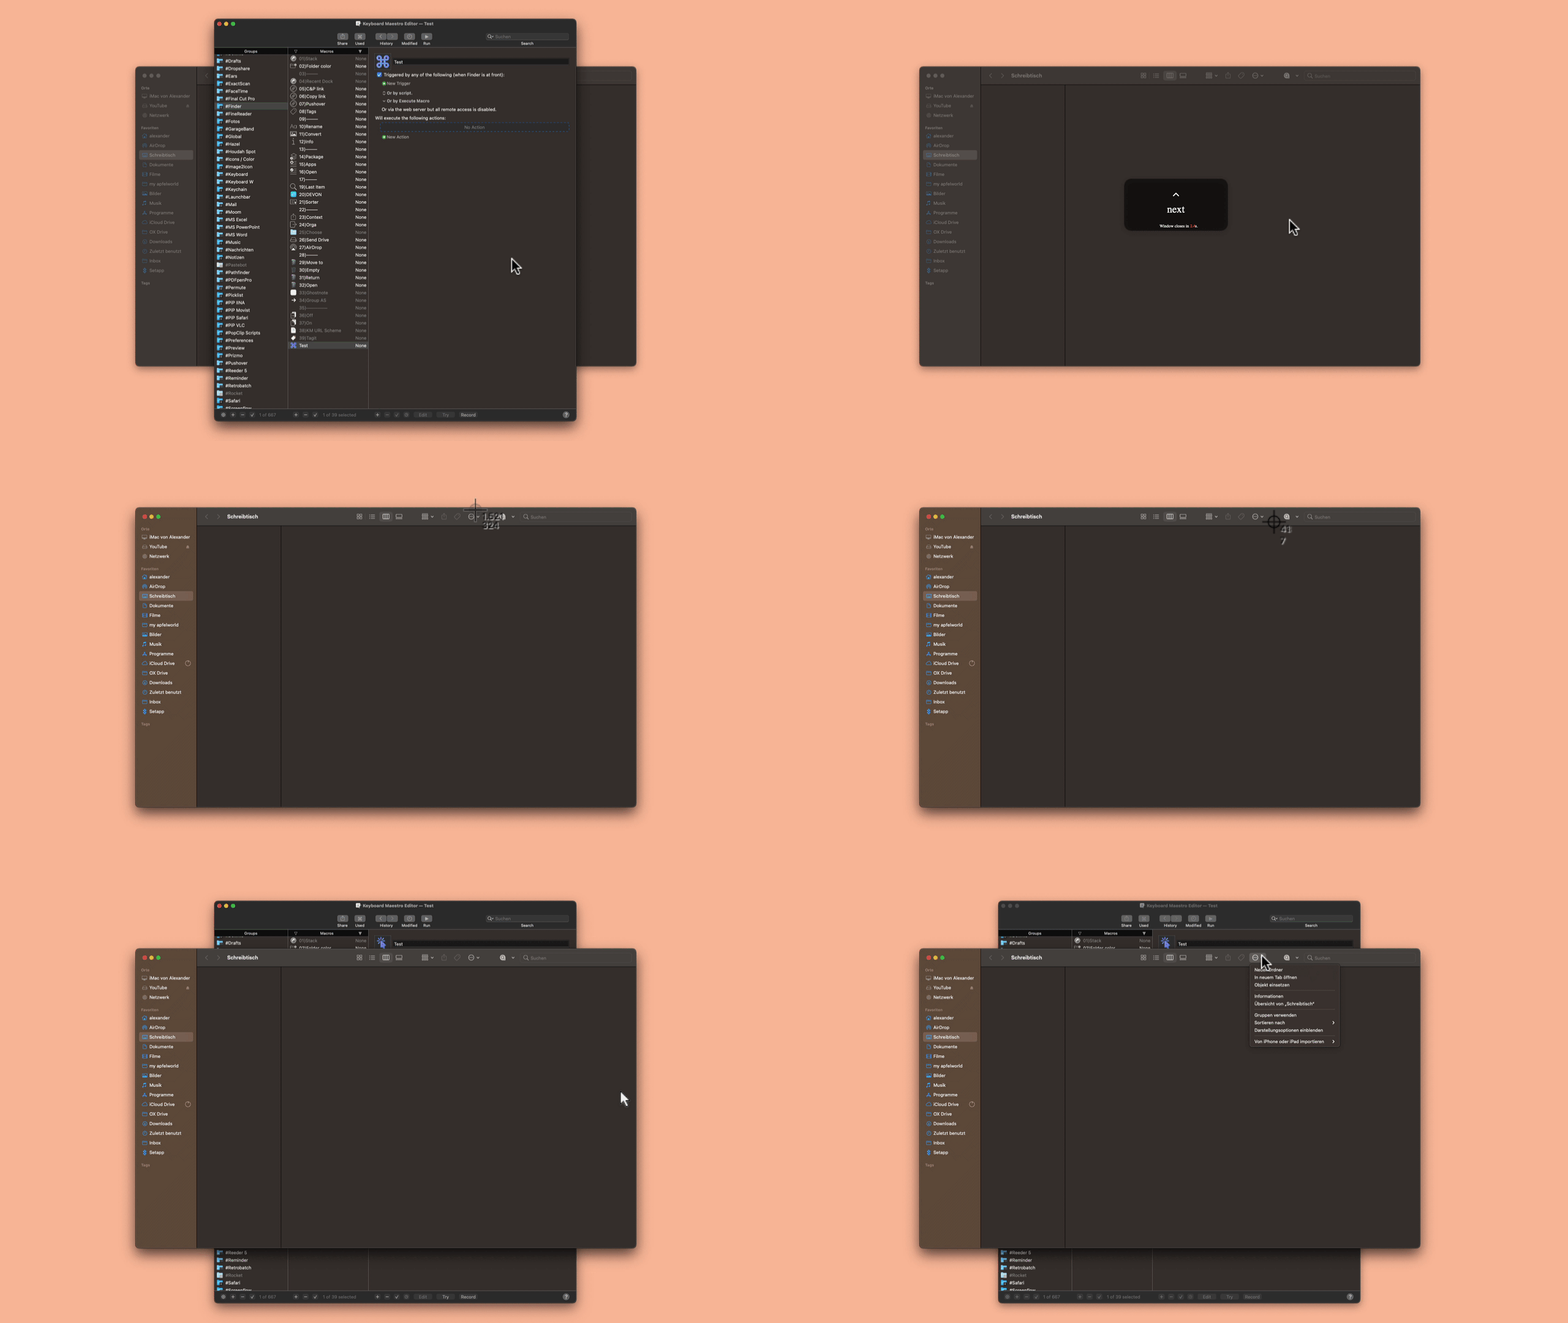
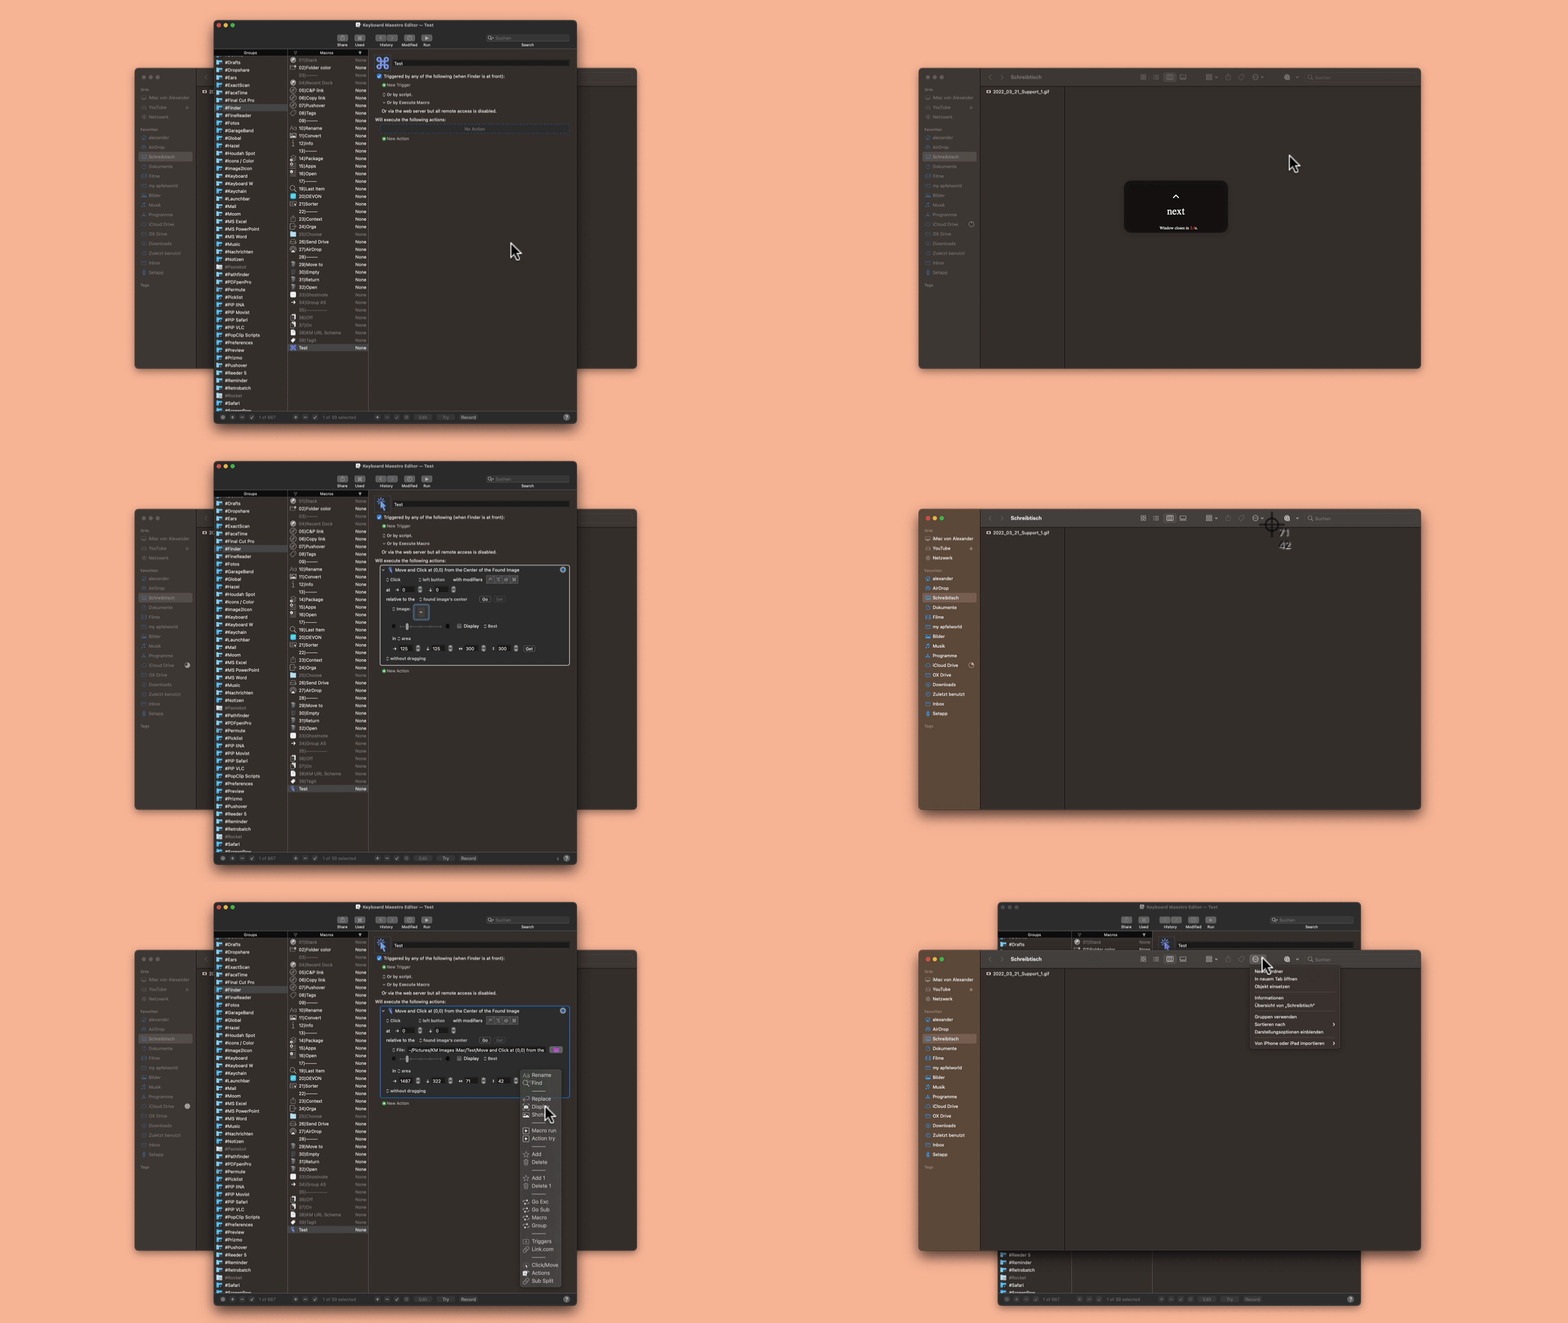
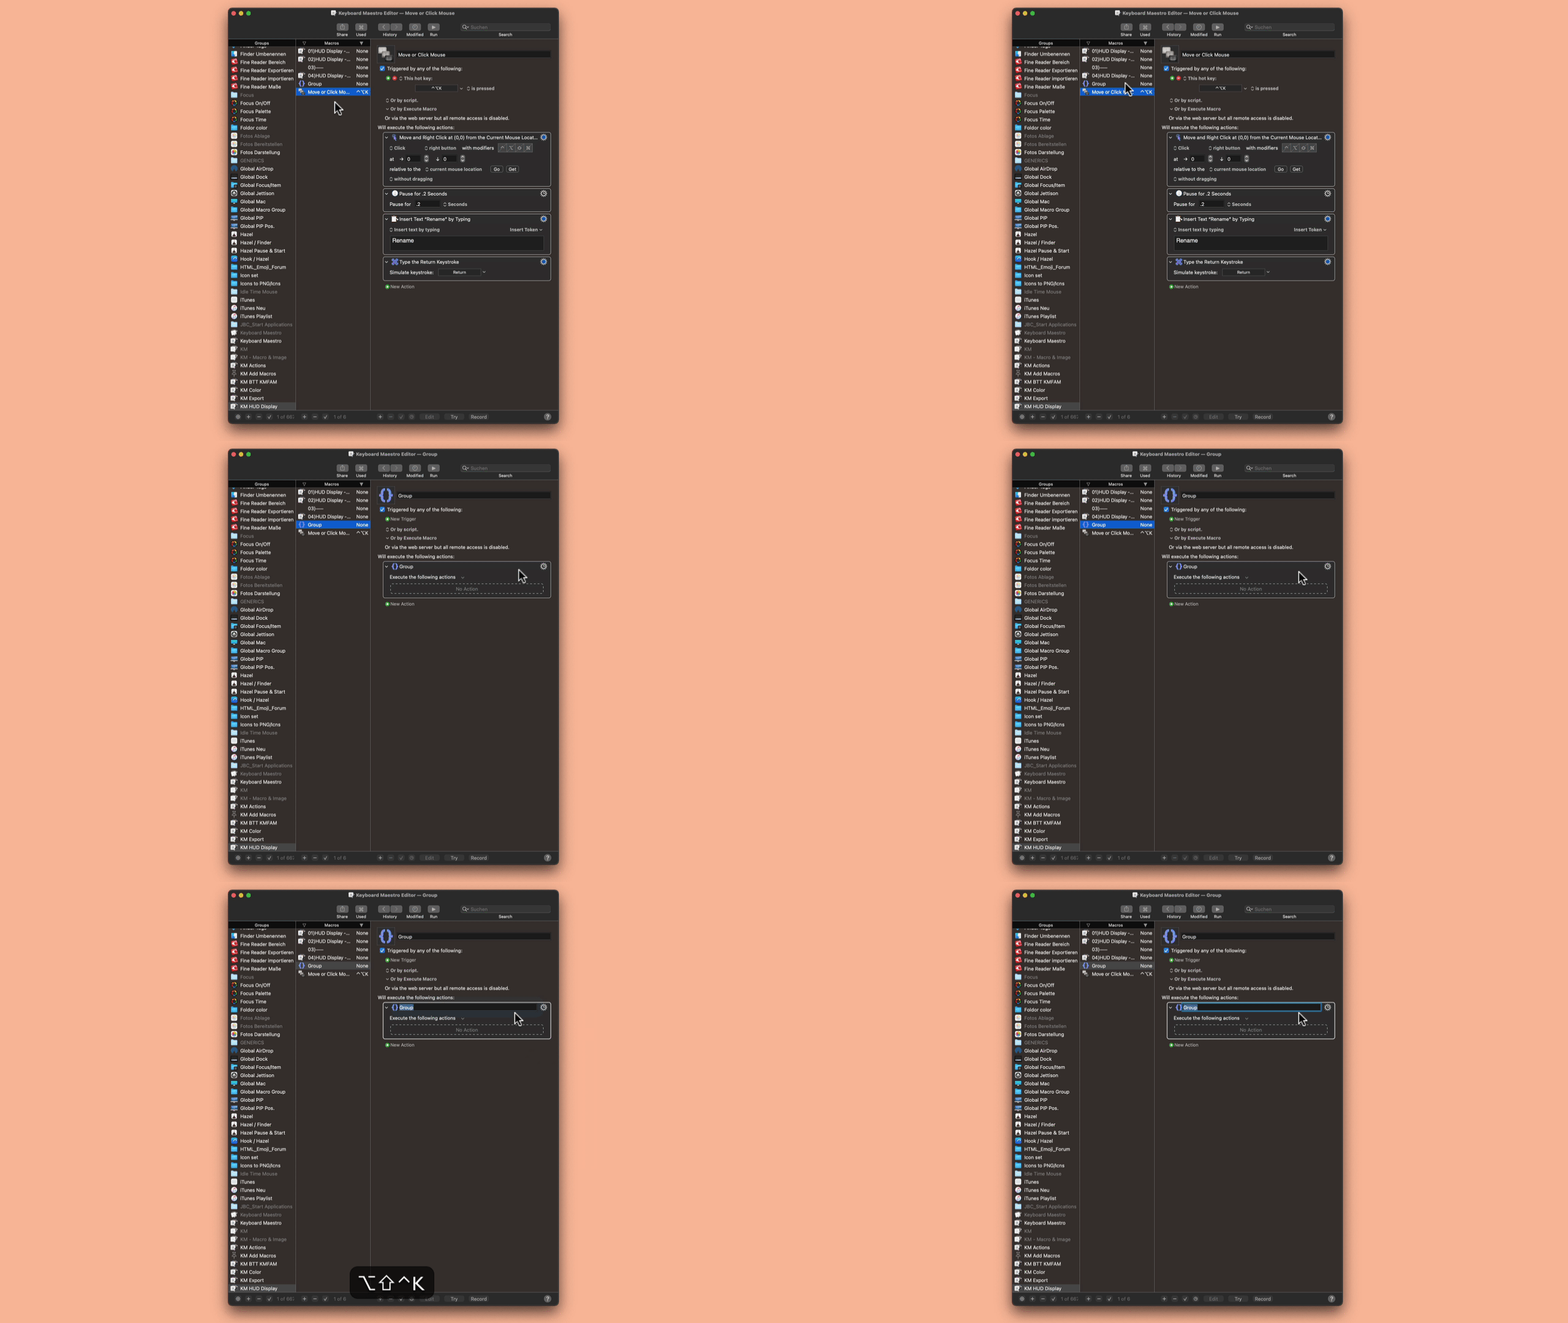
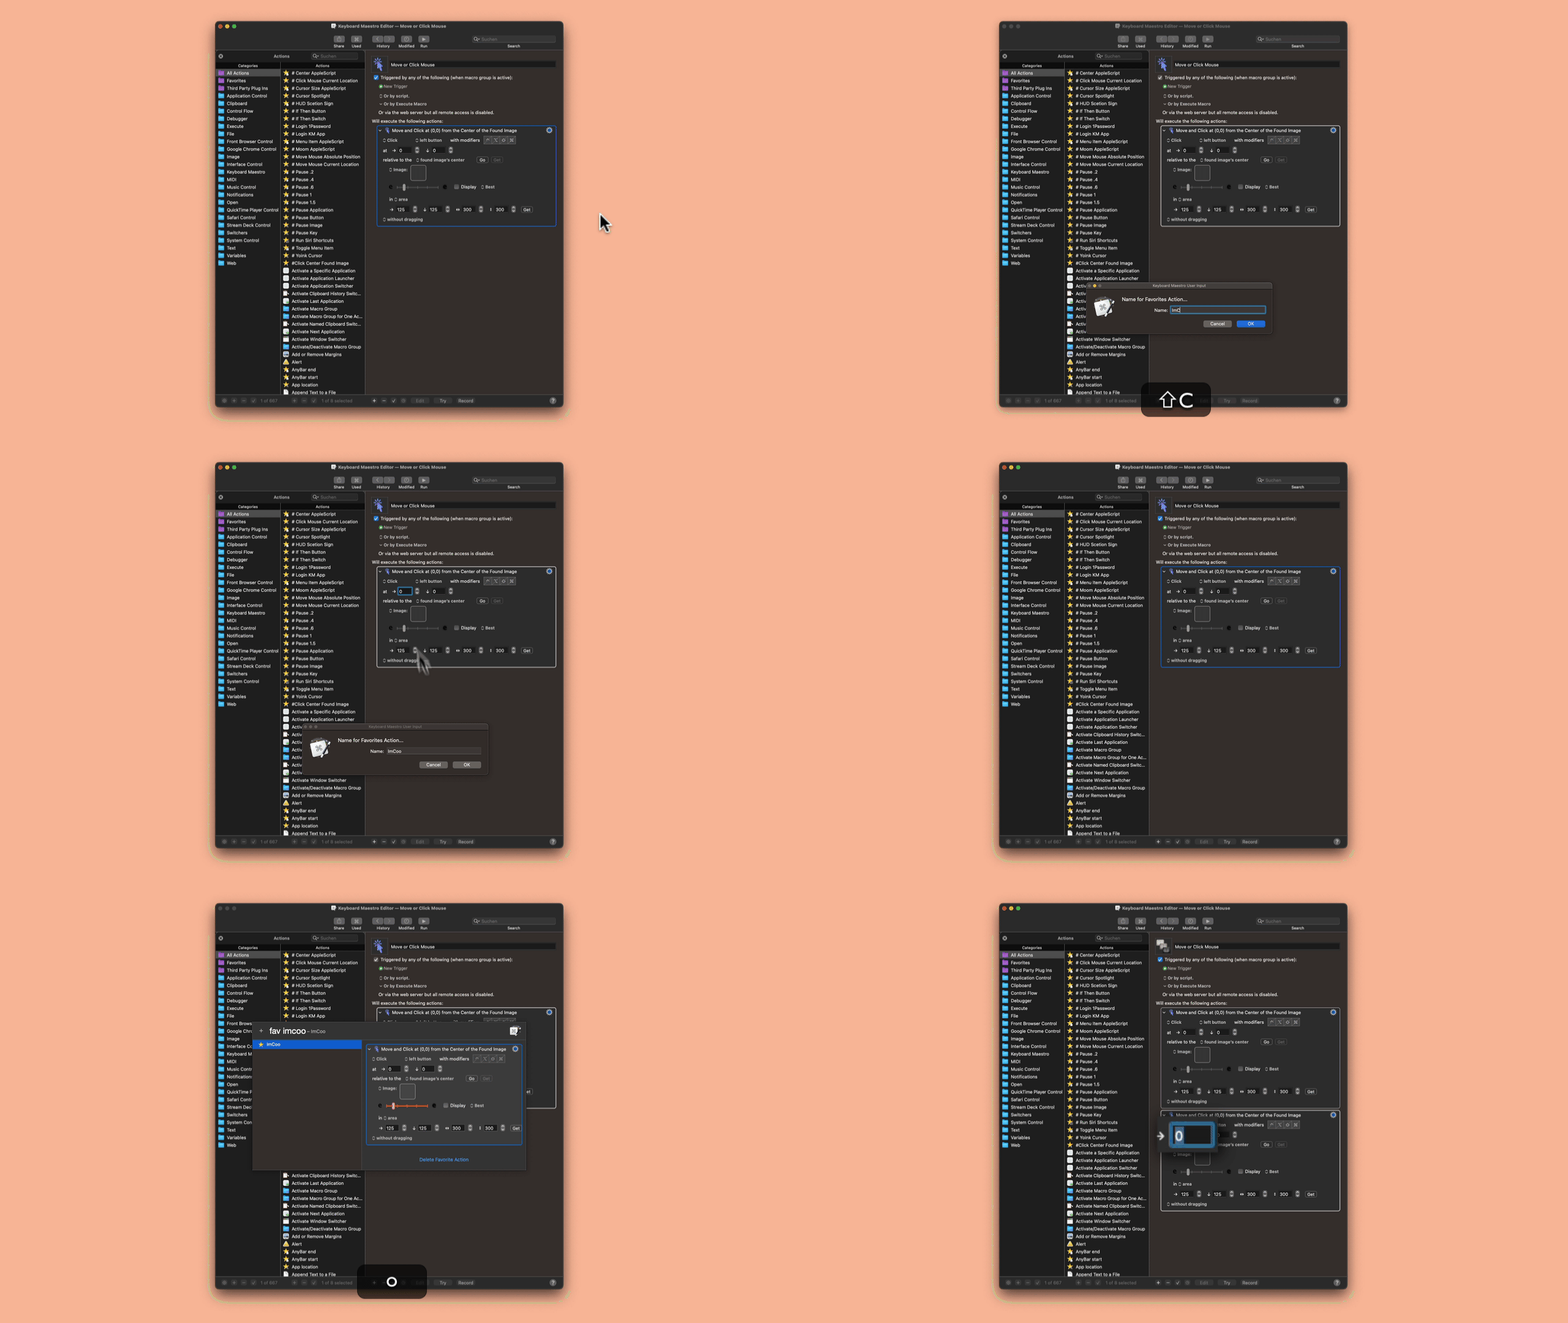
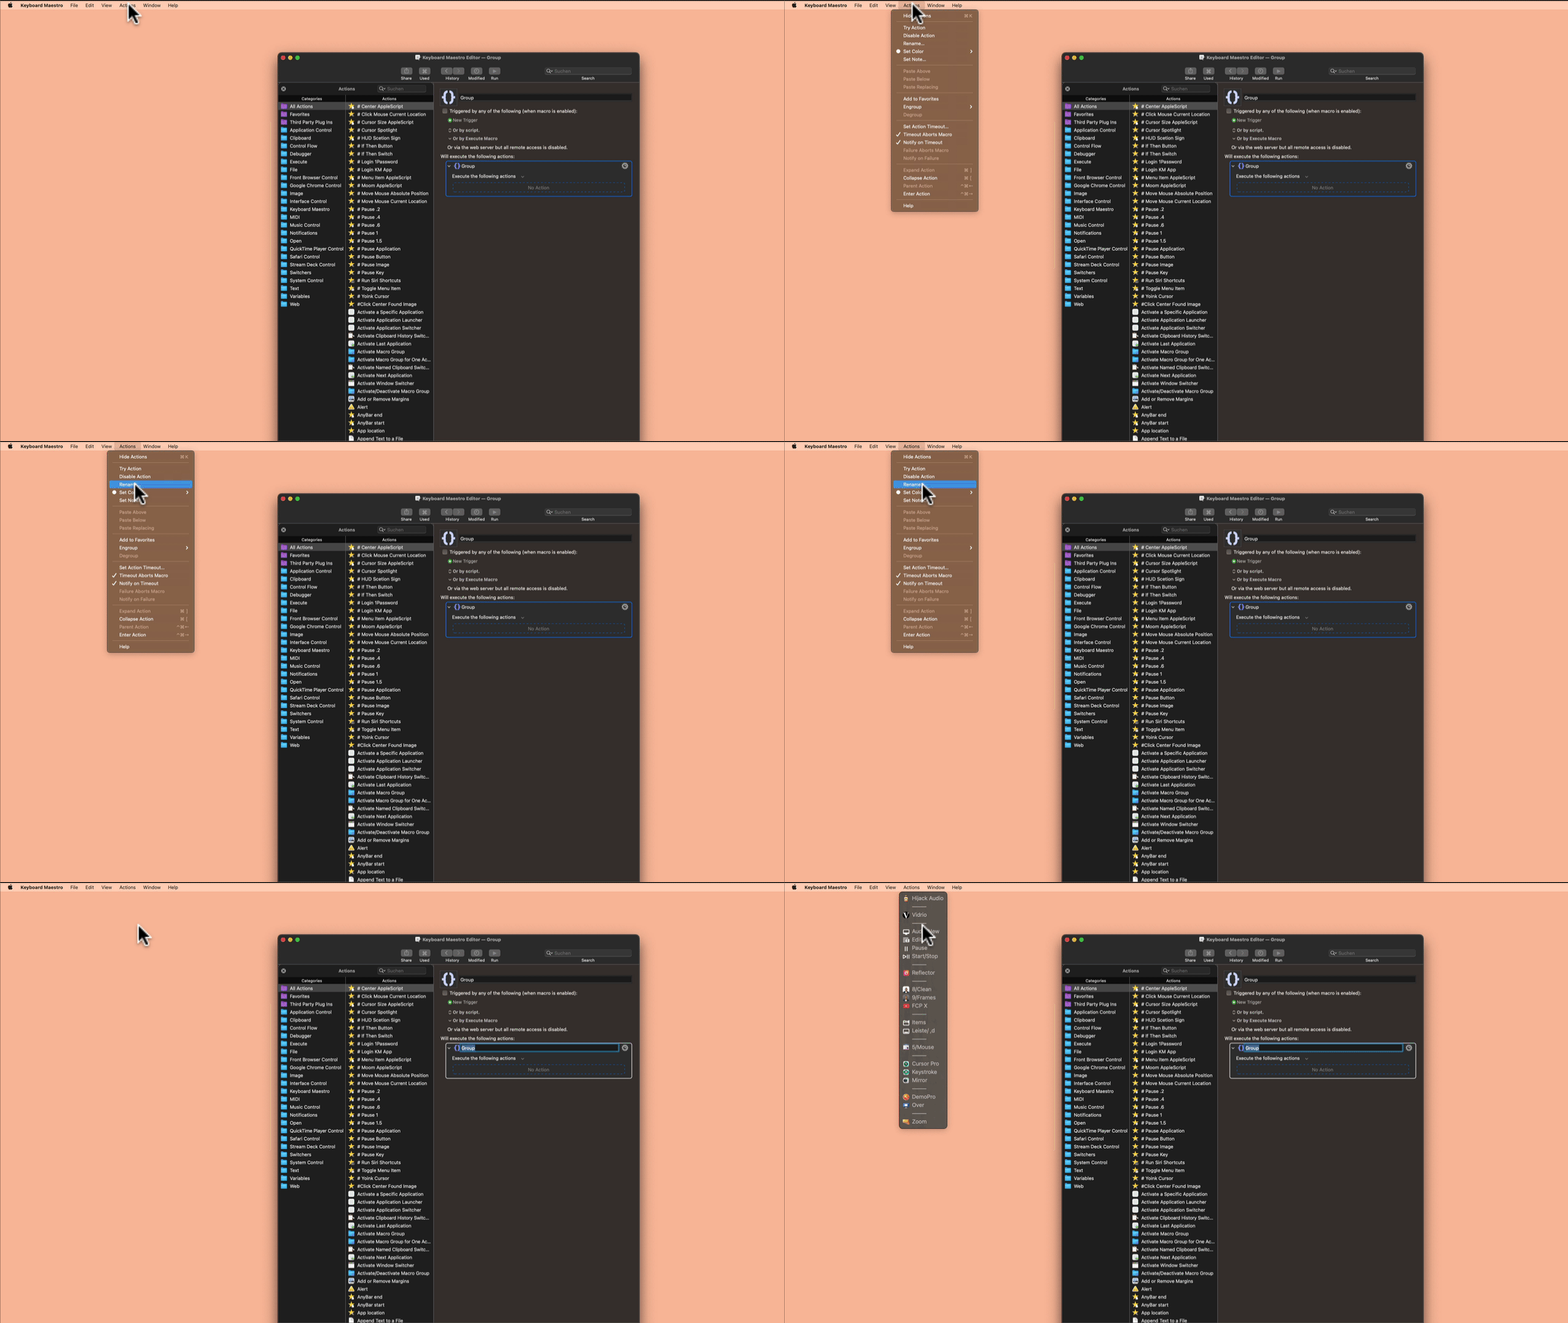
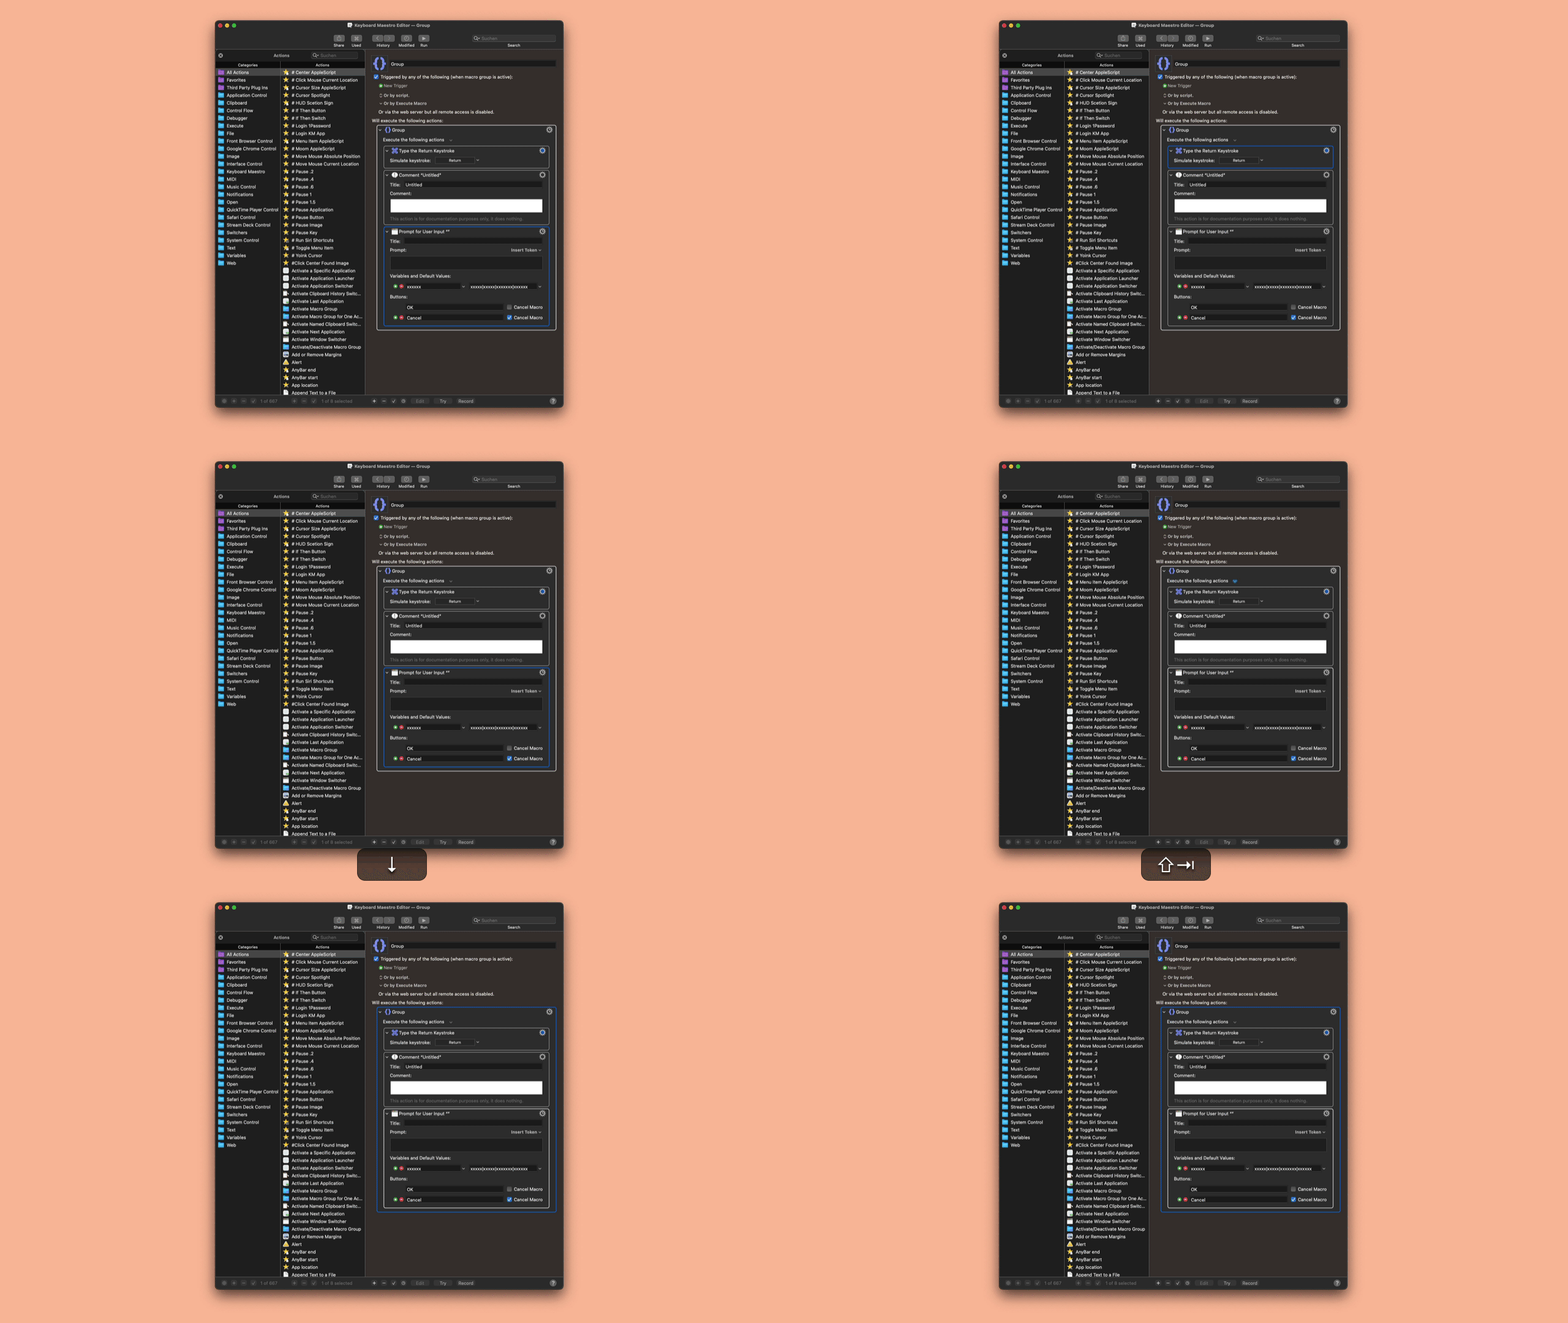
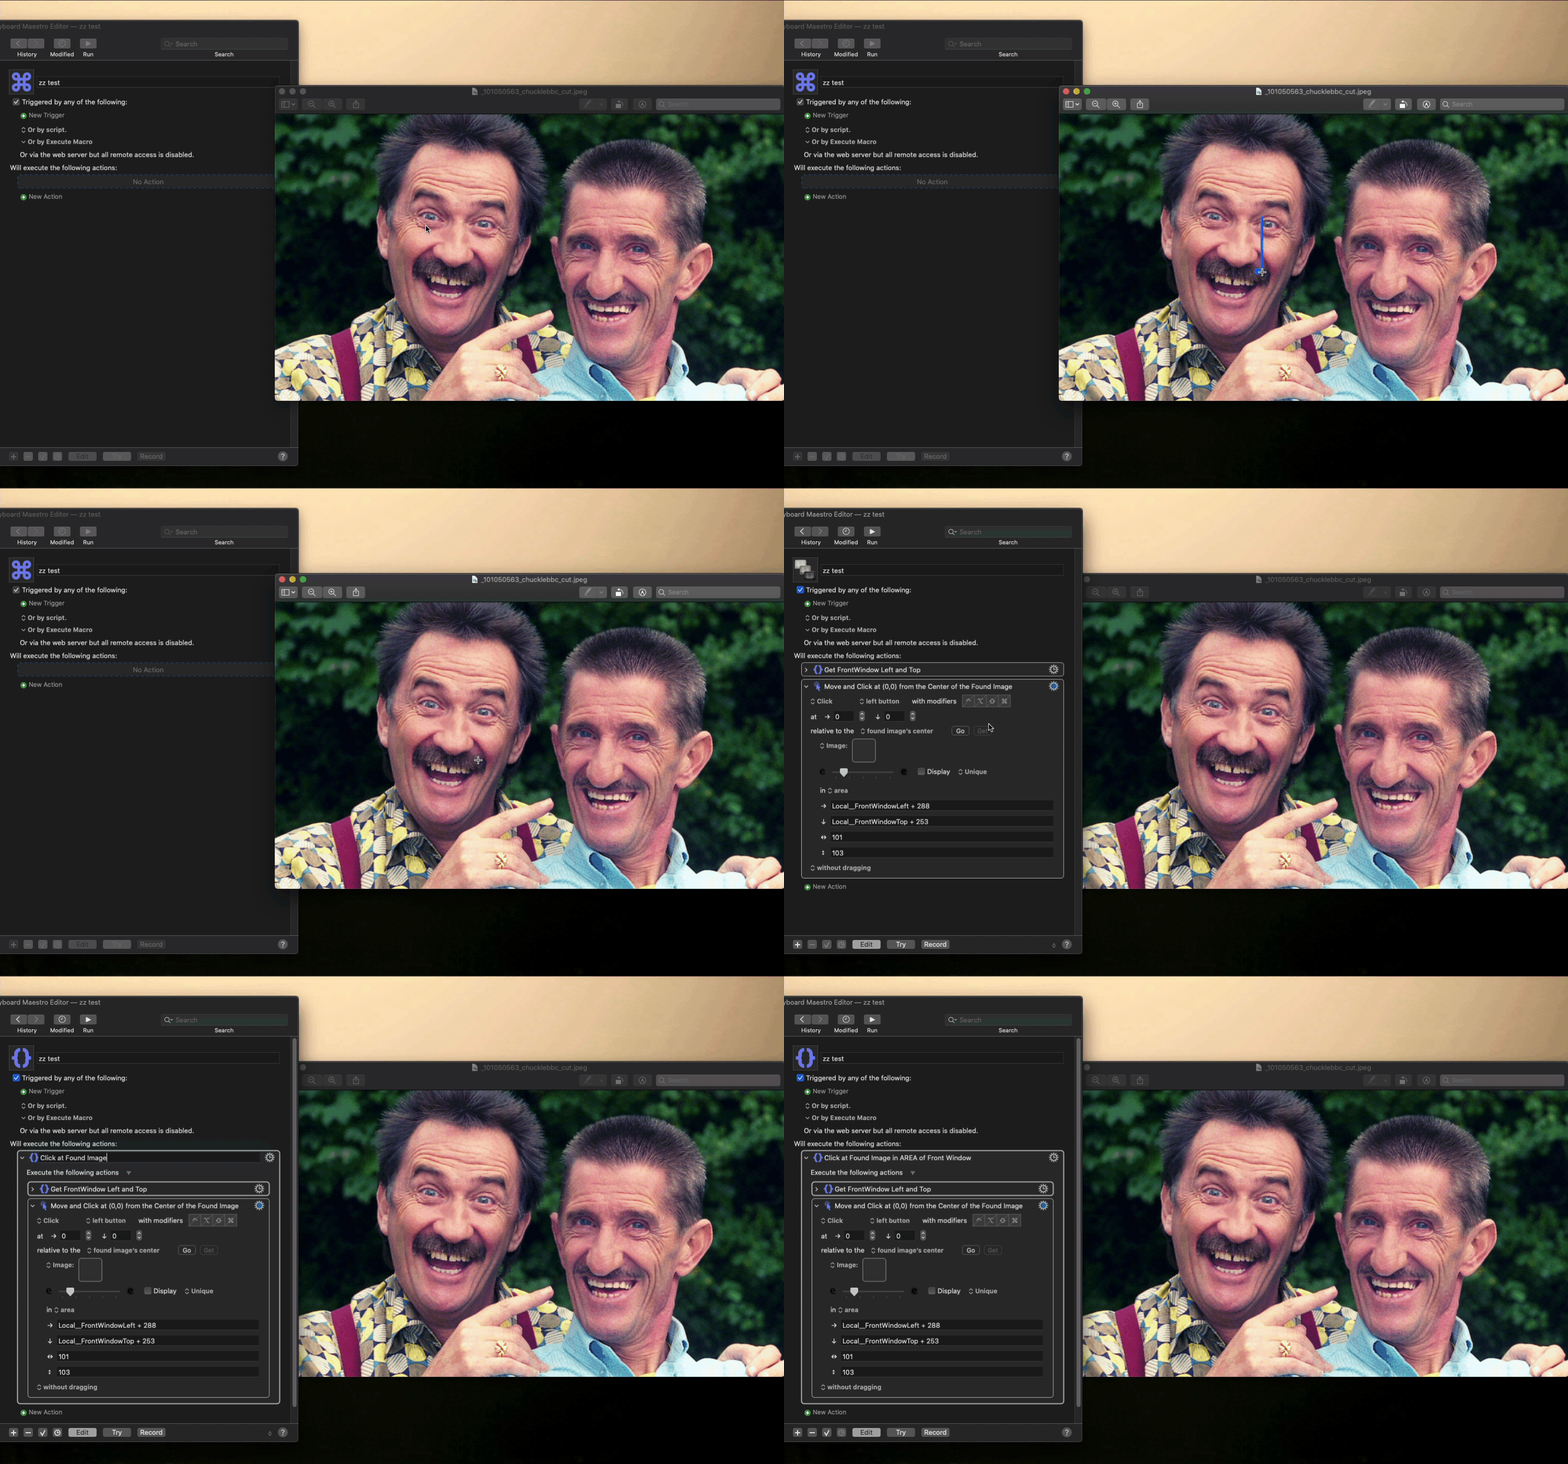
I couldn't find this anywhere else, and it's quite handy. It will find and click an image in a specified area of the Front Window, regardless of its position on the screen.
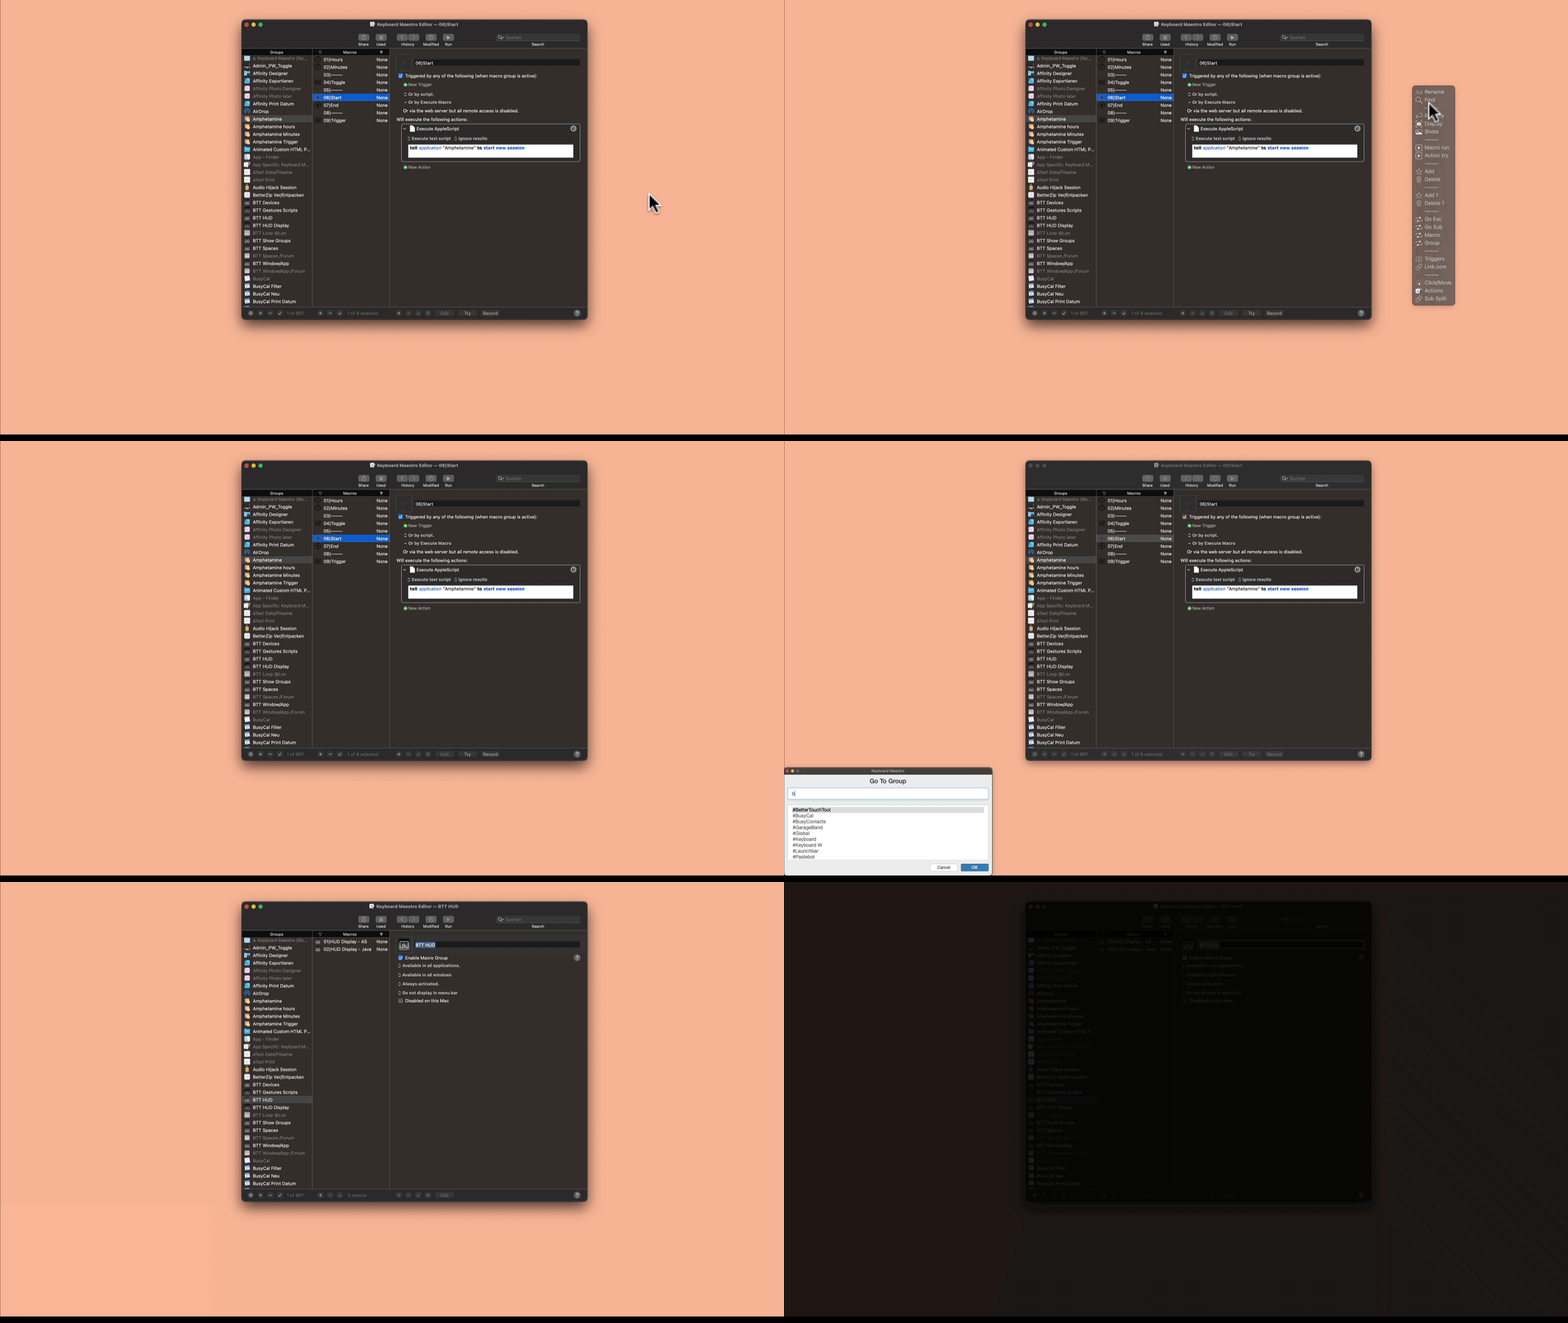
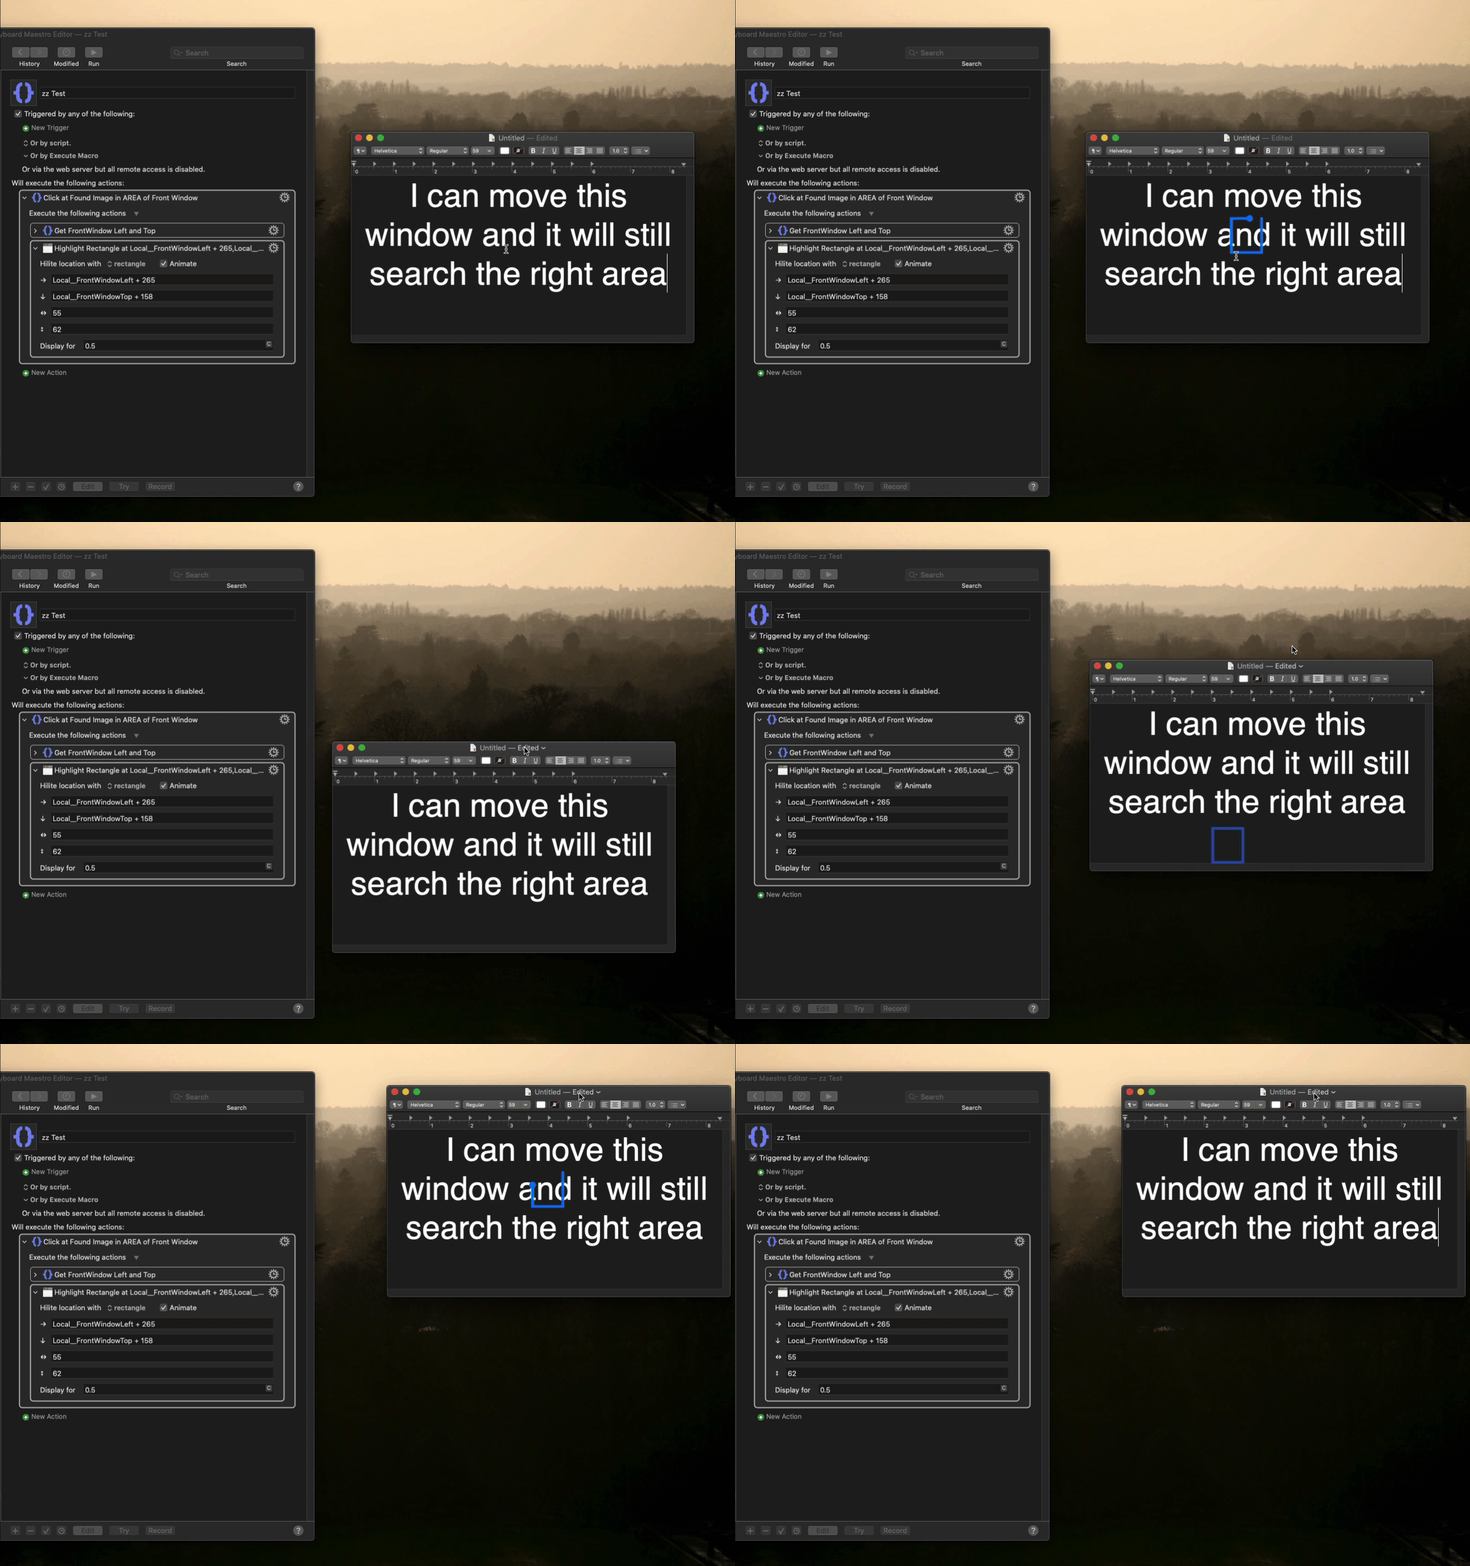
Here's a demonstration of a highlighted area moving along with a window, to give you an idea of what I mean.
Demo Video
These actions are required for macros 2 & 3:
Click at Found Image in AREA of Front Window.kmactions (3.1 KB)
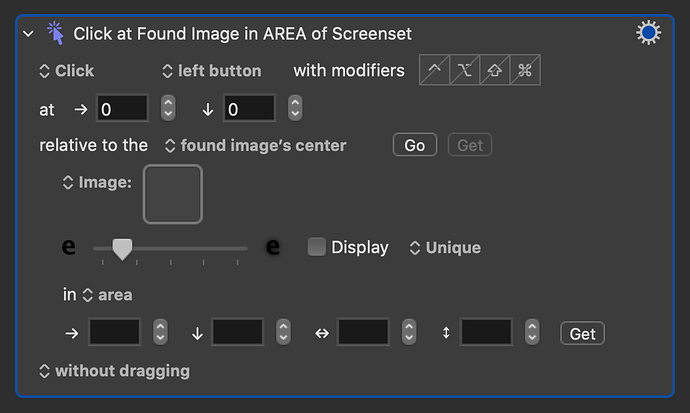
Click at Found Image in AREA of Screenset.kmactions (1.4 KB)
Place the following macros in a group that will be available in all applications.
ALL MACROS:
Screenshot and Area Macros.kmmacros (227.6 KB)
INDIVIDUAL MACROS:
Macro 1:
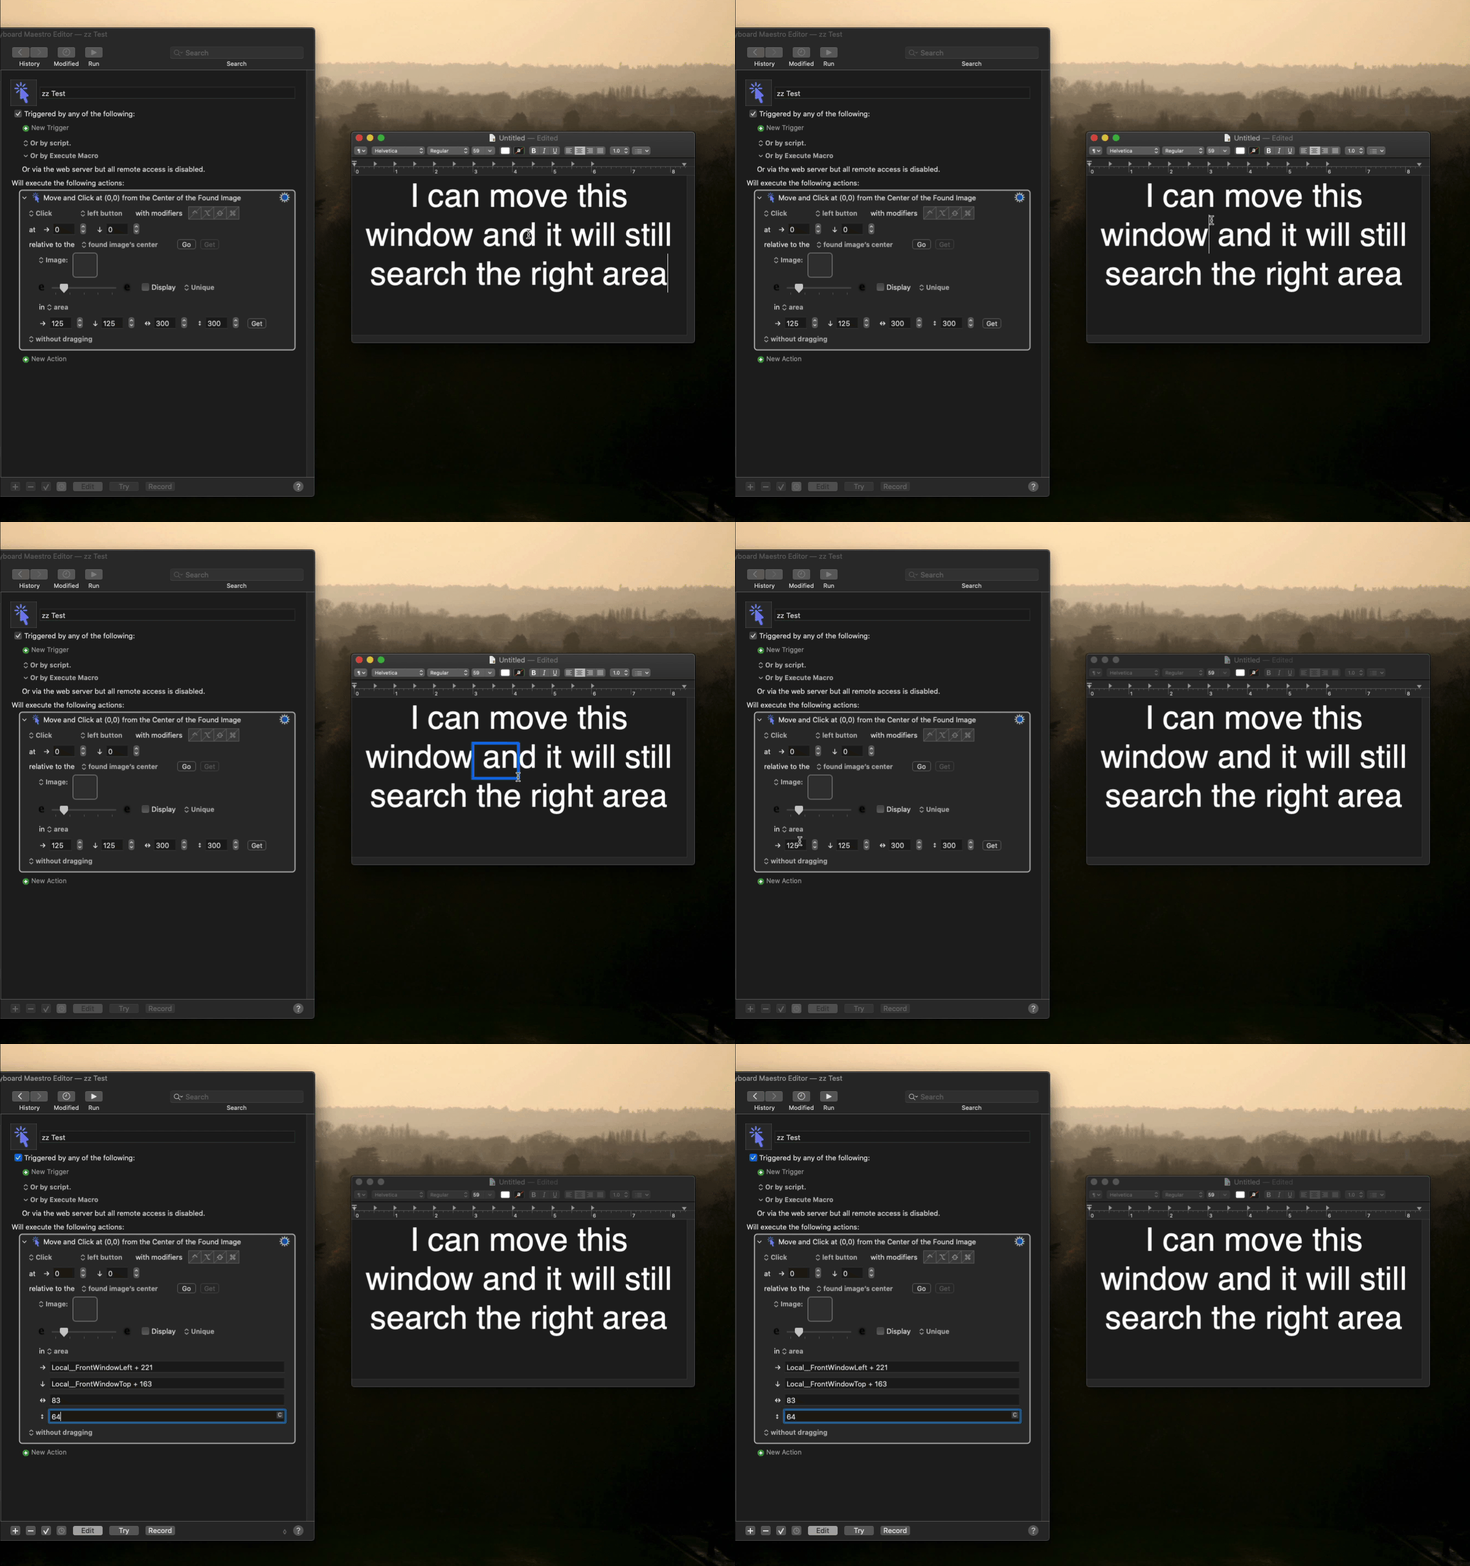
KM - Set Area Coordinates for Existing Action.kmmacros (55 KB)
Demo Video
Info
Setup:
Set two hotkeys and enter the value of one of them into the box that currently says "Front". This hotkey will use area relative to the front window and the other will use area of the screen.
Use:
Trigger this macro and then click at the top-left and bottom right of the area whose coordinates you wish to capture. Next, click in the first coordinates field of the relevant action and the values will be entered.
Macro 2:
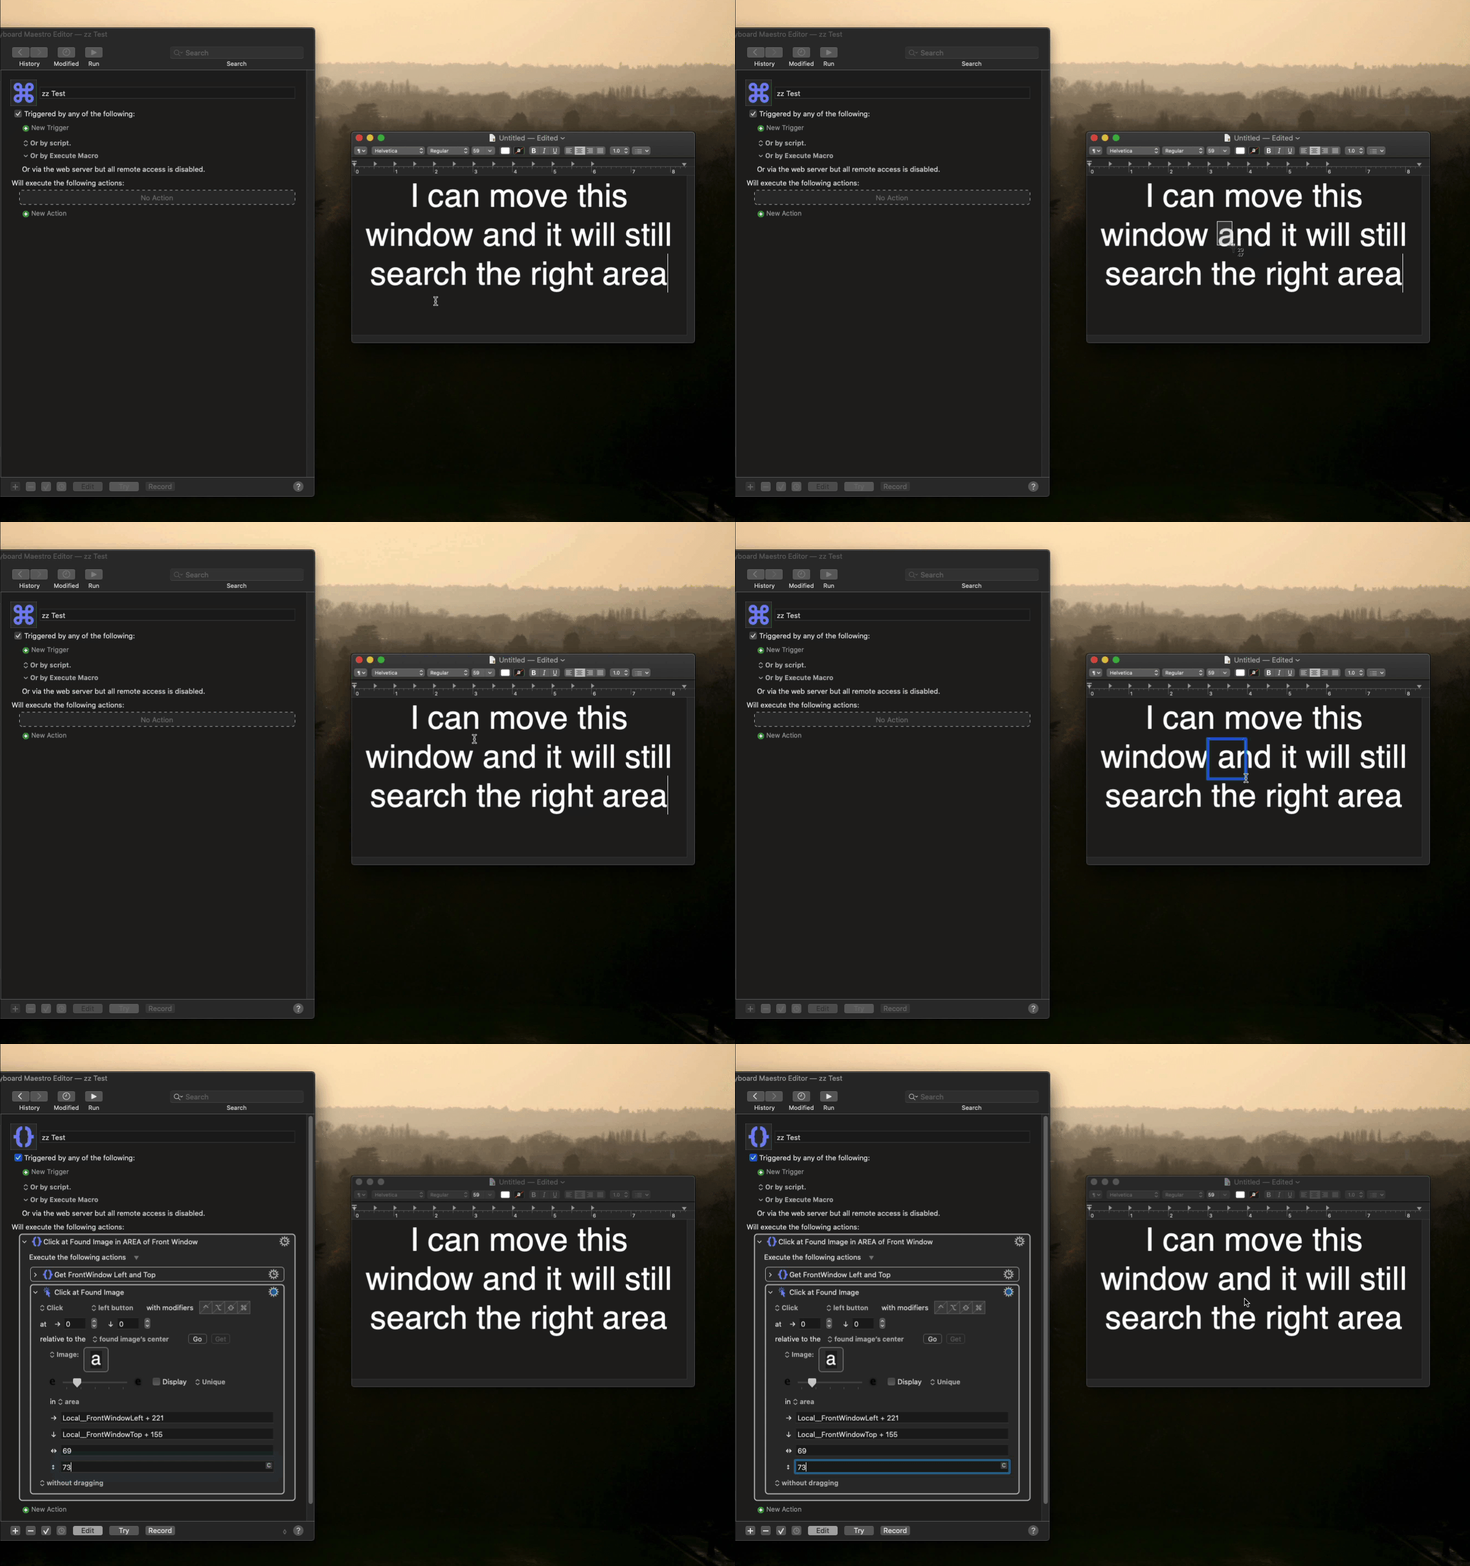
KM - Screenshot & Custom Area.kmmacros (65 KB)
Demo Video
Info
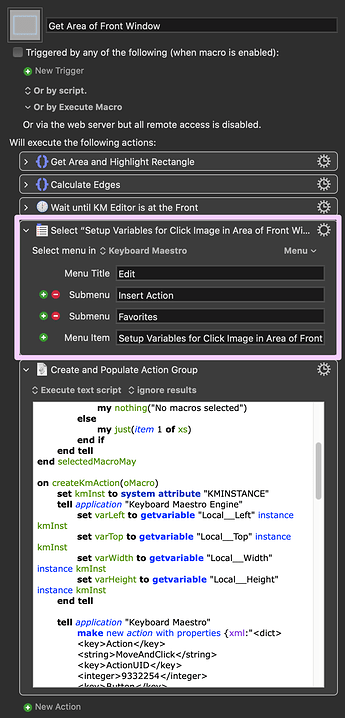
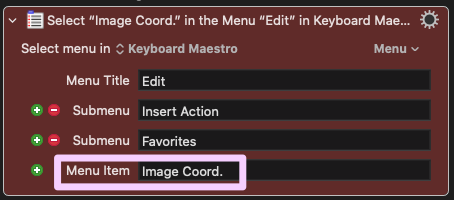
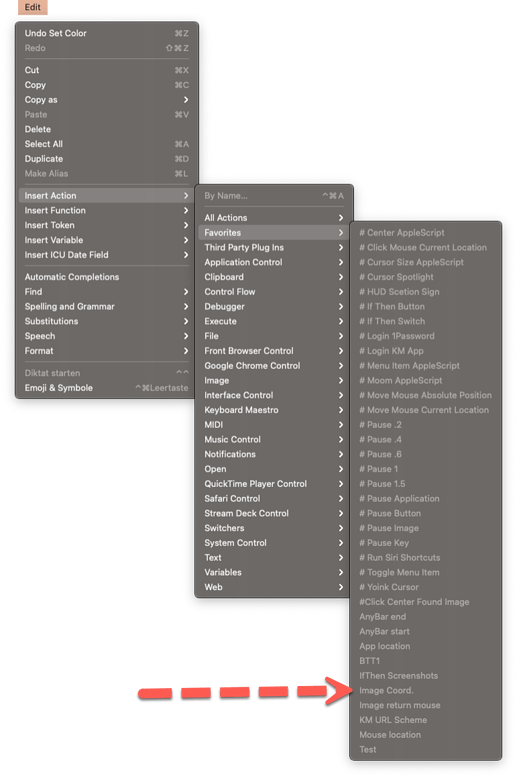
This macro requires the following two actions to be saved as favourites:
Click at Found Image in AREA of Front Window
Click at Found Image in AREA of Screenset
Setup:
Set two hotkeys and enter the value of one of them into the box that currently says "Front". This hotkey will use area relative to the front window and the other will use area of the screen.
Use:
Triggering this macro will trigger the screenshot utility. After you click and drag over the area you'd like to capture, you will be prompted to capture the search area. Click at the top-left and bottom right of the area whose coordinates you wish to capture. An action group will be automatically created and populated with the screenshot and appropriate coordinates.
Macro 3:
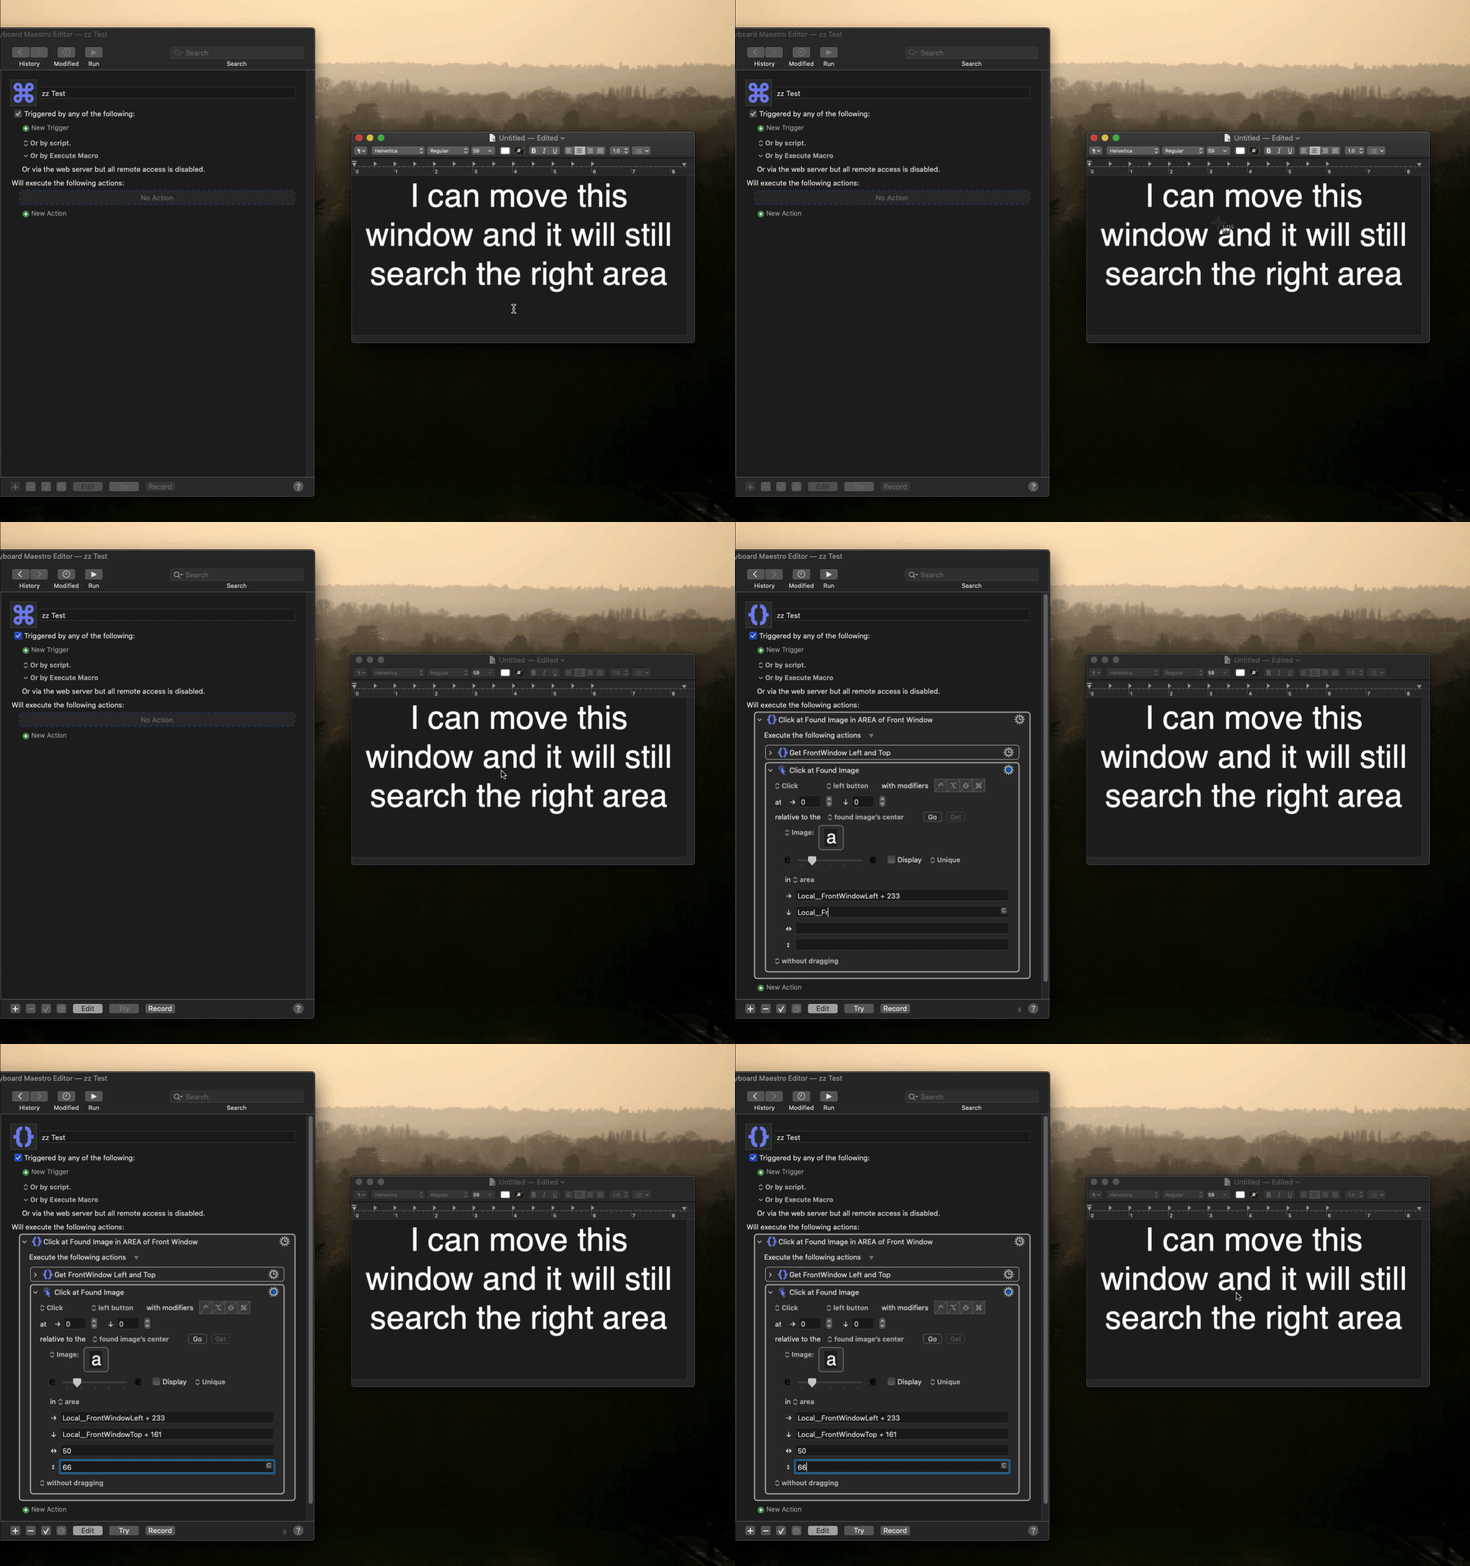
KM - Screenshot & Area (Auto).kmmacros (63 KB)
Demo Video
Info
Info:
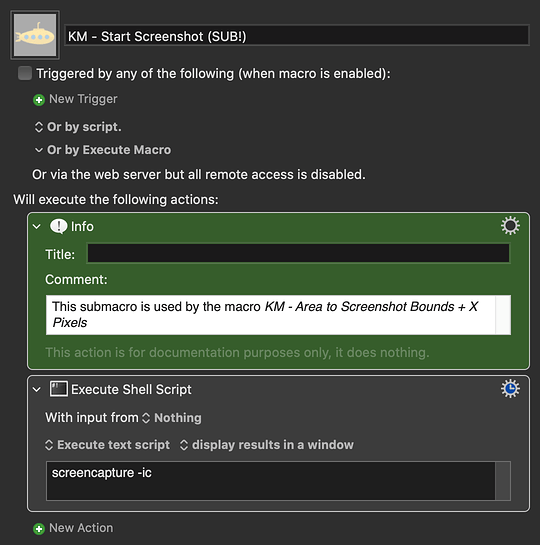
This macro uses the submacro KM - Area - Start Screenshot (SUB!) and requires the following two actions to be saved as favourites:
Click at Found Image in AREA of Front Window
Click at Found Image in AREA of Screenset
Setup:
In the purple action below, set the number of pixels to search beyond the bounds of the screenshot you willl take.
Set two hotkeys and enter the value of one of them into the box that currently says "Front". This hotkey will use area relative to the front window and the other will use area of the screen.
Use:
Triggering this macro will trigger the screenshot utility. After you click and drag over the area you'd like to capture, an action group will be automatically created and populated with the screenshot and appropriate coordinates.
This submacro is required by macro 3:
