Enhanced Screenshot
This is so far my ultimate Screenshot macro.
Unlike the Set Screenshots Destination macro this one works independently of the system’s ⇧⌘3 and ⇧⌘4 screenshots. (And does a lot more than setting the screenshots folder.)
This macro is a combined GUI for three command line tools:
-
screencapture– part of OS X -
pngquant– a quantization tool for PNGs -
advpng– a PNG compressor/optimizer
The pngquant and advpng parts of the macro are streamlined subsets from my PNG Optimizer macro.
screencapture is part of OS X. pngquant and advpng are third-party tools. The macro is functional also without pngquant and advpng, but, of course you won’t have PNG quantization and compression.
**Open here** for _how to install pngquant and advpng_.
pngquant:
A comfortable way to install the latest version is via Homebrew:
brew install --HEAD pngquant
You can download the binary also from the pngquant homepage. (You have to copy it manually to somewhere in your path.)
Alternatively you can install it via MacPorts. However the MacPorts version got stuck at 2.1 whereas the most recent version is 2.6.
advpng:
Via Homebrew:
brew install advancecomp
Alternatively you find the source code for the latest version on the Advance Projects site (scroll down to “AdvanceCOMP” and download the .tar.gz file; the instructions are in the “INSTALL” file and usually it compiles w/o problems).
Alternatively you can install it via MacPorts. They have the most recent version in the repository (1.20).
How It Works
Two different operation modes:
A. Faceless mode
You can either…
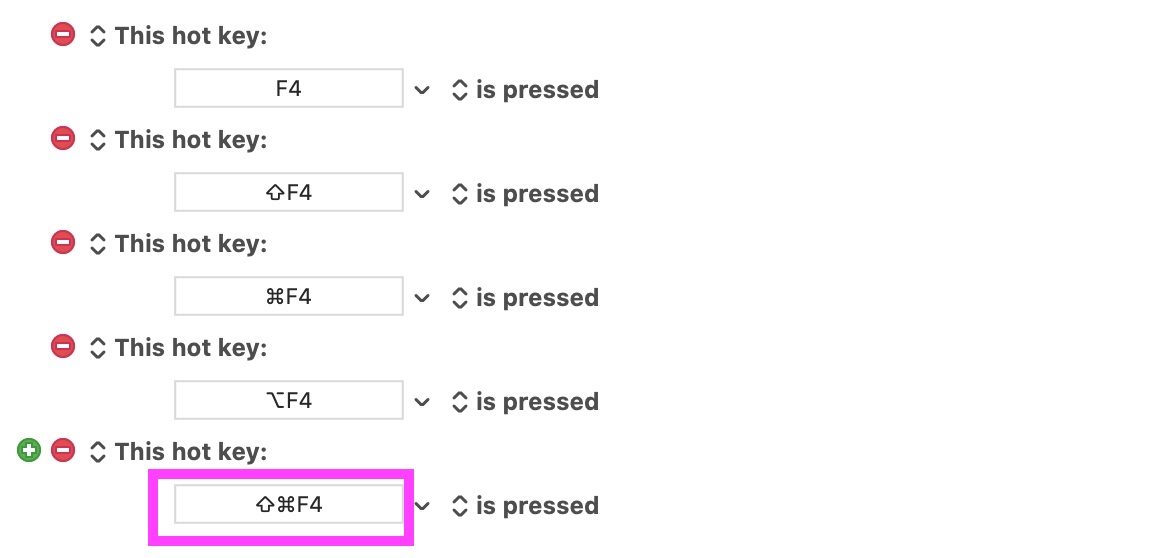
- Press the hotkey F4 to take a screenshot with the current settings.
- Press the hotkey ⌘F4 to take a screenshot while toggling between fullscreen and rectangular selection / window mode (dependent of the current setting).
- Press the hotkey ⇧F4 to take a screenshot and send it to Preview.
- Press the hotkey ⌥F4 to launch the macro in GUI mode and to access the settings. See below.
You can also combine ⇧ and ⌘.
B. GUI mode
- Press the hotkey ⌥F4 to bring up the main window.
- Optionally change the name of the screenshot and other settings.
- Press Return to take the screenshot or Save to exit.
GUI mode
This is the nice HTML prompt that lets you do all settings:
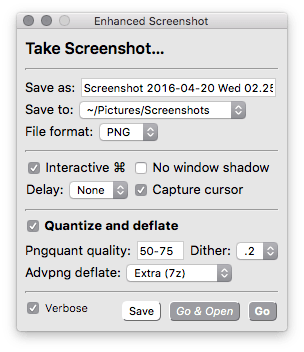
Hover with the mouse over any item to get additional information. (Not in the image, in the macro  )
)
**Open here** for a detailed description of the settings.
The prompt window has four main sections:
A. File Settings
This is pretty self-explaining:
Save as
You can overwrite the default screenshot name by typing into the field. Hotkey: ⌃⌥N
Leave the field empty to save the screenshot to the clipboard.
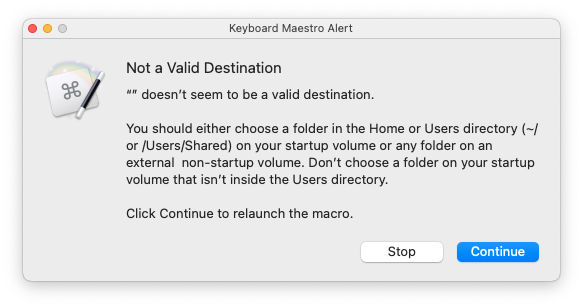
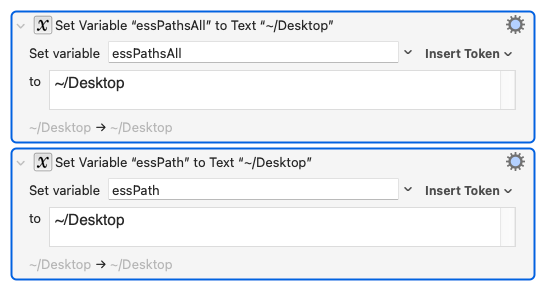
Save to
The path where the screenshot should be saved. You can add new folders to the "Save to" menu at any time by selecting "Add new…" from the menu. Hotkey: ⌃⌥P
File format
For 90% of your screenshots PNG is the best choice. Hotkey: ⌃⌥F
B. Screen Capture Behavior
The settings for screencapture:
Interactive
The Interactive mode allows to…
- limit the screenshot area to a rectangular mouse selection
- press the Spacebar to capture a window
You can invert the current setting temporarily by holding down the ⌘ key while clicking "Go" or "Go & Open". Hotkey: ⌃⌥I
No window shadow
This applies only when you press the Spacebar in Interactive mode to take a window shot. Hotkey: ⌃⌥W
Delay
Gives you time to prepare for the screenshot, for example opening menus and placing the cursor. Hotkey: ⌃⌥R
Capture cursor
Includes the cursor in the screenshot. Only in non-interactive mode. Hotkey: ⌃⌥C
C. Quantization and Deflate Settings
The settings for pngquant and advpng.
Quantize and deflate
With this checkbox you can enable/disable the whole quantization/optimization part. Disable it if you don't have the tools installed. Hotkey: ⌃⌥O
Pngquant quality
The desired quality range for pngquant in percent. Try it with settings like 70-95, 60-90, 50-75 or even 20-50. See the pngquant manual for details. Quantization will reduce the number of colors, that means it's a lossy compression. Hotkey: ⌃⌥Q
Leave the field empty to disable pngquant.
Pngquant will always produce a new file with a -or8 suffix, or -fs8 when dithering is activated. If you see that the quality is not satisfying you can always go back to the original file.
Note that you can not set a fix number of colors here. But this is not necessary since the quality approach is clearly superior. (It takes colors and properties of the source image into account.)
Dither
Enable (1) or disable (0) dithering, or set it to something between 0 and 1.
Hotkey: ⌃⌥D
Dithering increases file size and you can disable it (or set it to something low) for many screenshots. However, you should use it for screenshots containing larger halftone or photo-like elements, for example window shadows or the typical OS X Desktop background.
Advpng deflate
The deflate compression library advpng should use. Since pngquant already applies compression, zlib won't improve compression much, but 7z and zopfli will. This is in any case a lossless compression.
If pngquant is enabled advpng will run on pngquant's output file, otherwise on the original screenshot file.
Hotkey: ⌃⌥A
D. Execution
The buttons.
Go
Takes the screenshot. Hotkey: ⌃⌥] or ⏎
Go & Open
Takes the screenshot and opens it with Preview. Use this if you want to do some highlighting, annotating or cropping in Preview.
If pngquant and/or advpng was activated the macro will wait until the Preview window is closed and only then run on the file. (Otherwise Preview would annihilate the whole compression and optimization.)
Hotkey: ⌃⌥[ or ⇧⏎
Save
Your settings will be saved but no screenshot will be made. Hotkey: ⌃⌥S
Verbose
Opens an info window after the screenshot. Select this if you want to see what exactly is happening or for debugging. It also shows you the effective quality and the compression savings.
Hotkey: ⌃⌥V

Updates:
- 1.01 – 2016-04-20 06:21 CEST
- Fixed bug where Interactive couldn’t be disabled in the GUI